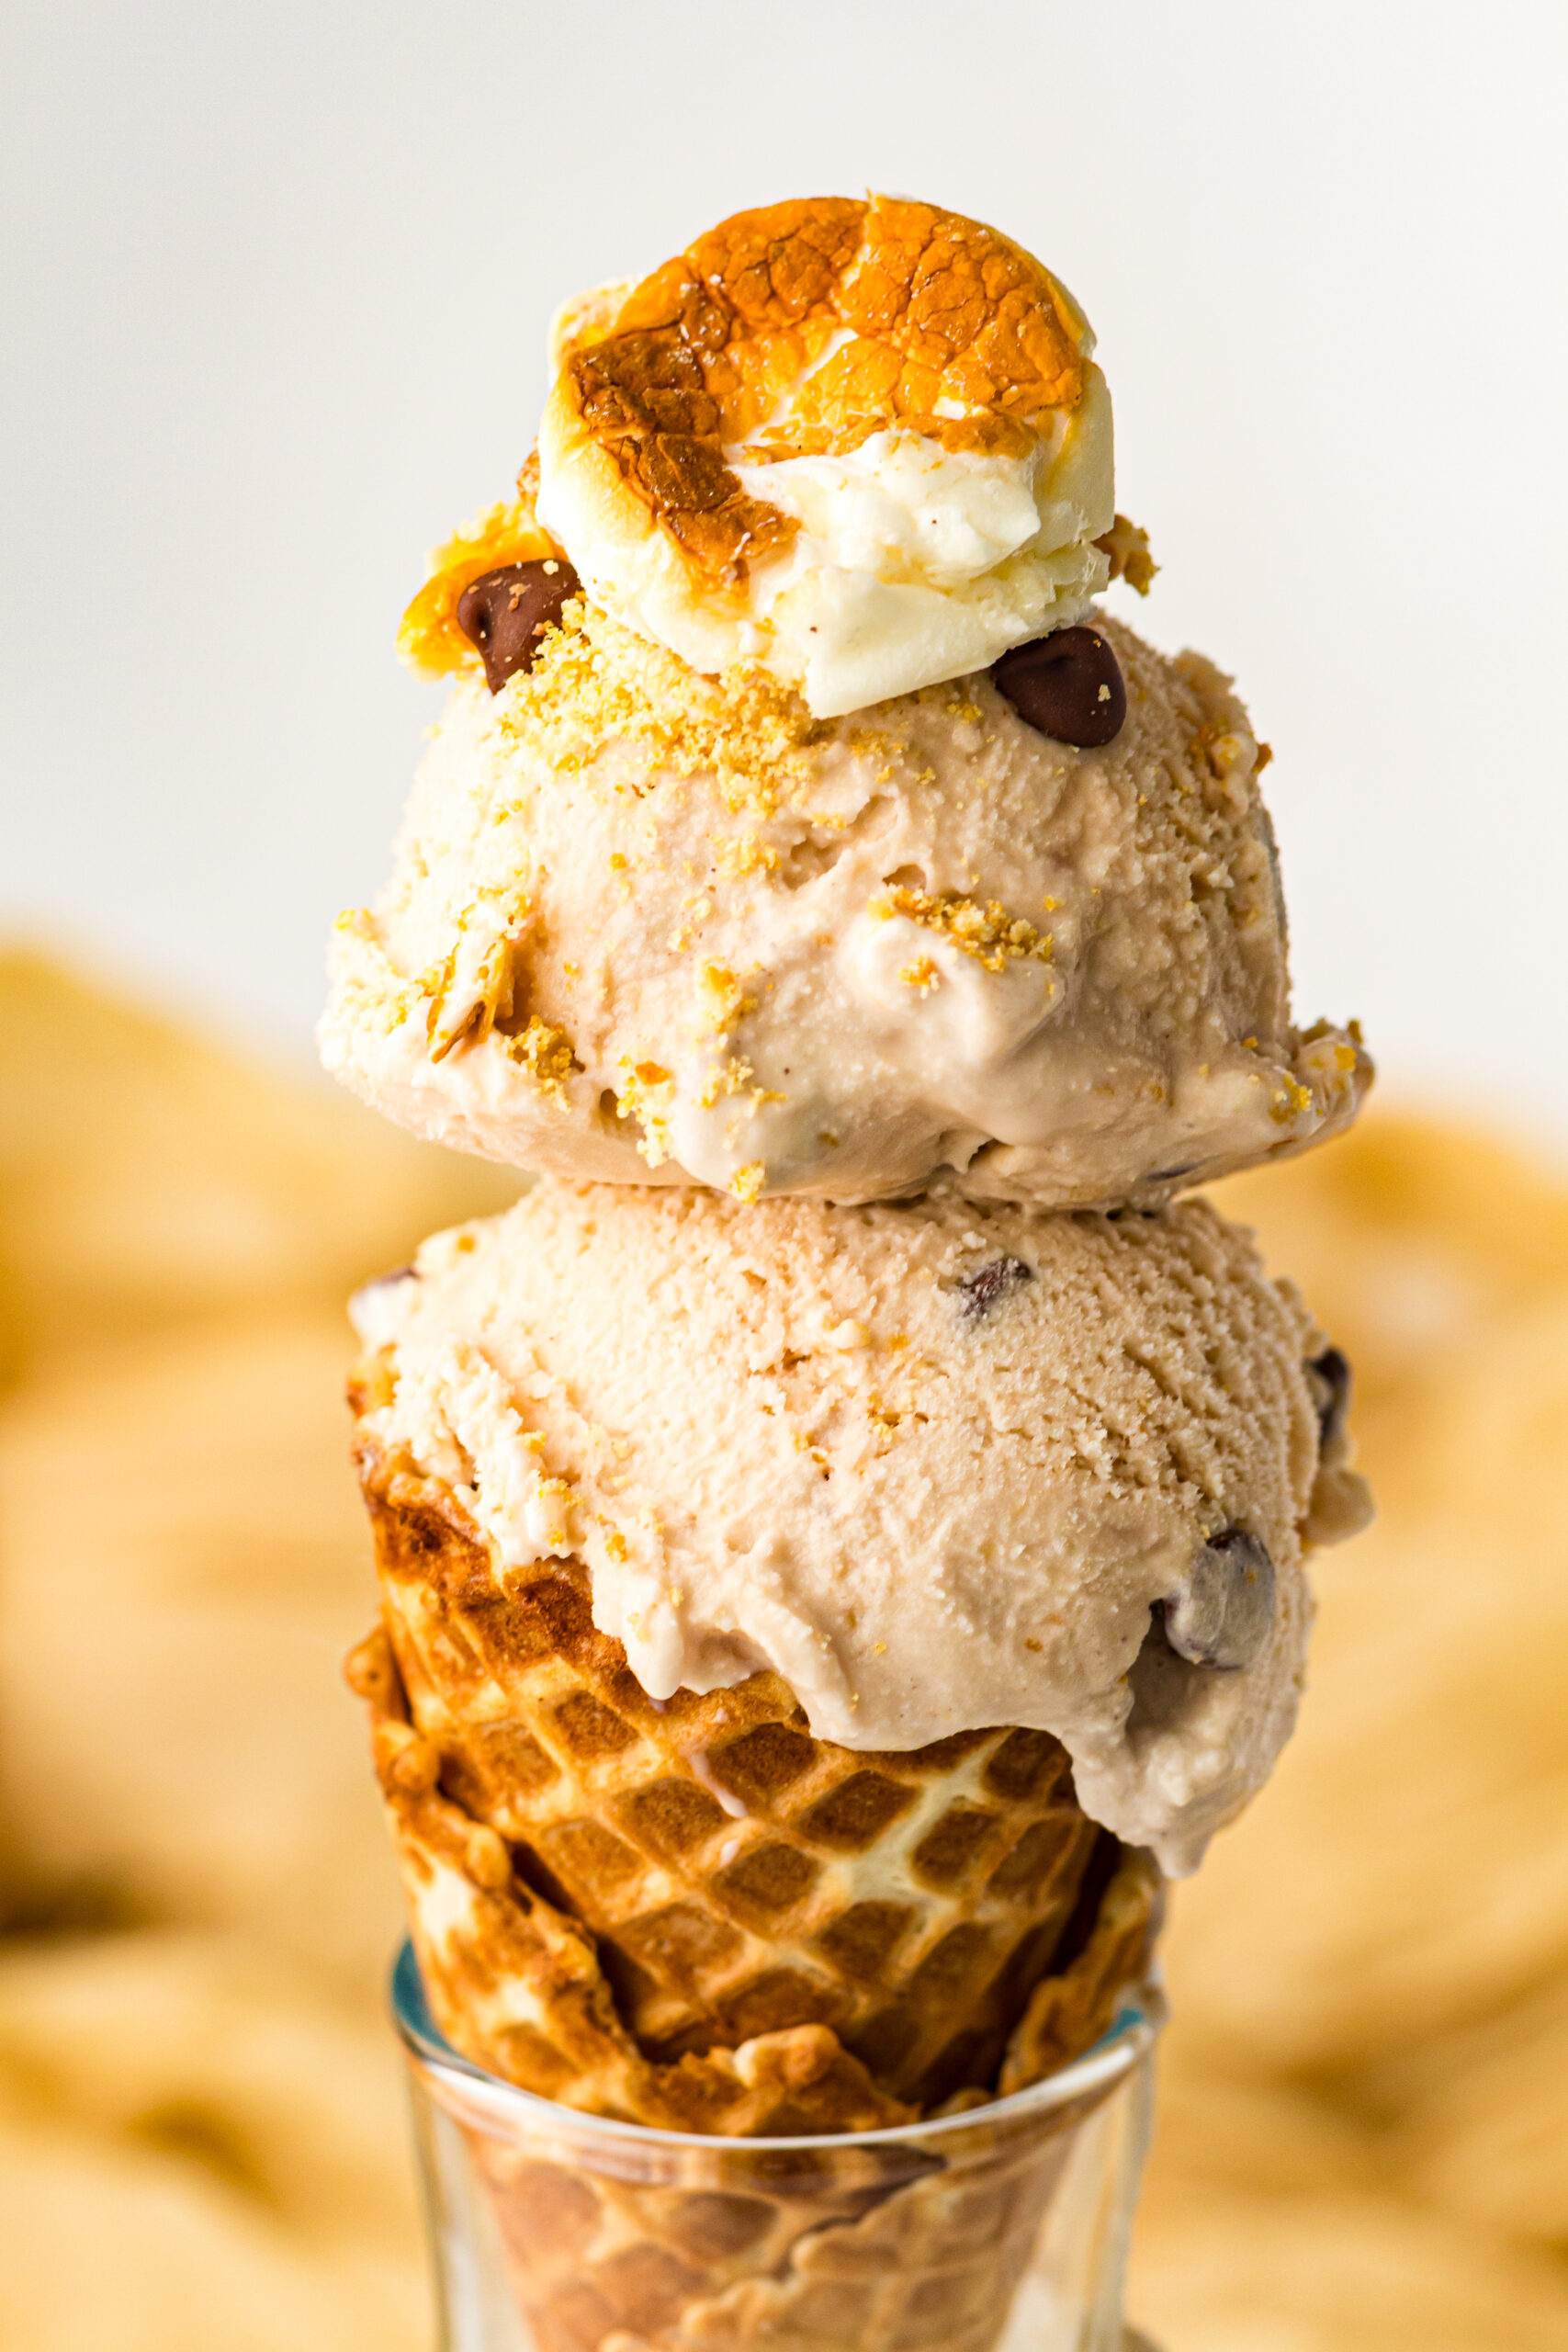
Ninja Creami S’mores Ice Cream
Who says you need a campfire to enjoy the gooey, chocolatey crunch of s’mores? We’re bringing that nostalgic summer feeling right into your kitchen with this S’mores Ninja Creami Ice Cream. This recipe combines a rich chocolate base with toasted marshmallows and crunchy graham crackers for the ultimate frozen treat.
If you own a Ninja Creami, you already know it’s a game-changer for homemade desserts. But this recipe takes it to a whole new level. We aren’t just throwing in raw marshmallows; we’re toasting them to get that authentic, caramelized flavor that makes s’mores so irresistible.
Let’s dive into how to make this delicious dessert that’s perfect for kids and adults alike.
Why You’ll Love This Recipe
There is something undeniably comforting about the combination of chocolate, marshmallow, and graham cracker. It’s a flavor profile that transports most of us back to childhood camping trips or backyard fire pits.
This recipe is fantastic because:
- Authentic Flavor: Toasting the marshmallows ensures you get that true “campfire” taste, not just raw sugar.
- Texture Heaven: The Creami creates an ultra-smooth chocolate base, while the mix-in function ensures you get chunks of crunch and chew in every bite.
- Customizable: Want more crunch? Add extra crackers. Love chocolate? Double the chips. It’s your pint!
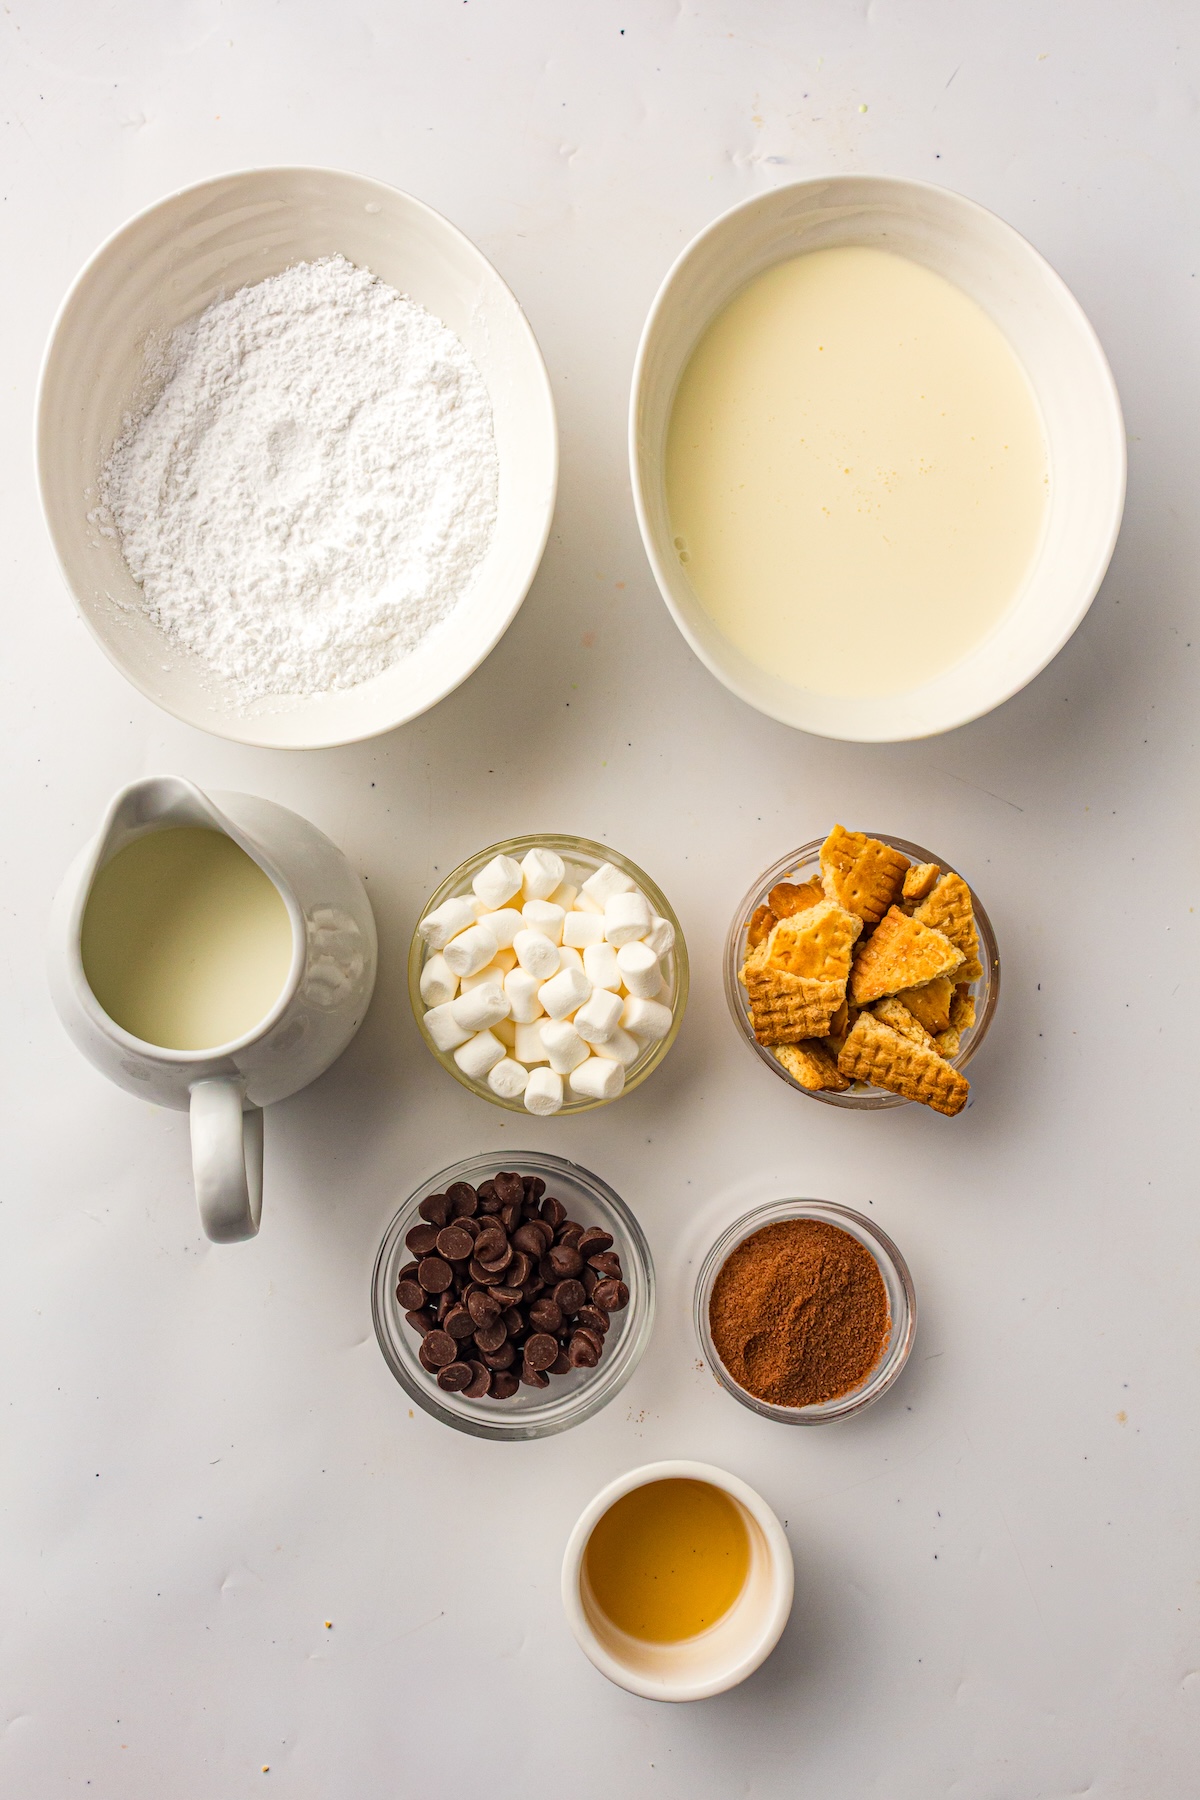
Ingredients
To make this creamy delight, you’ll need a few simple pantry staples.
For the Base:
- 1 cup Whole Milk: Provides the liquid base for a smooth texture.
- ¾ cup Heavy Cream: Adds the richness and fat content needed for creamy ice cream.
- ⅓ cup Confectioners’ Sugar: Sweetens the mix without the grit of granulated sugar.
- 2 tbsp Unsweetened Cocoa Powder: The heart of the chocolate flavor.
- 1 tsp Pure Vanilla Extract: Enhances the chocolate and marshmallow notes.
For the Mix-Ins:
- 2 Graham Crackers: Crushed into bite-sized pieces for texture.
- 2 tbsp Mini Marshmallows (or 2 large marshmallows): These will be toasted for that gooey goodness.
- 2 tbsp Chocolate Chips: Adds a nice snap of chocolate.
- 1–2 tbsp Milk: To help everything blend during the mix-in stage.
Step-by-Step Instructions
Follow these steps to create your frozen masterpiece.
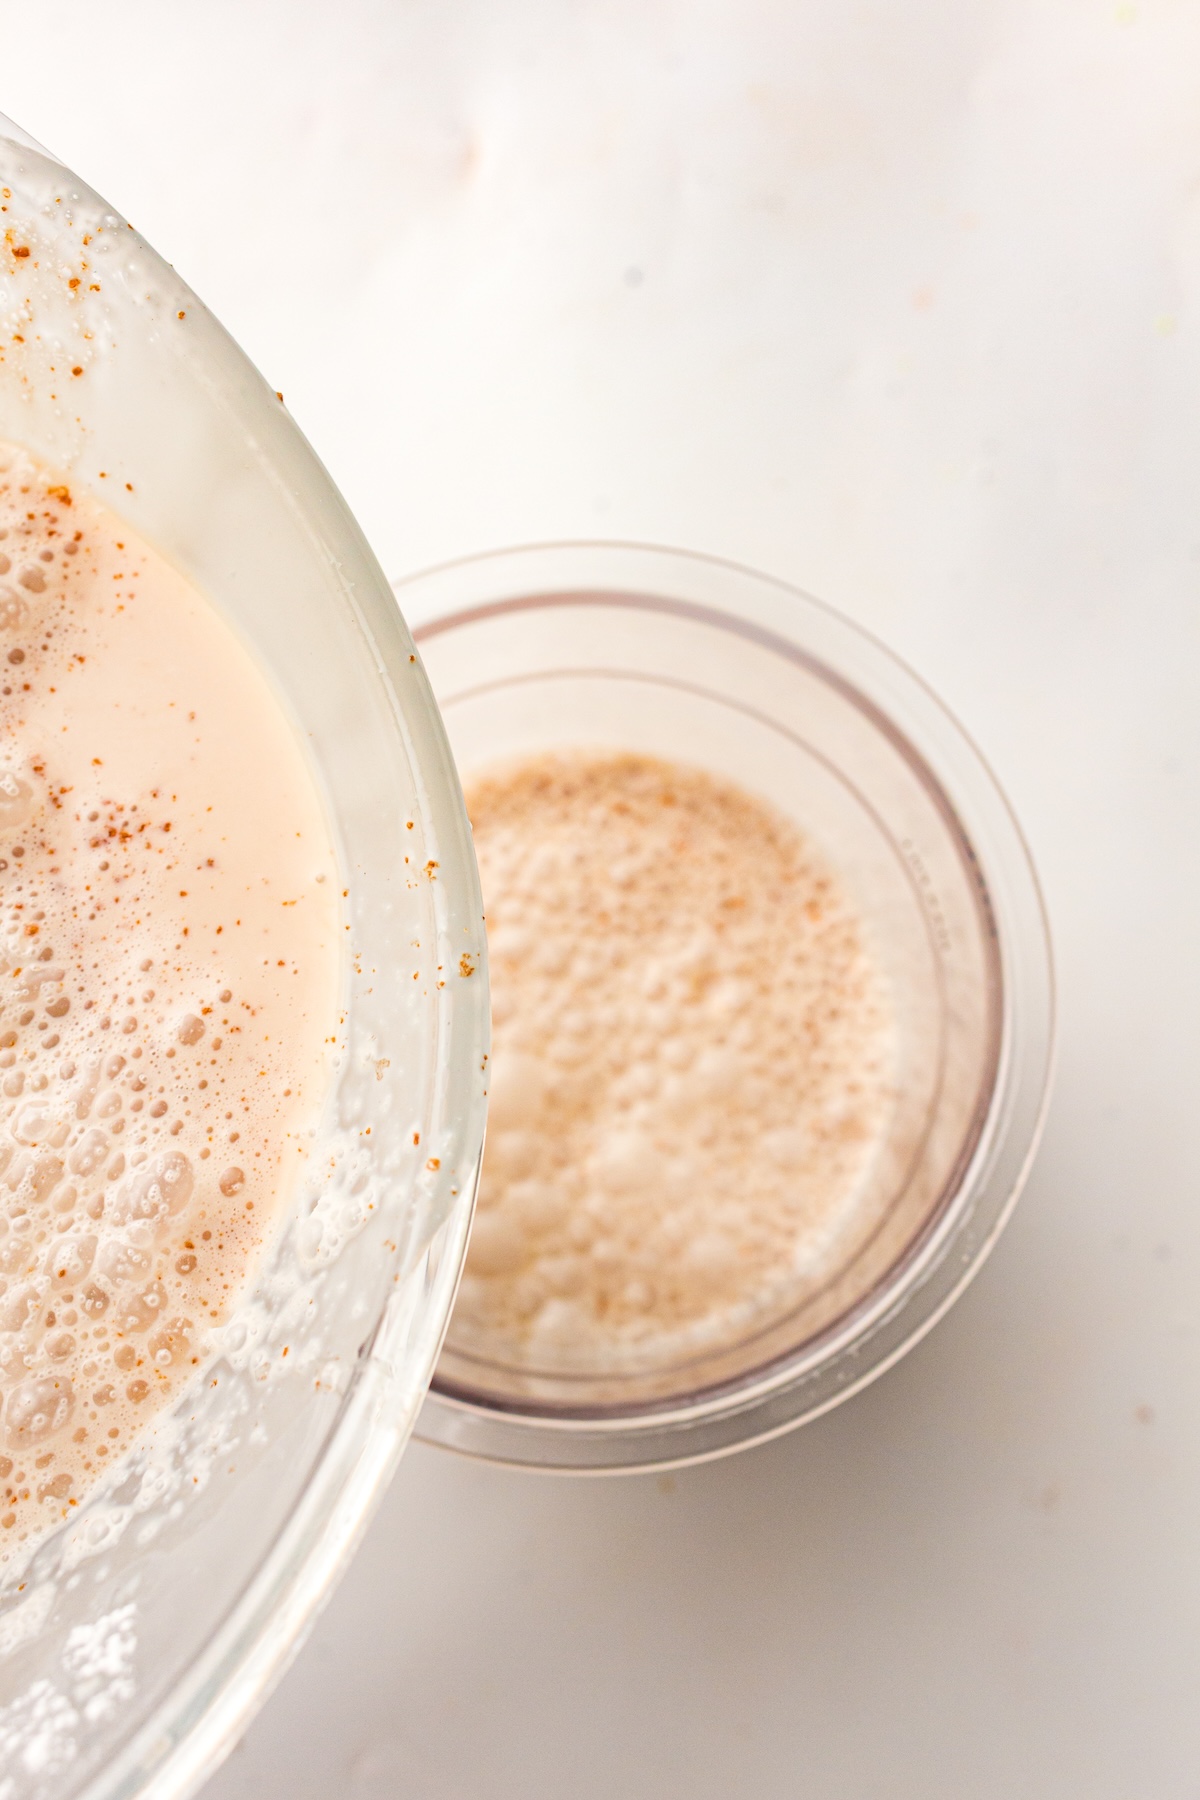
1. Prepare the Base
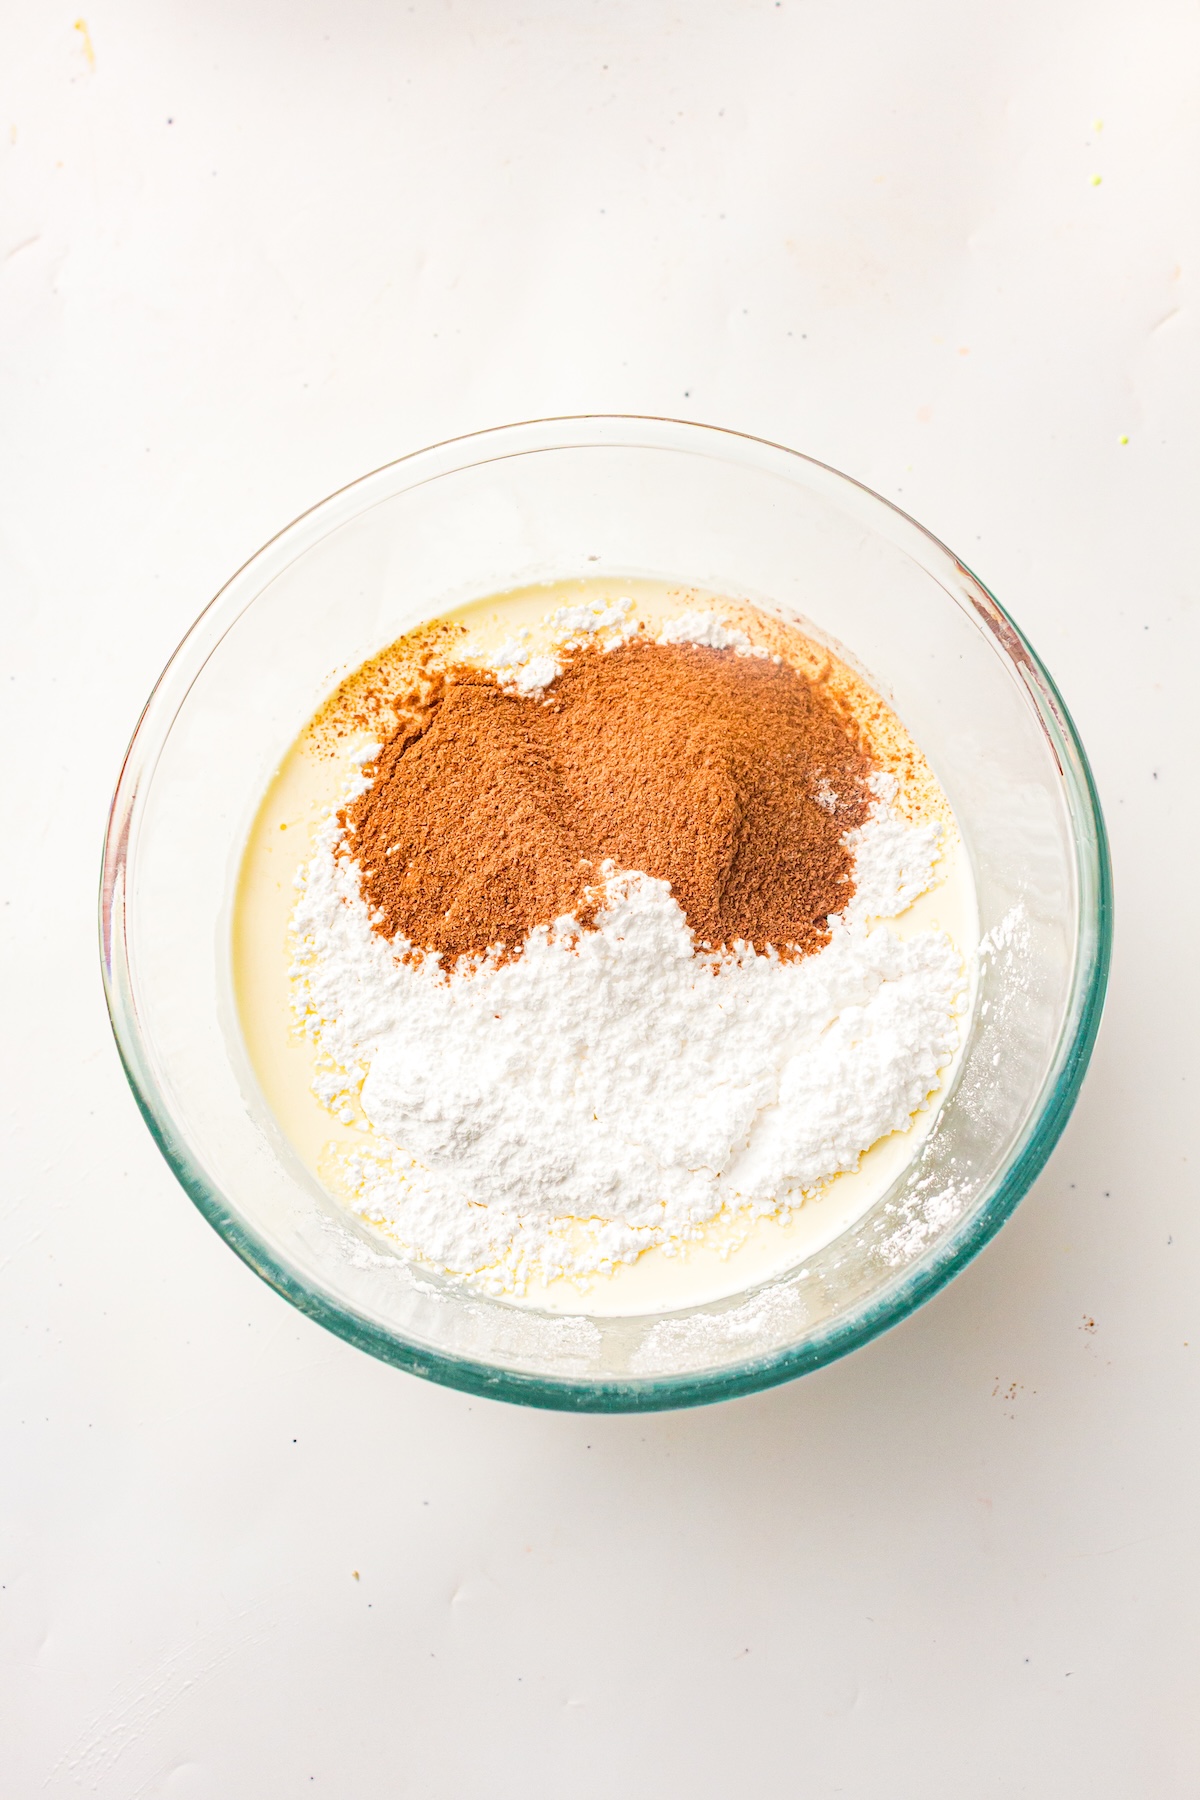
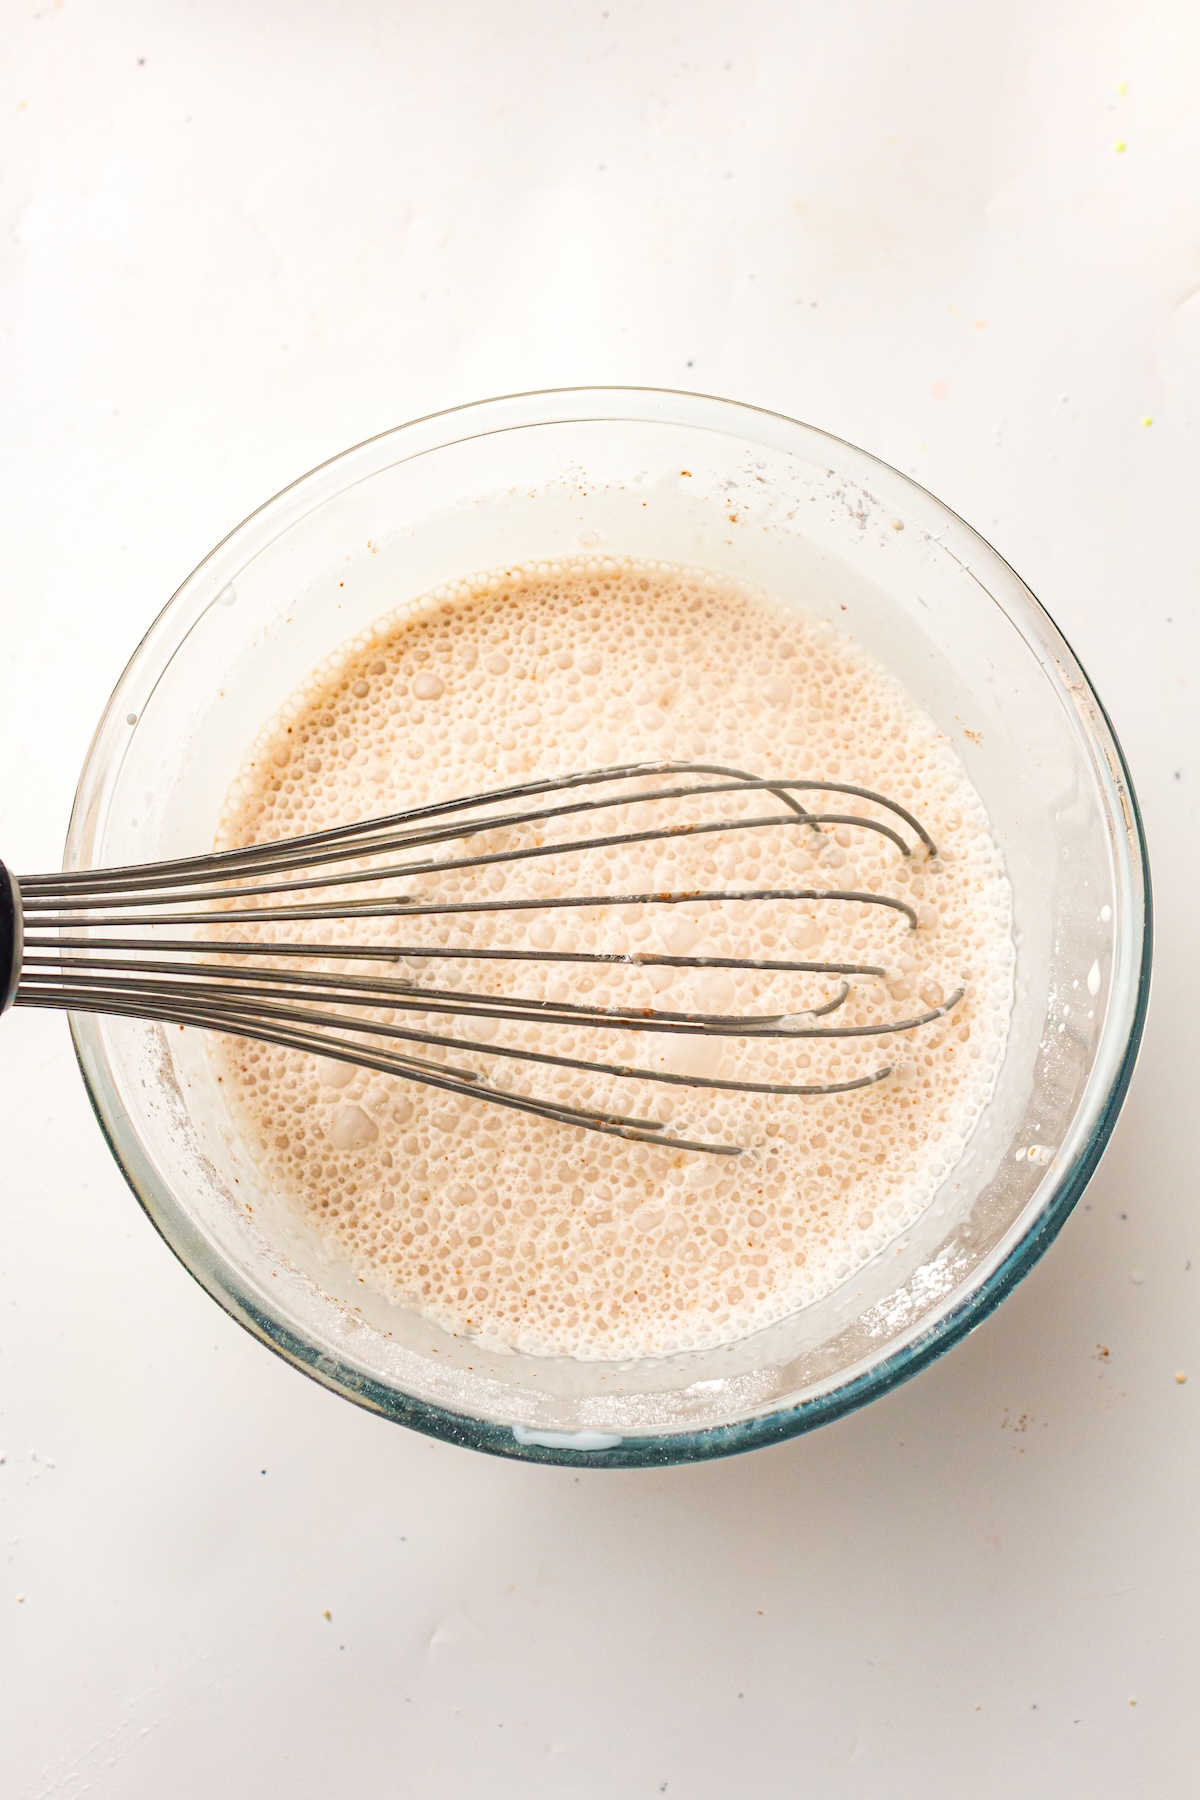
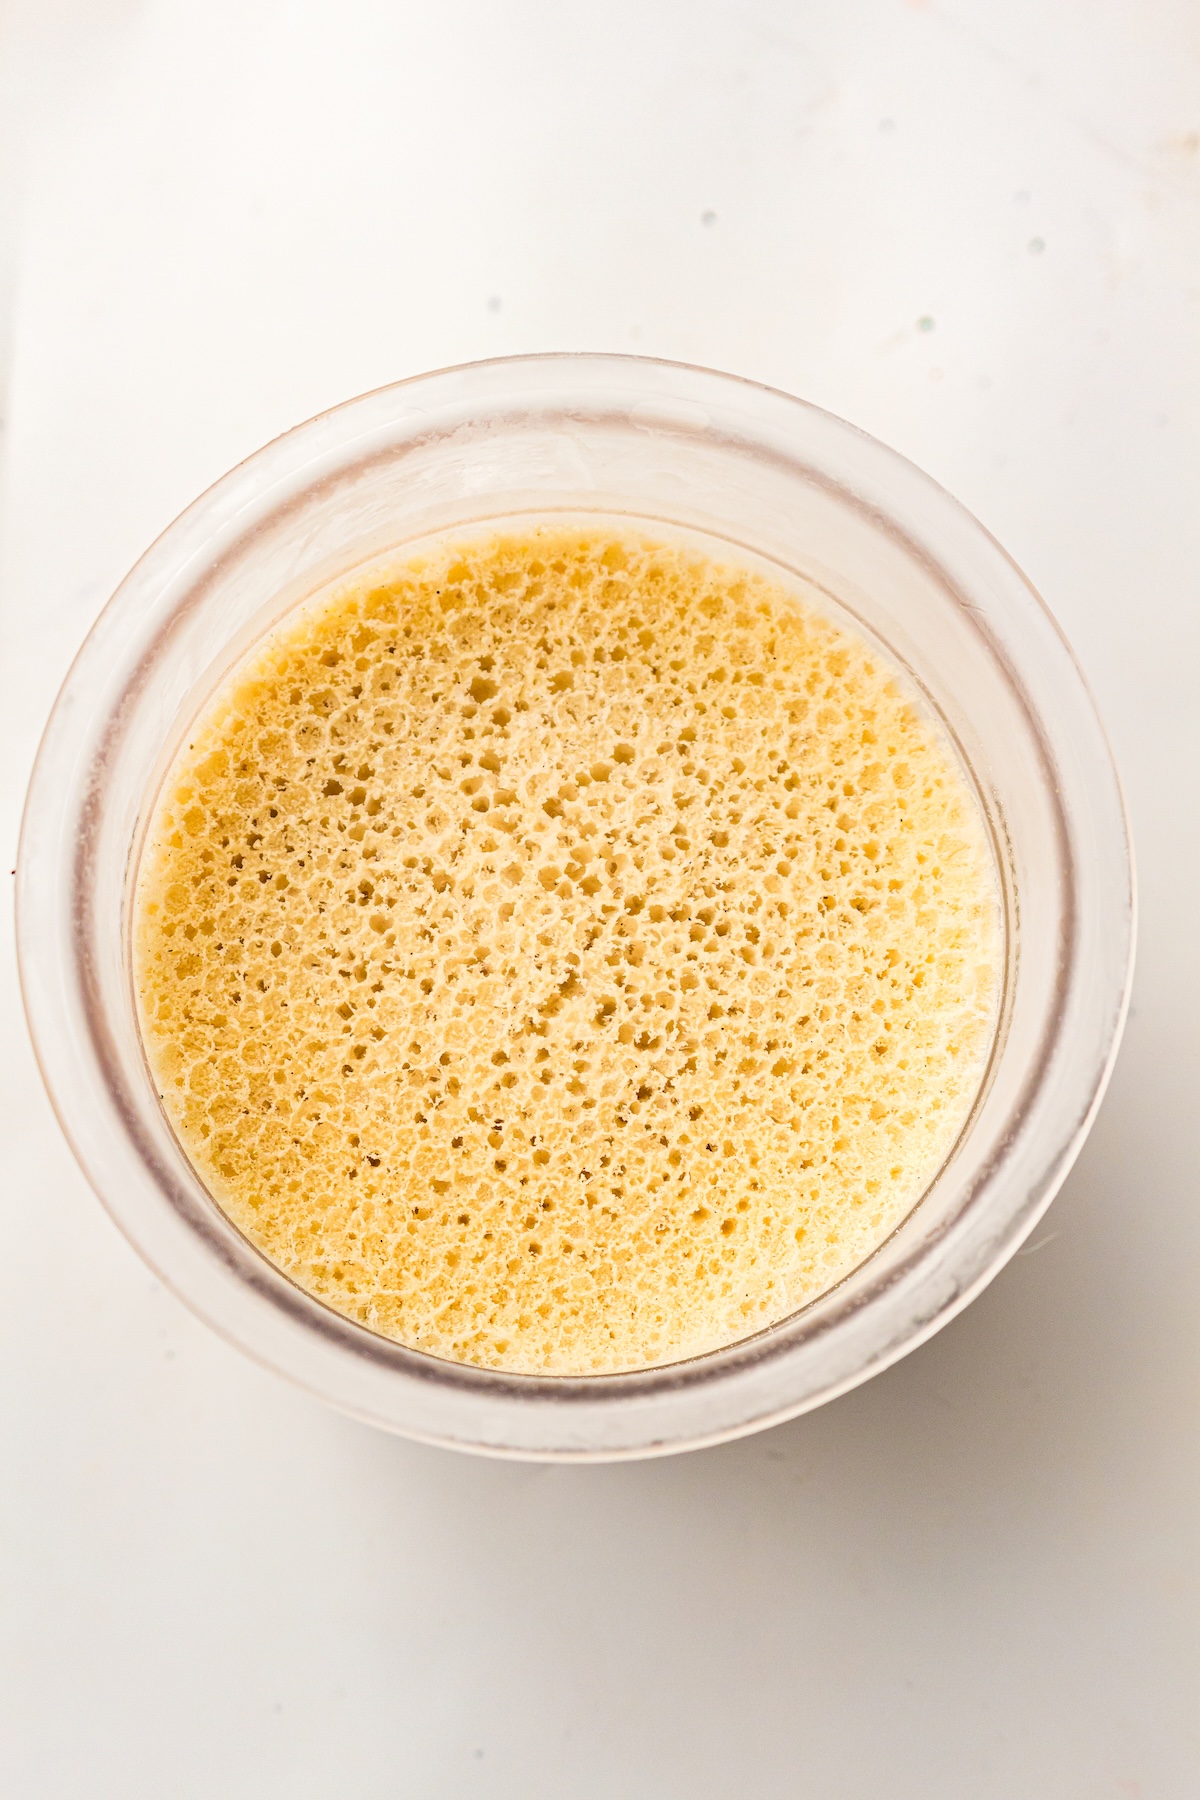
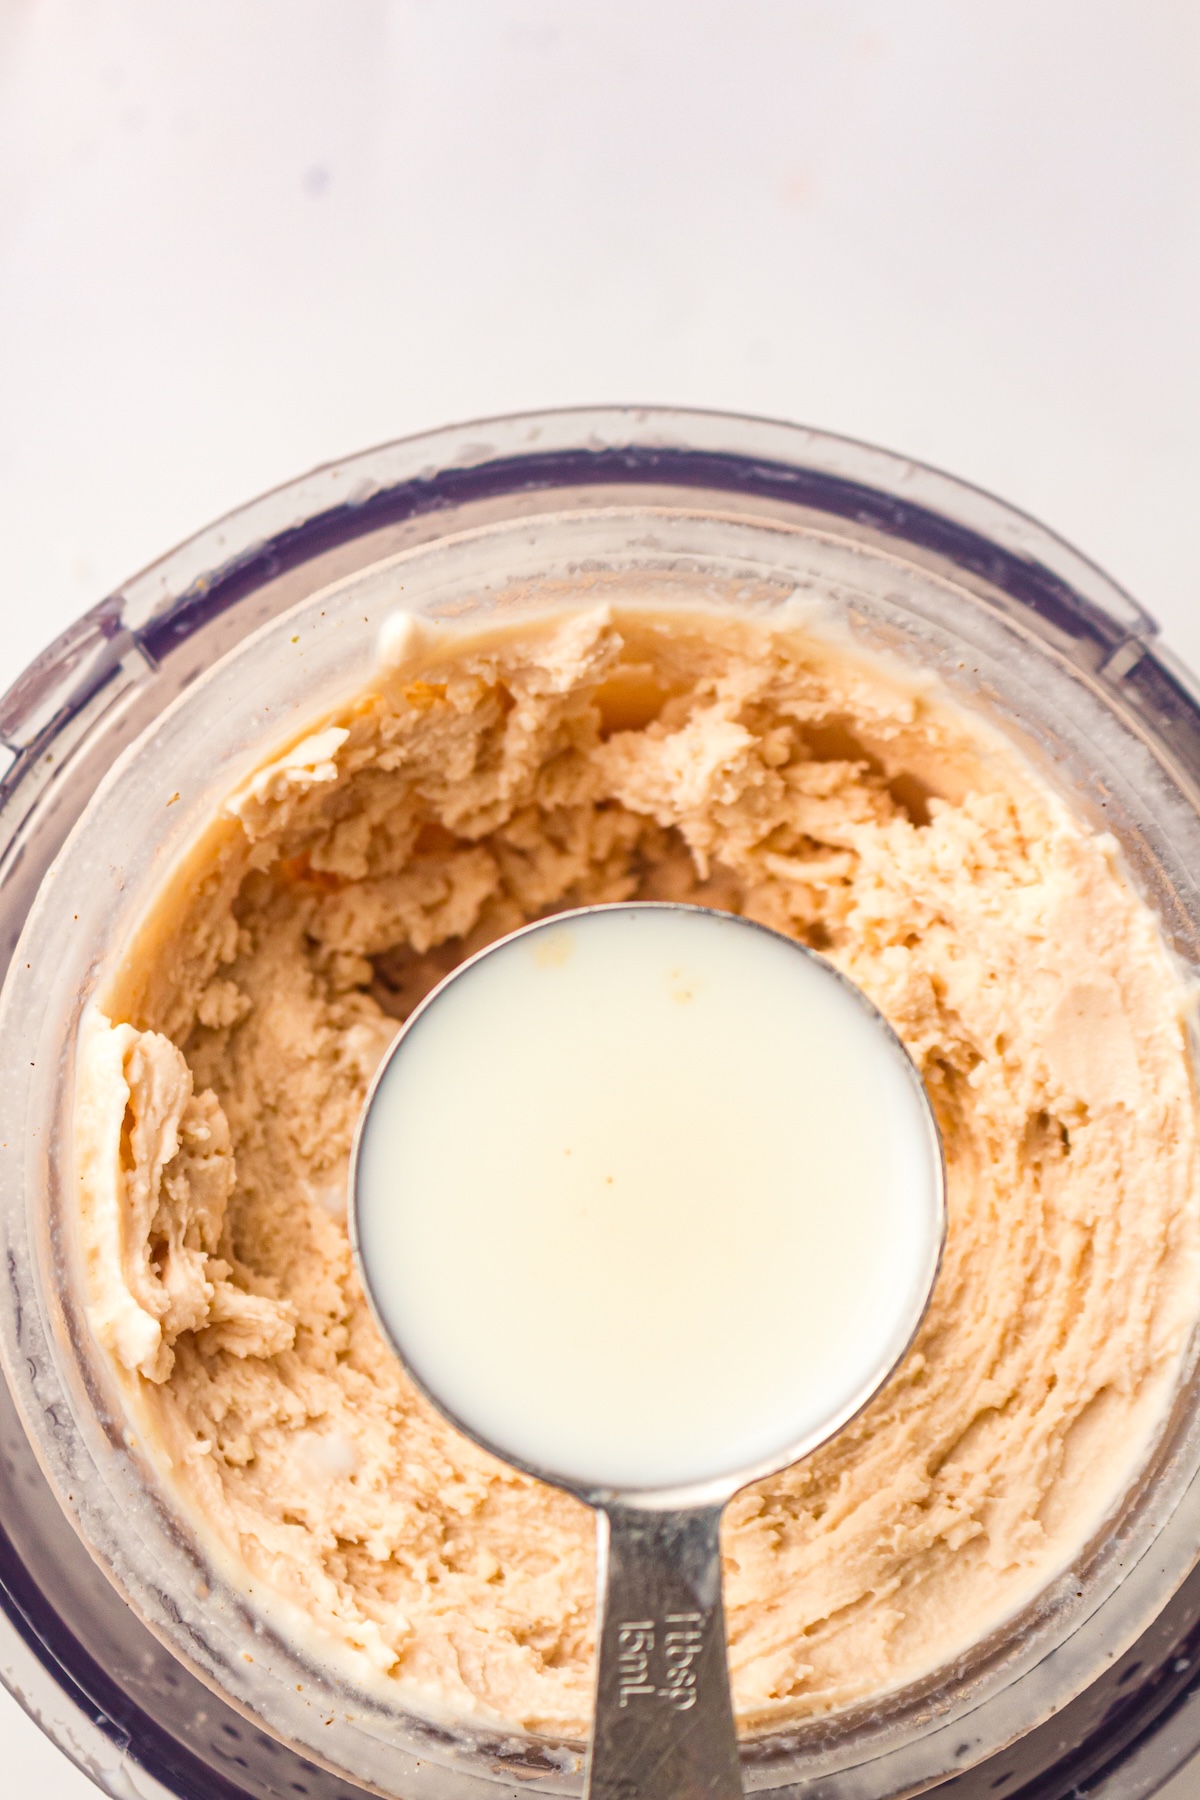
Grab a jug or a medium mixing bowl. Whisk together the whole milk, heavy cream, confectioners’ sugar, cocoa powder, and vanilla extract.

Keep whisking until the mixture is completely smooth and the cocoa powder is fully dissolved. No one likes powdery lumps in their ice cream!
2. Freeze the Pint
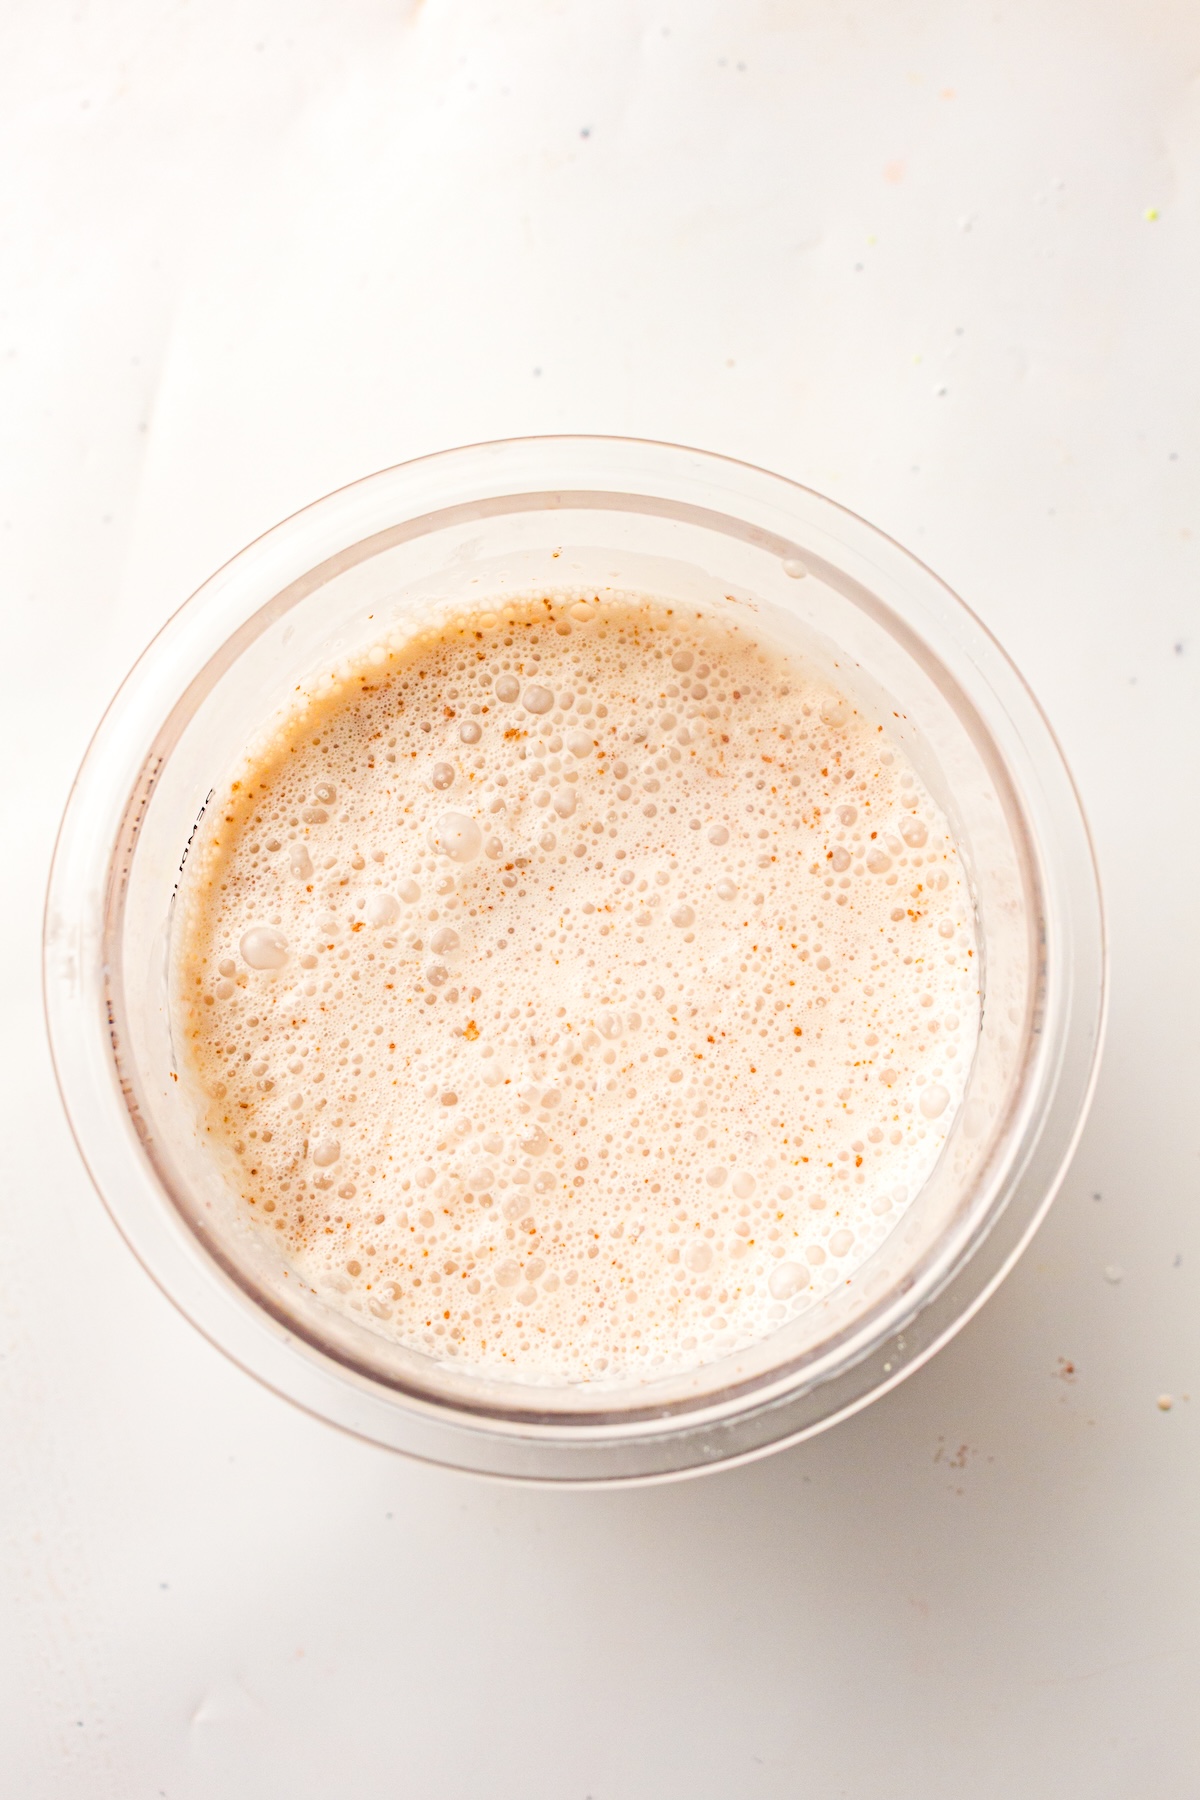
Pour your chocolate mixture directly into your Ninja Creami pint container. Be careful to stop just below the “Max Fill” line to allow room for expansion as it freezes.
Place the lid on securely and put the pint in your freezer on a completely flat surface. It needs to freeze for a full 24 hours.
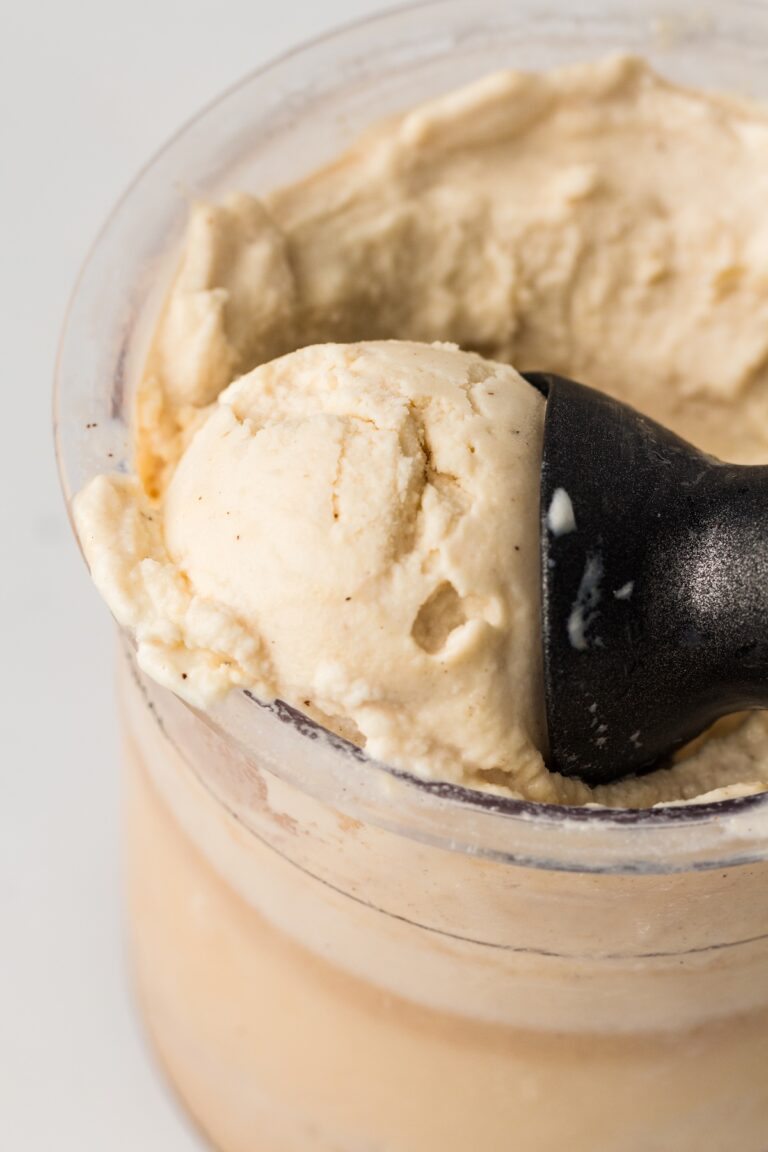
3. Spin the Base
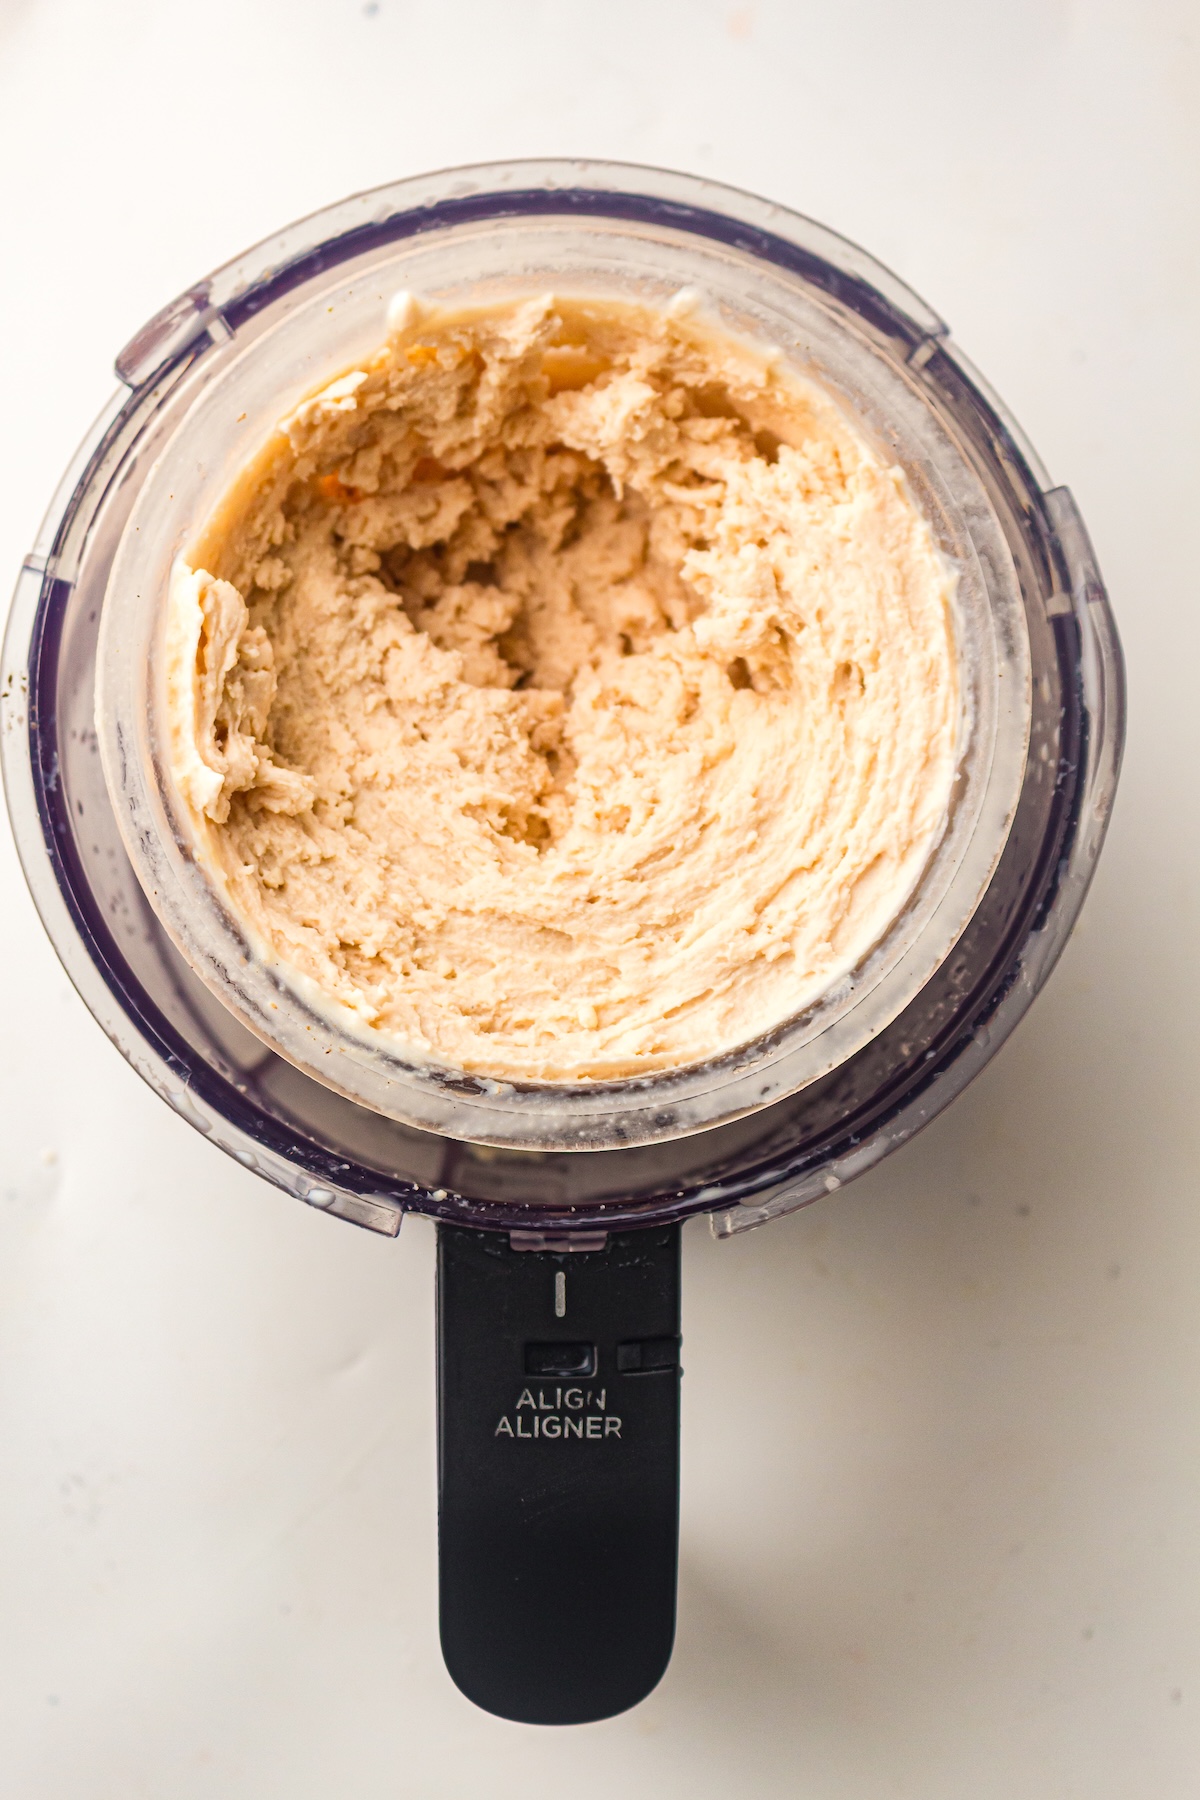
Once your 24 hours are up, remove the pint lid and place the container into your Ninja Creami machine. Select the Ice Cream setting and process once. The result will be a creamy, rich chocolate ice cream.
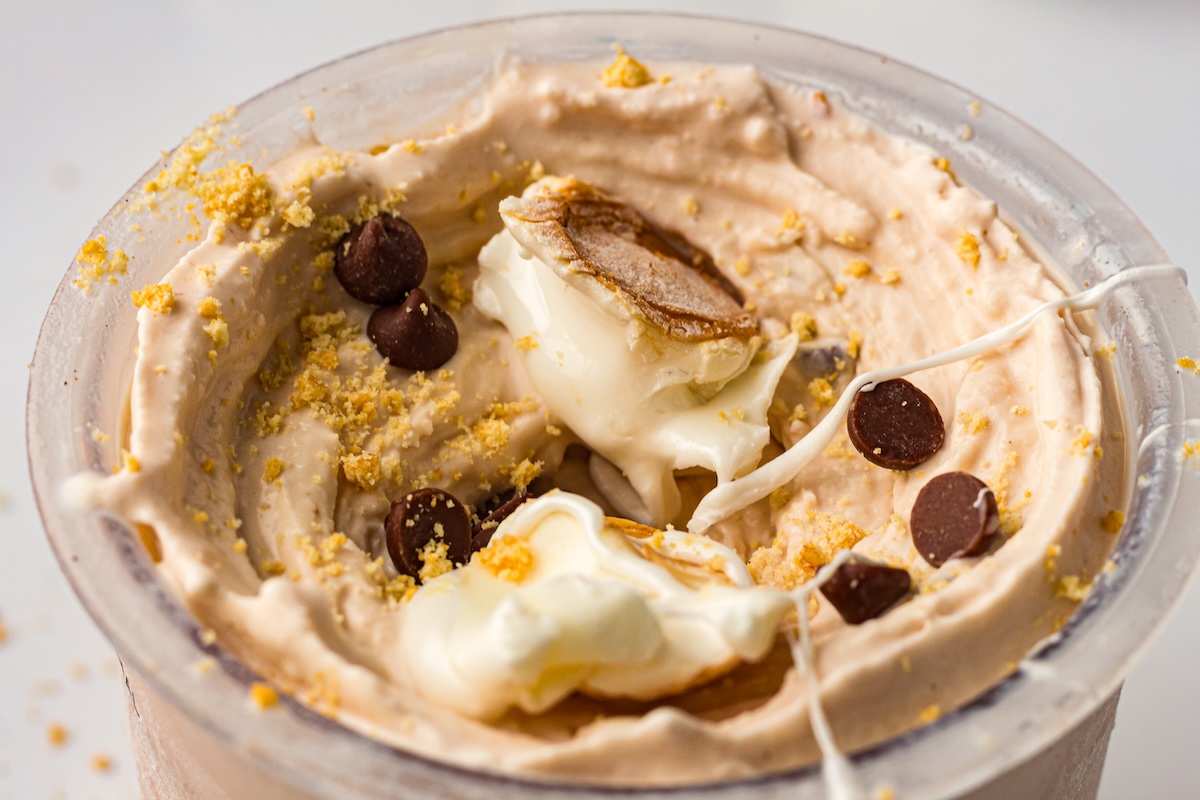
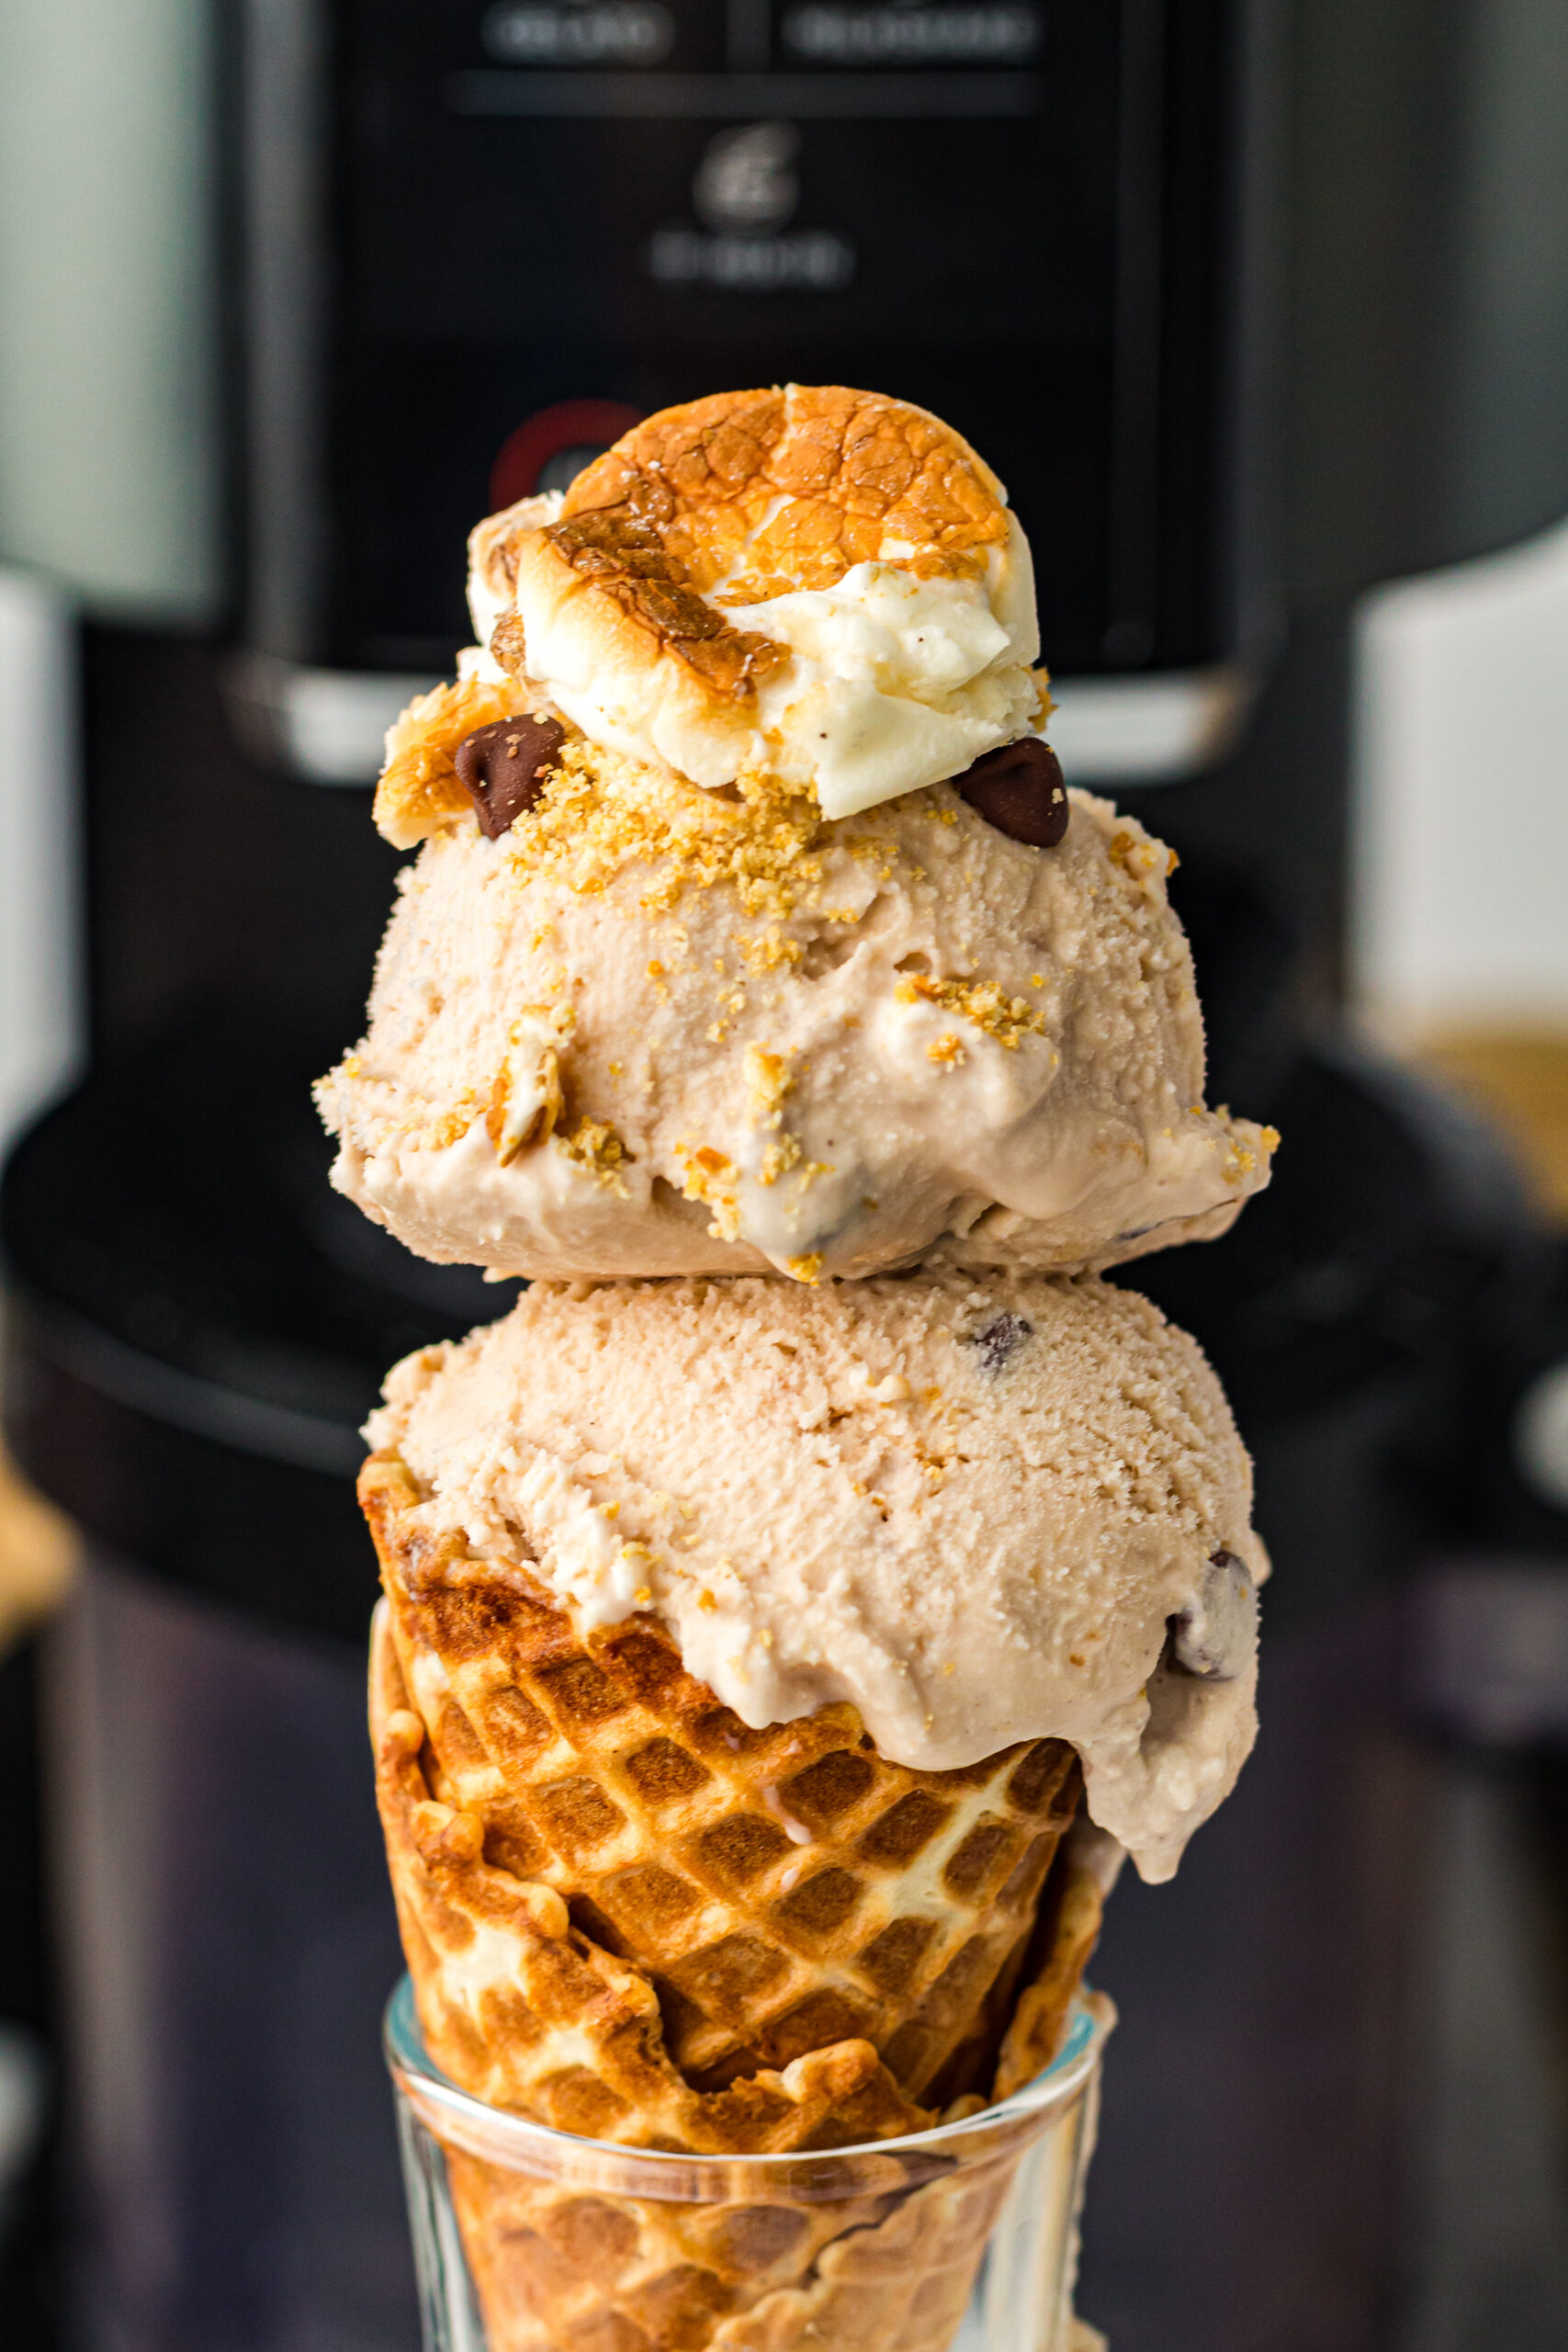
4. Toast the Marshmallows
While the machine is spinning, it’s time to get that campfire flavor. Place your marshmallows on a small baking tray. Broil them in the oven for about 1–2 minutes. Watch them like a hawk! They go from golden brown to burnt charcoal in seconds. Once they are golden and puffy, remove them and let them cool slightly so they don’t melt your ice cream instantly.
5. Add the Mix-Ins
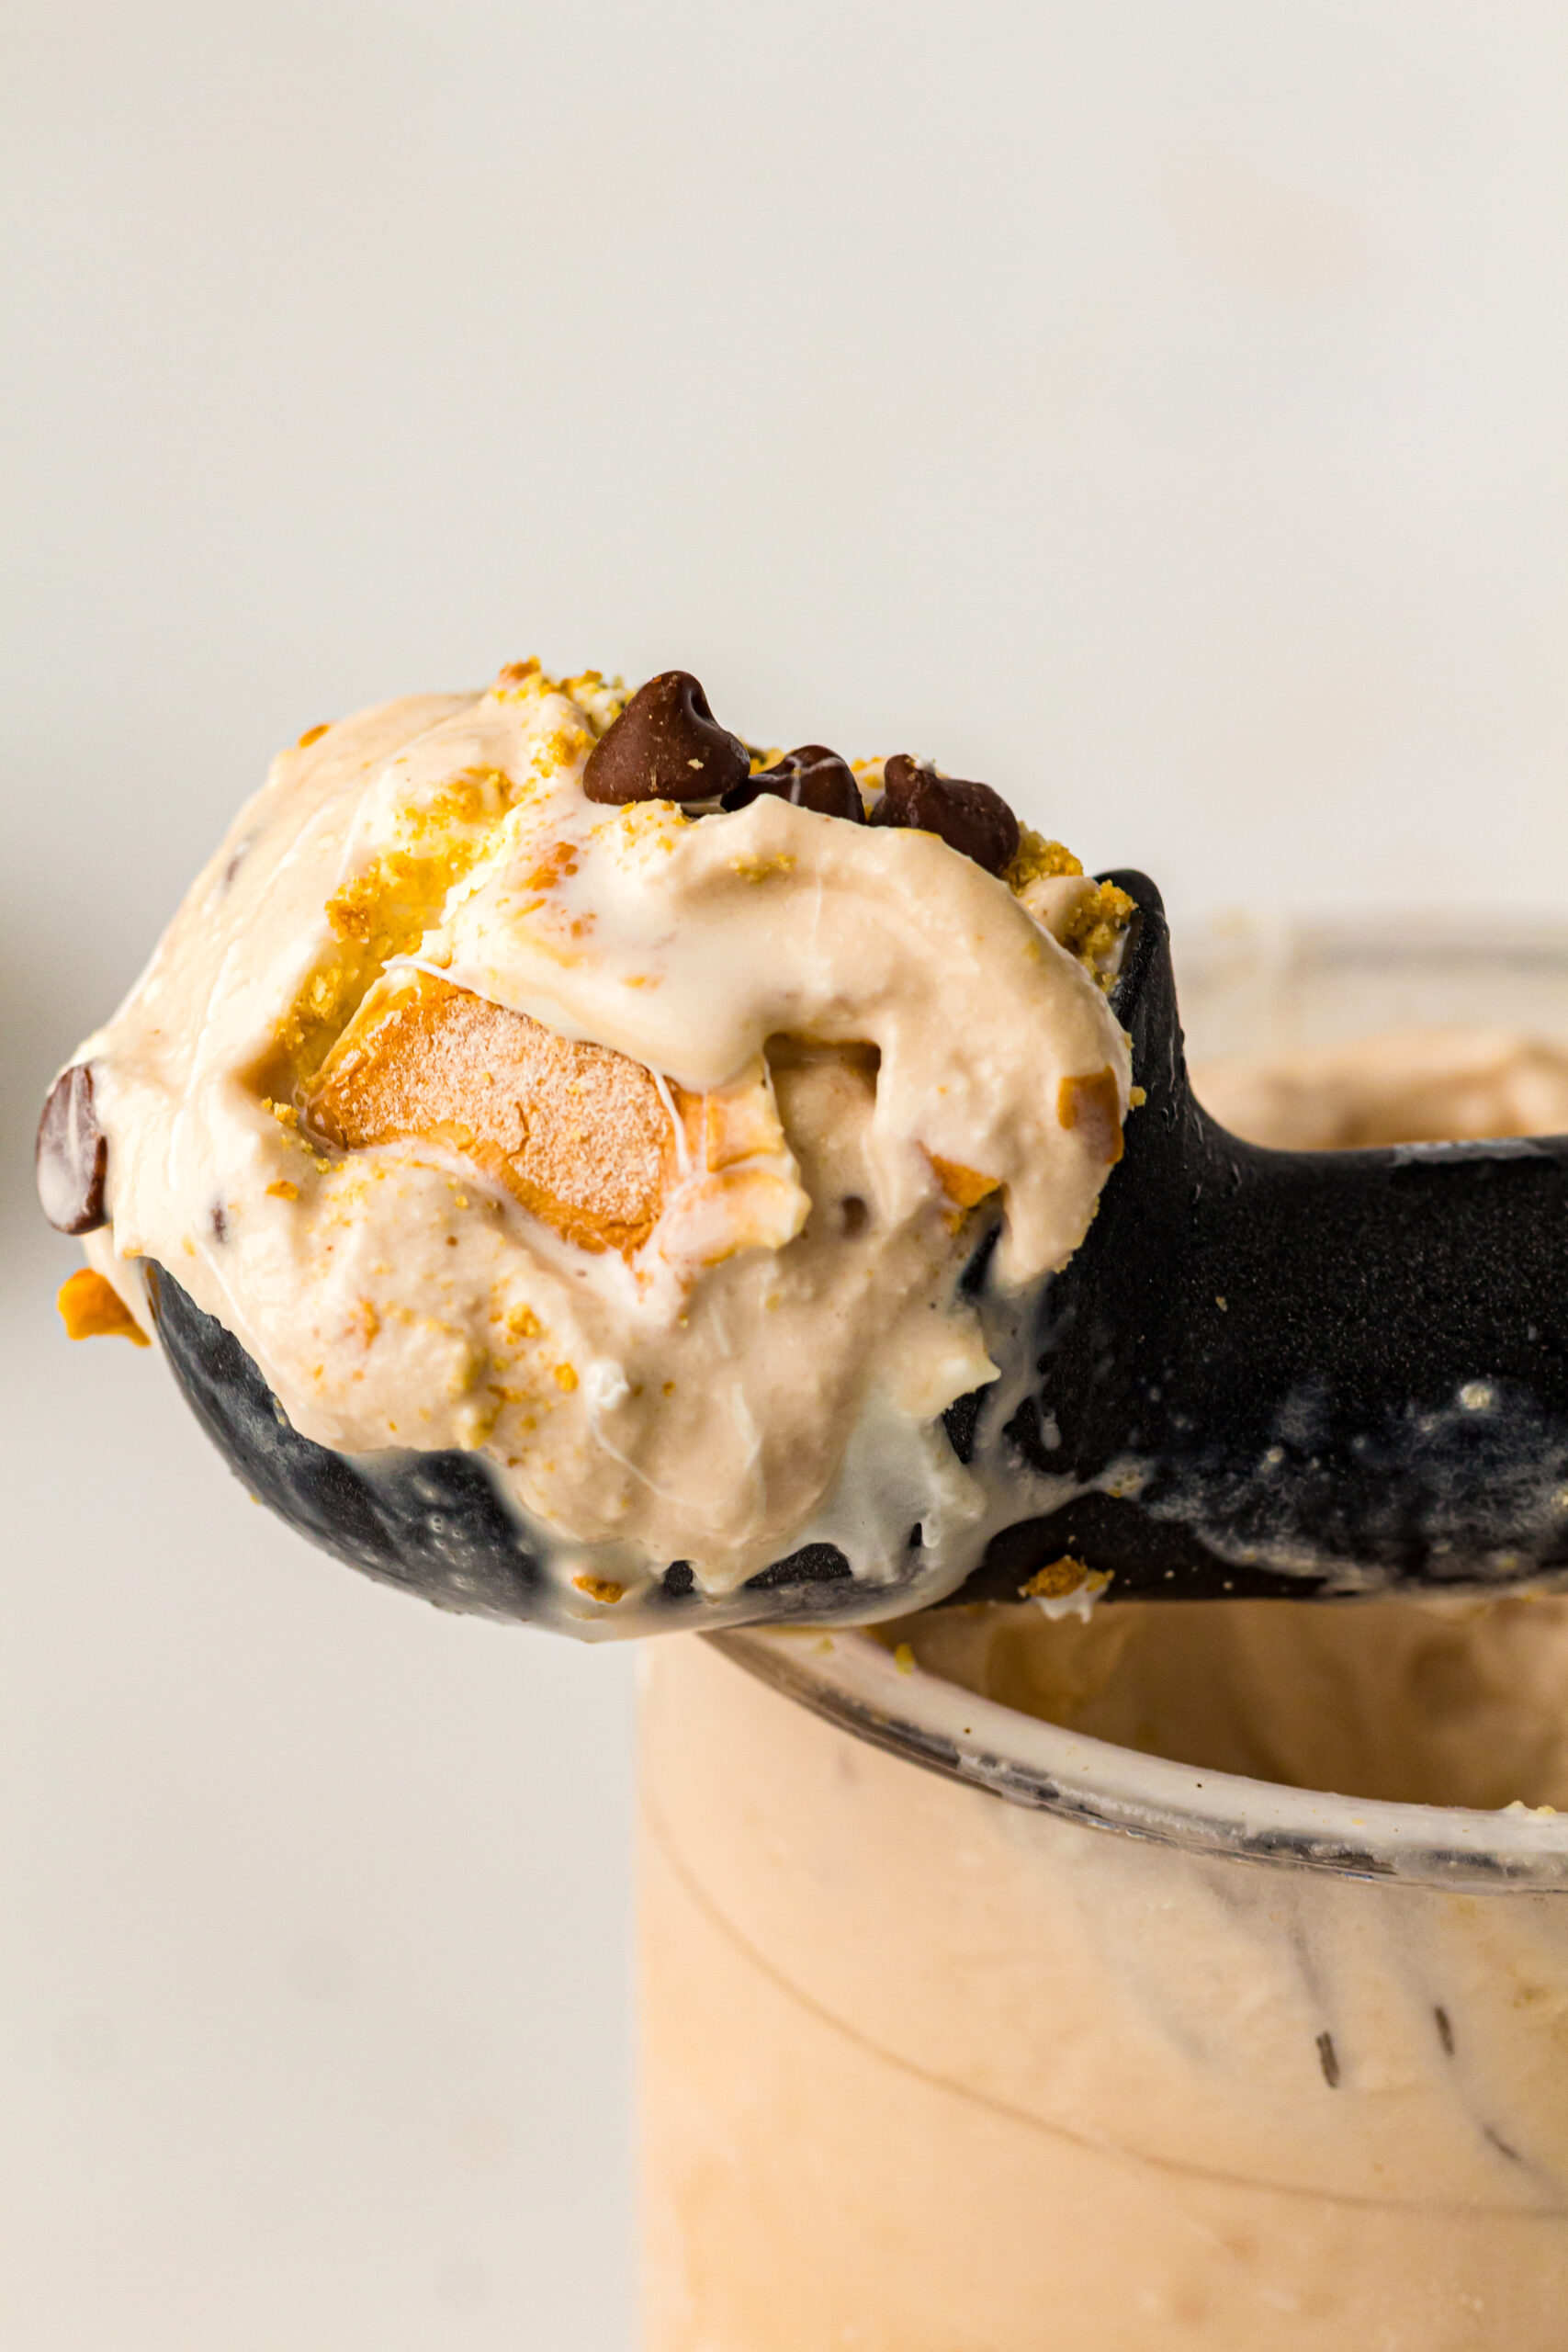
When the first spin finishes, take a spoon and create a small well or hole down the center of the ice cream reaching the bottom of the pint.
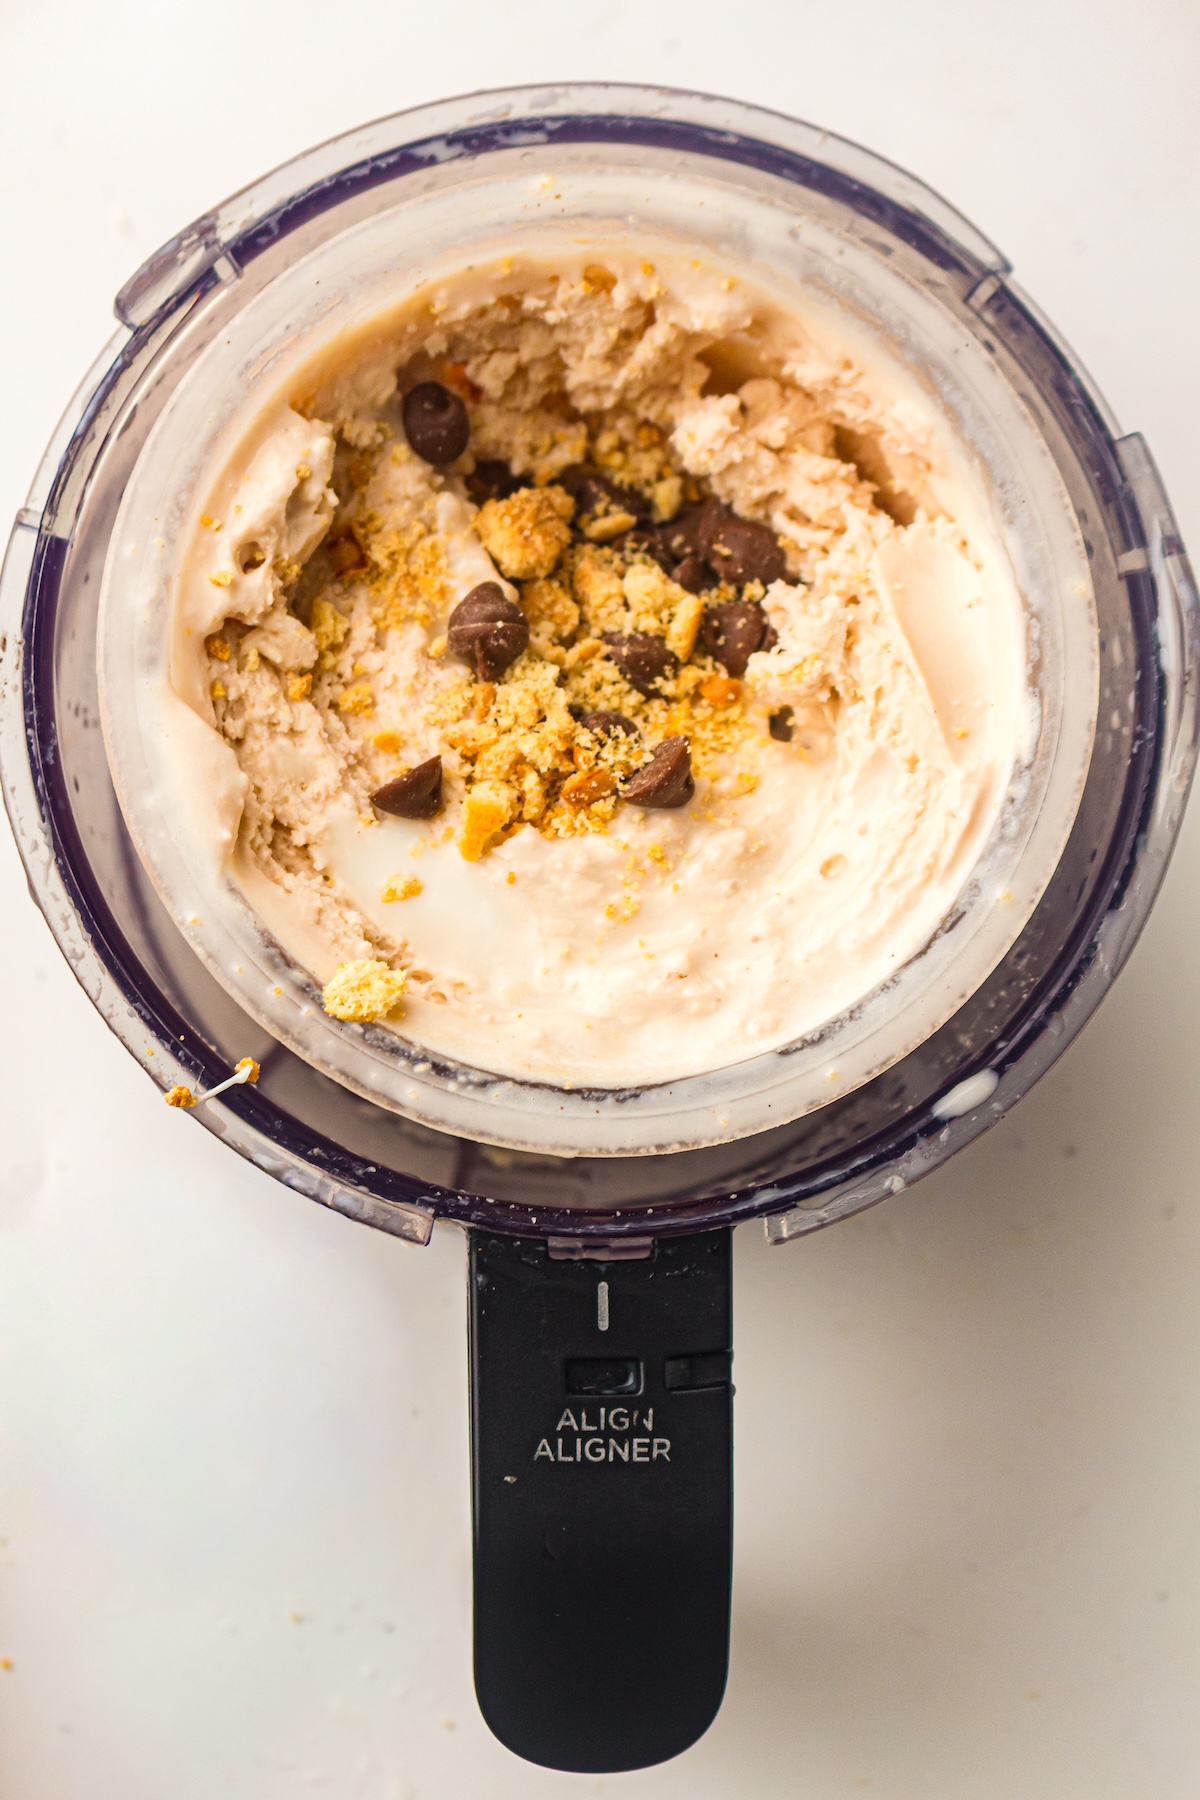
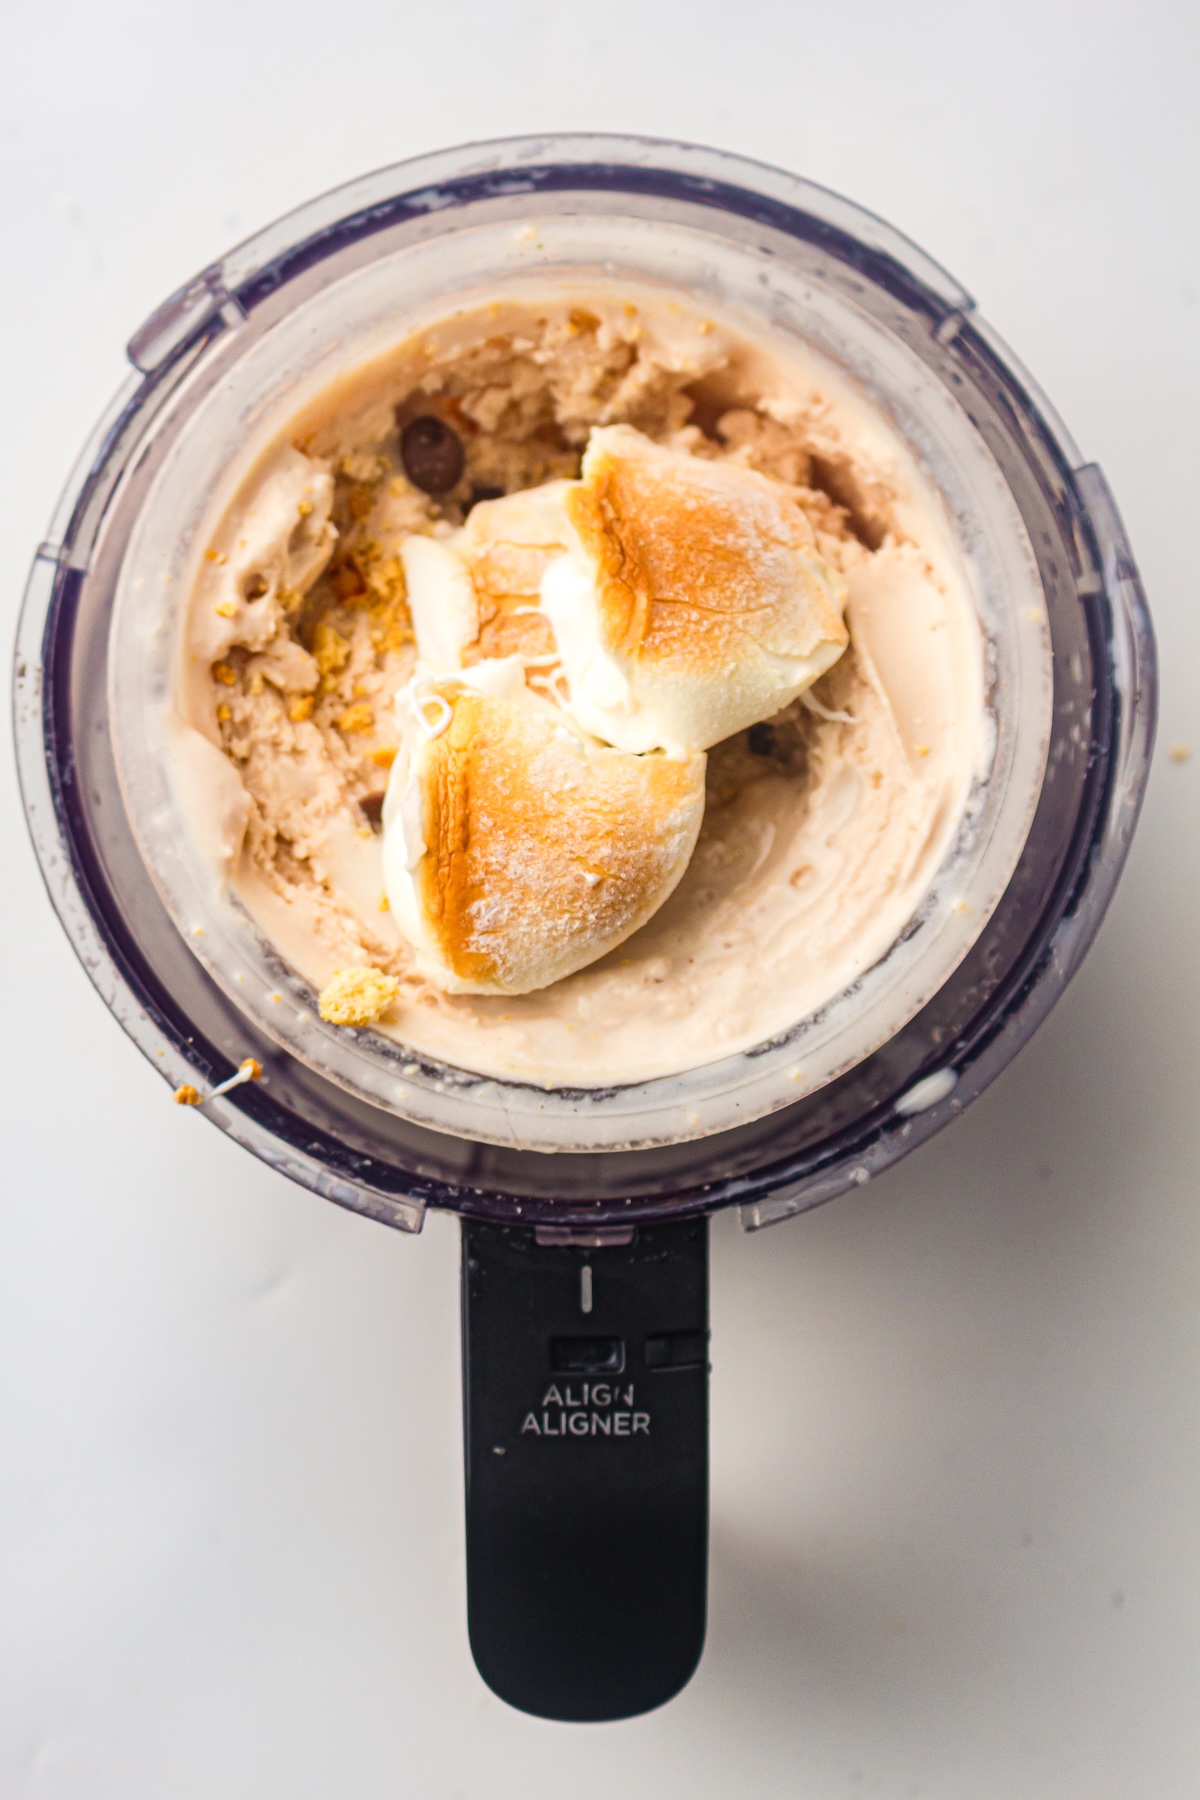
Drop in your toasted marshmallows, crushed graham crackers, chocolate chips, and 1–2 tablespoons of milk. The extra splash of milk helps the mix-ins distribute evenly without straining the machine.
6. The Mix-In Spin
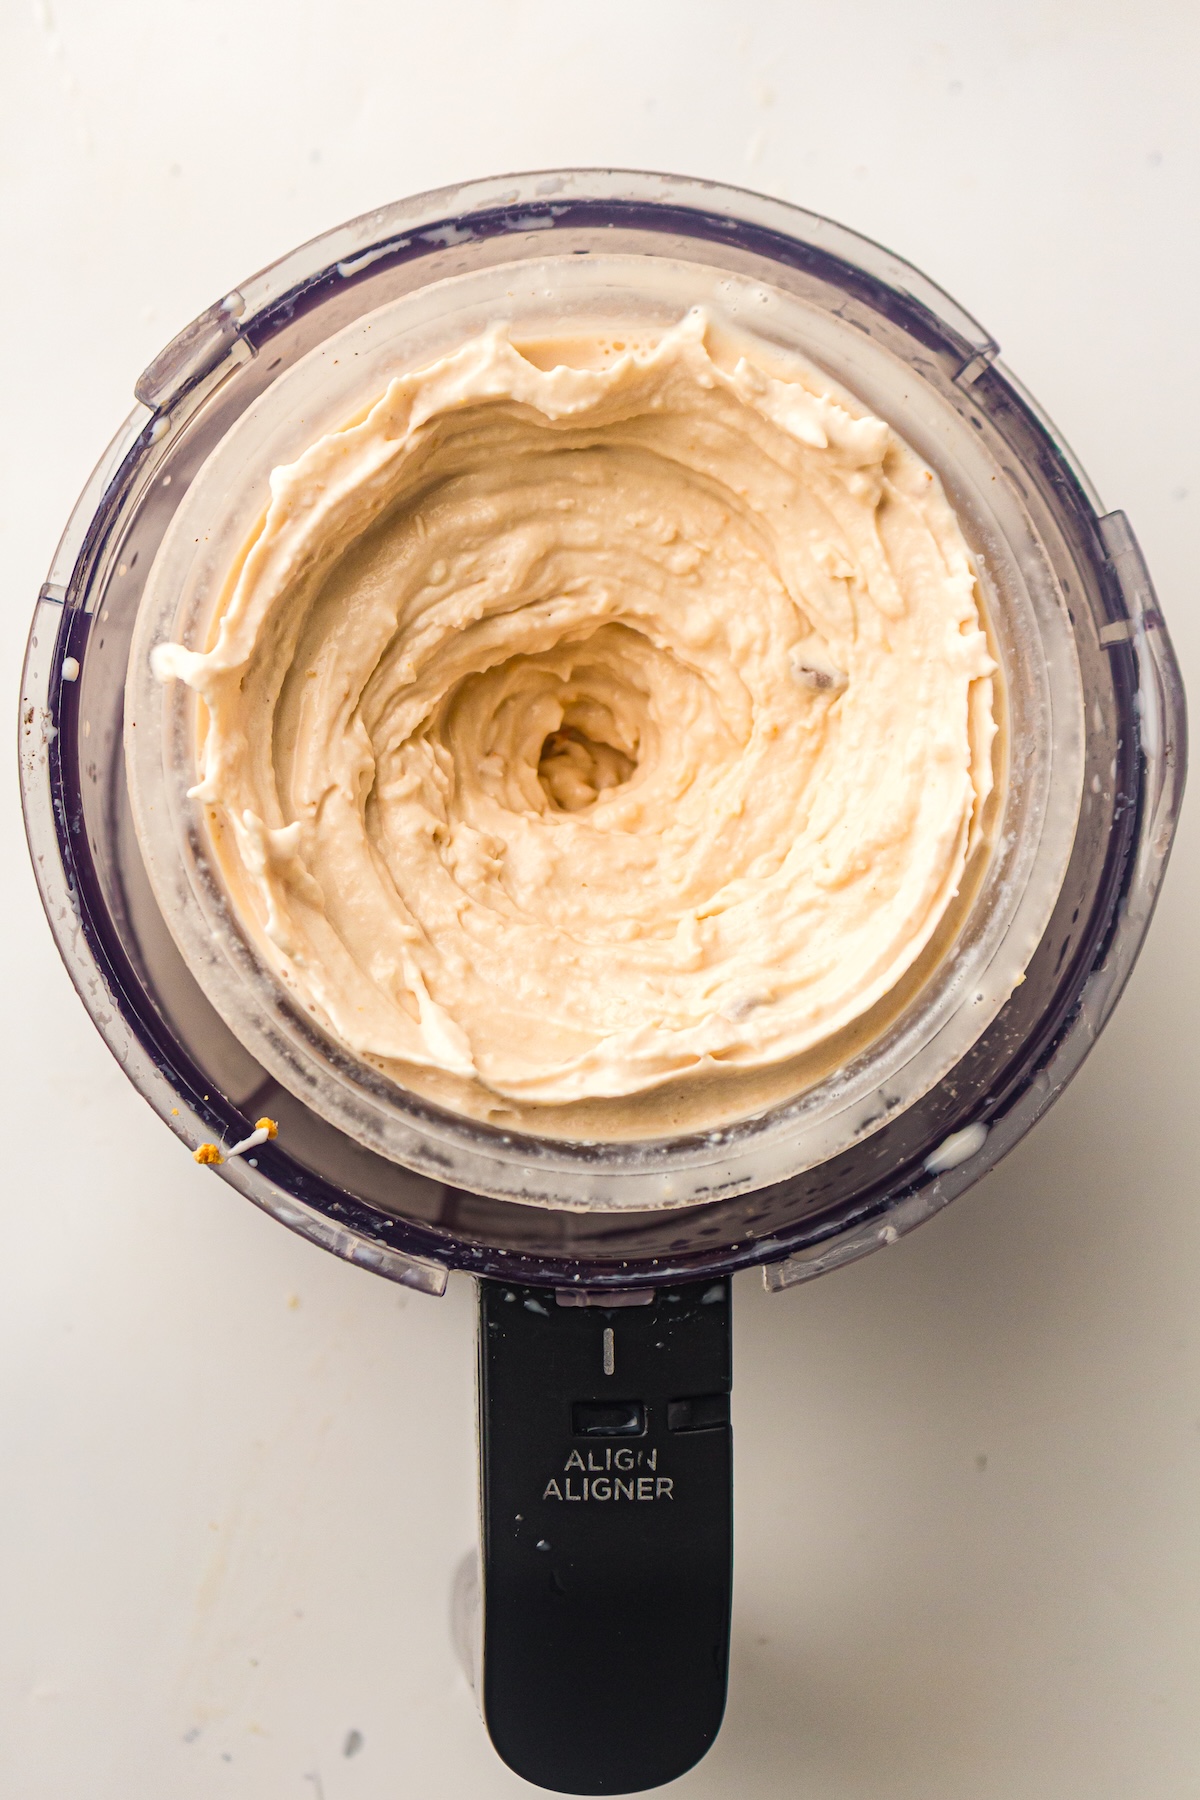
Place the pint back into the machine and select the Mix-In setting. This function is gentler than the main spin, designed to fold your goodies into the ice cream rather than pulverizing them into dust.
7. Serve and Enjoy
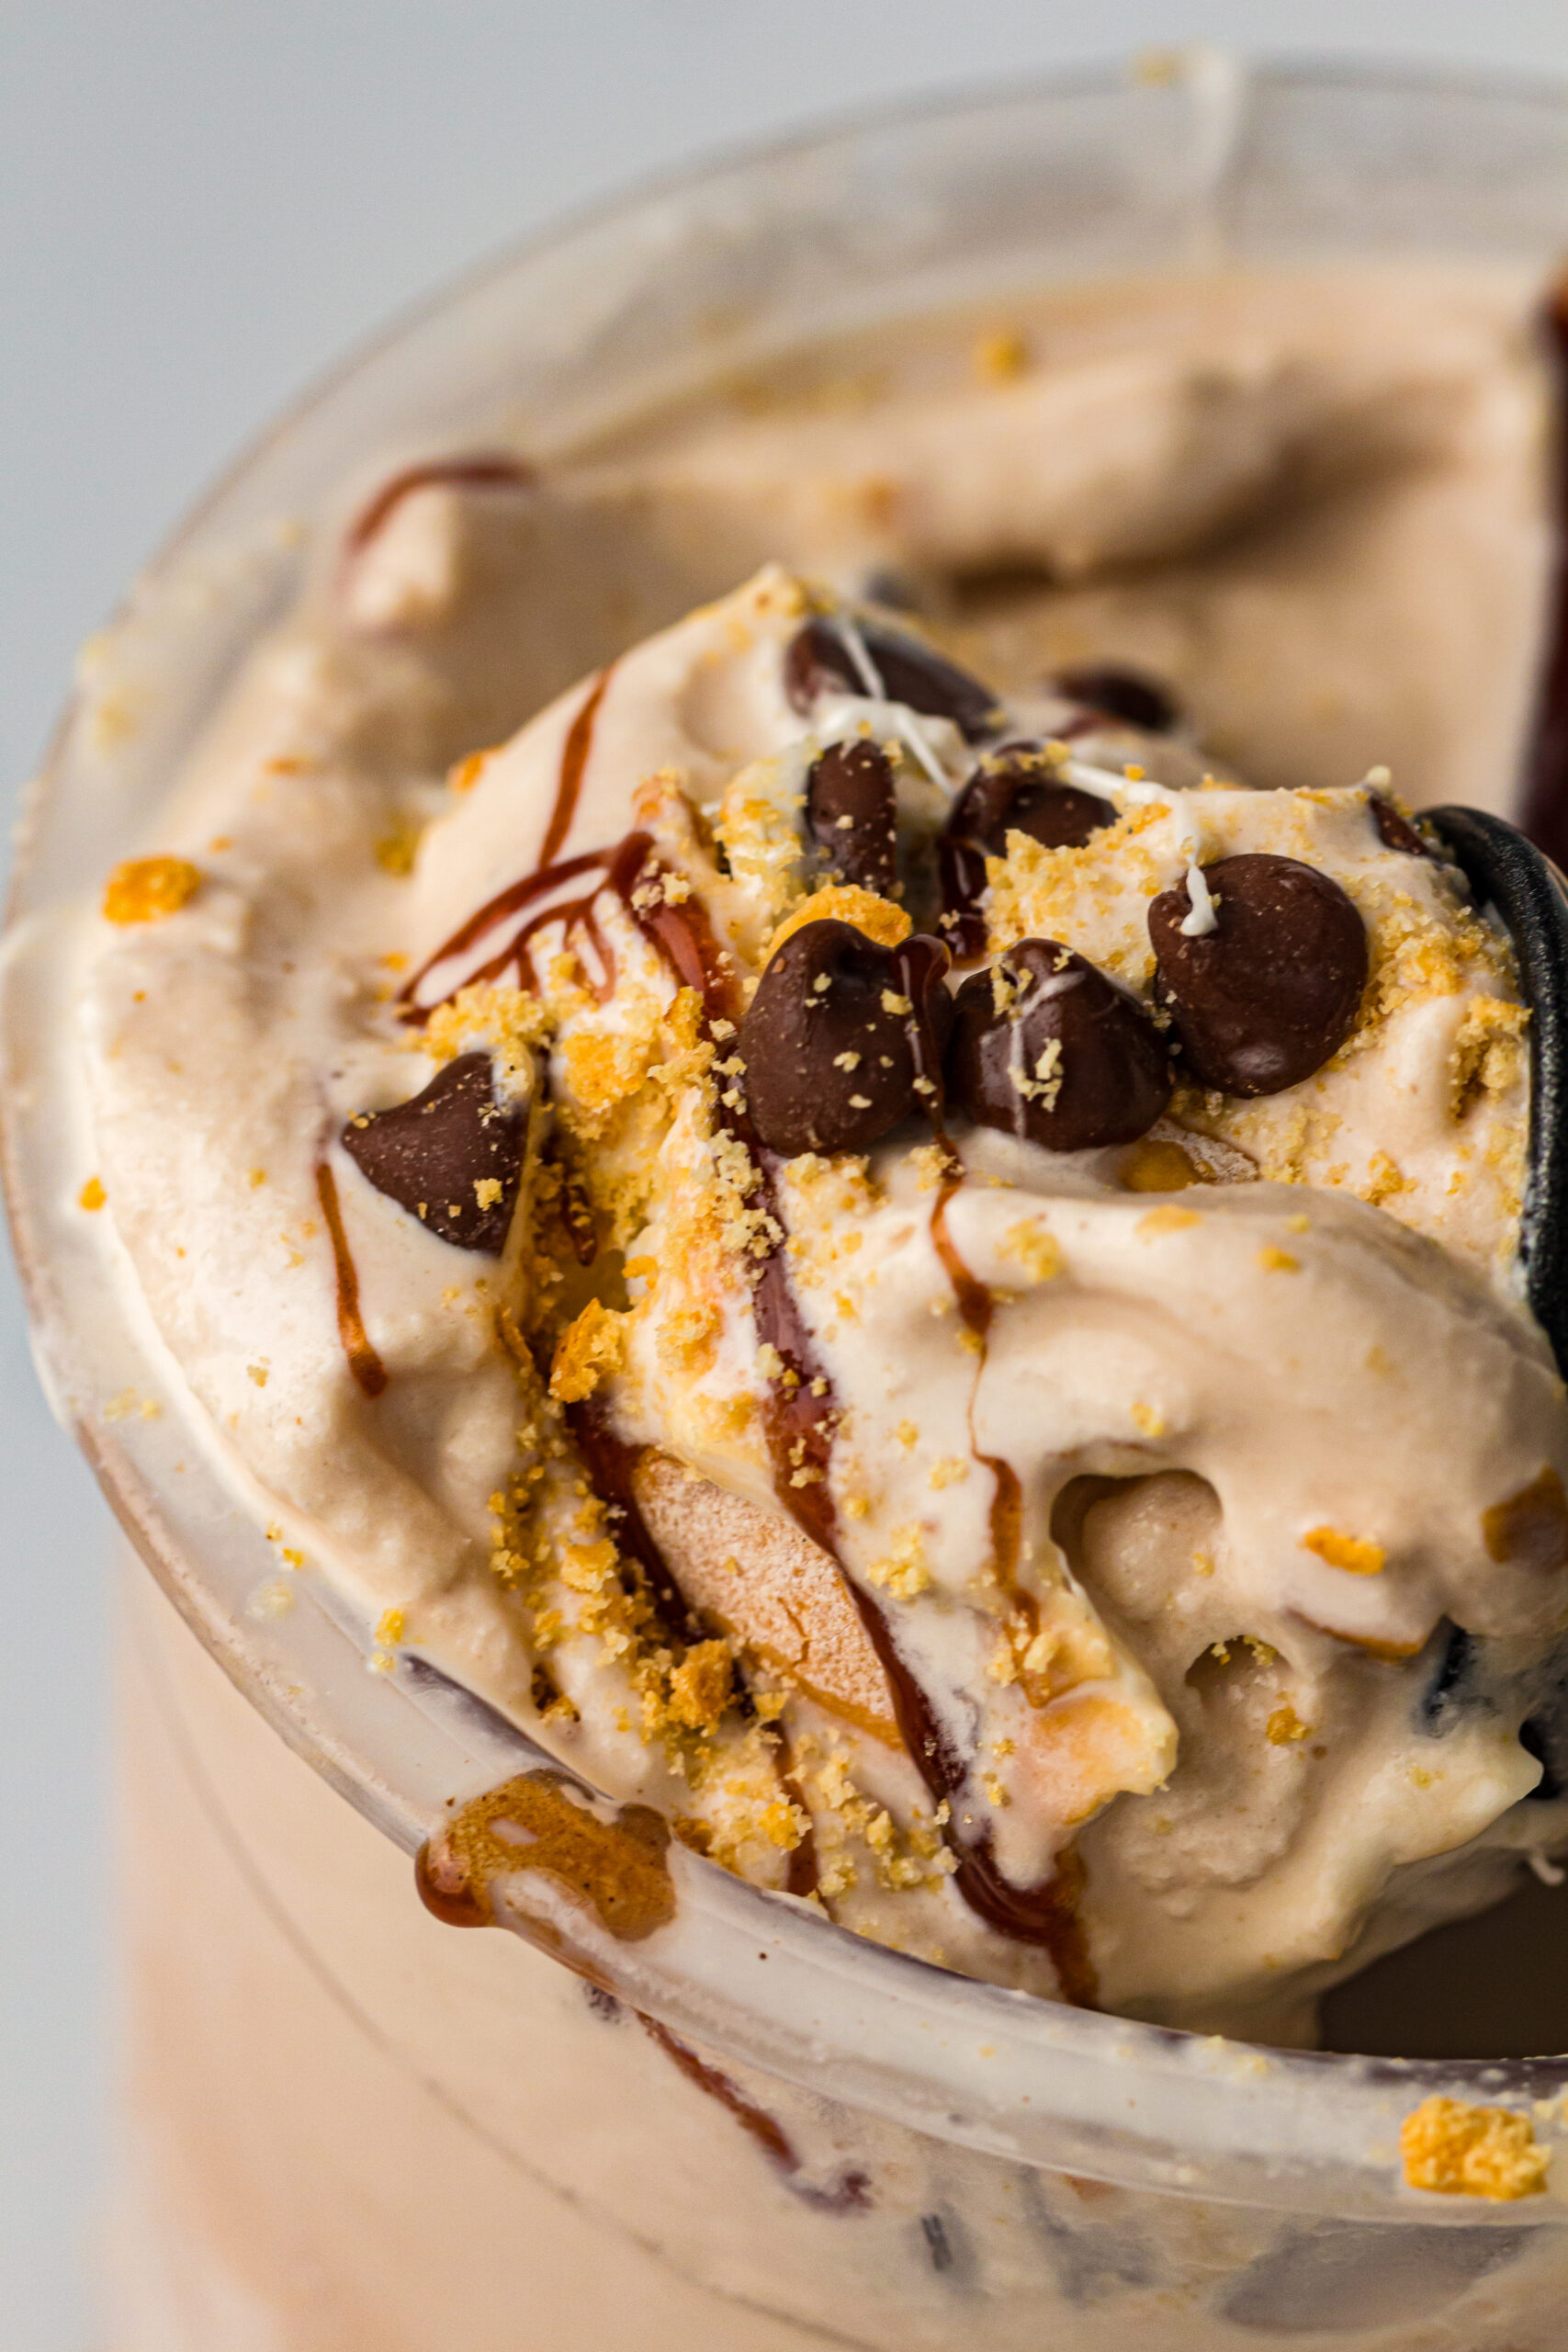
Once the cycle finishes, scoop immediately for a soft-serve consistency. If you prefer a firmer texture, pop the pint back in the freezer for 10-20 minutes before serving.
Serving Suggestions
Want to take your S’mores ice cream to the next level? Try these toppings:
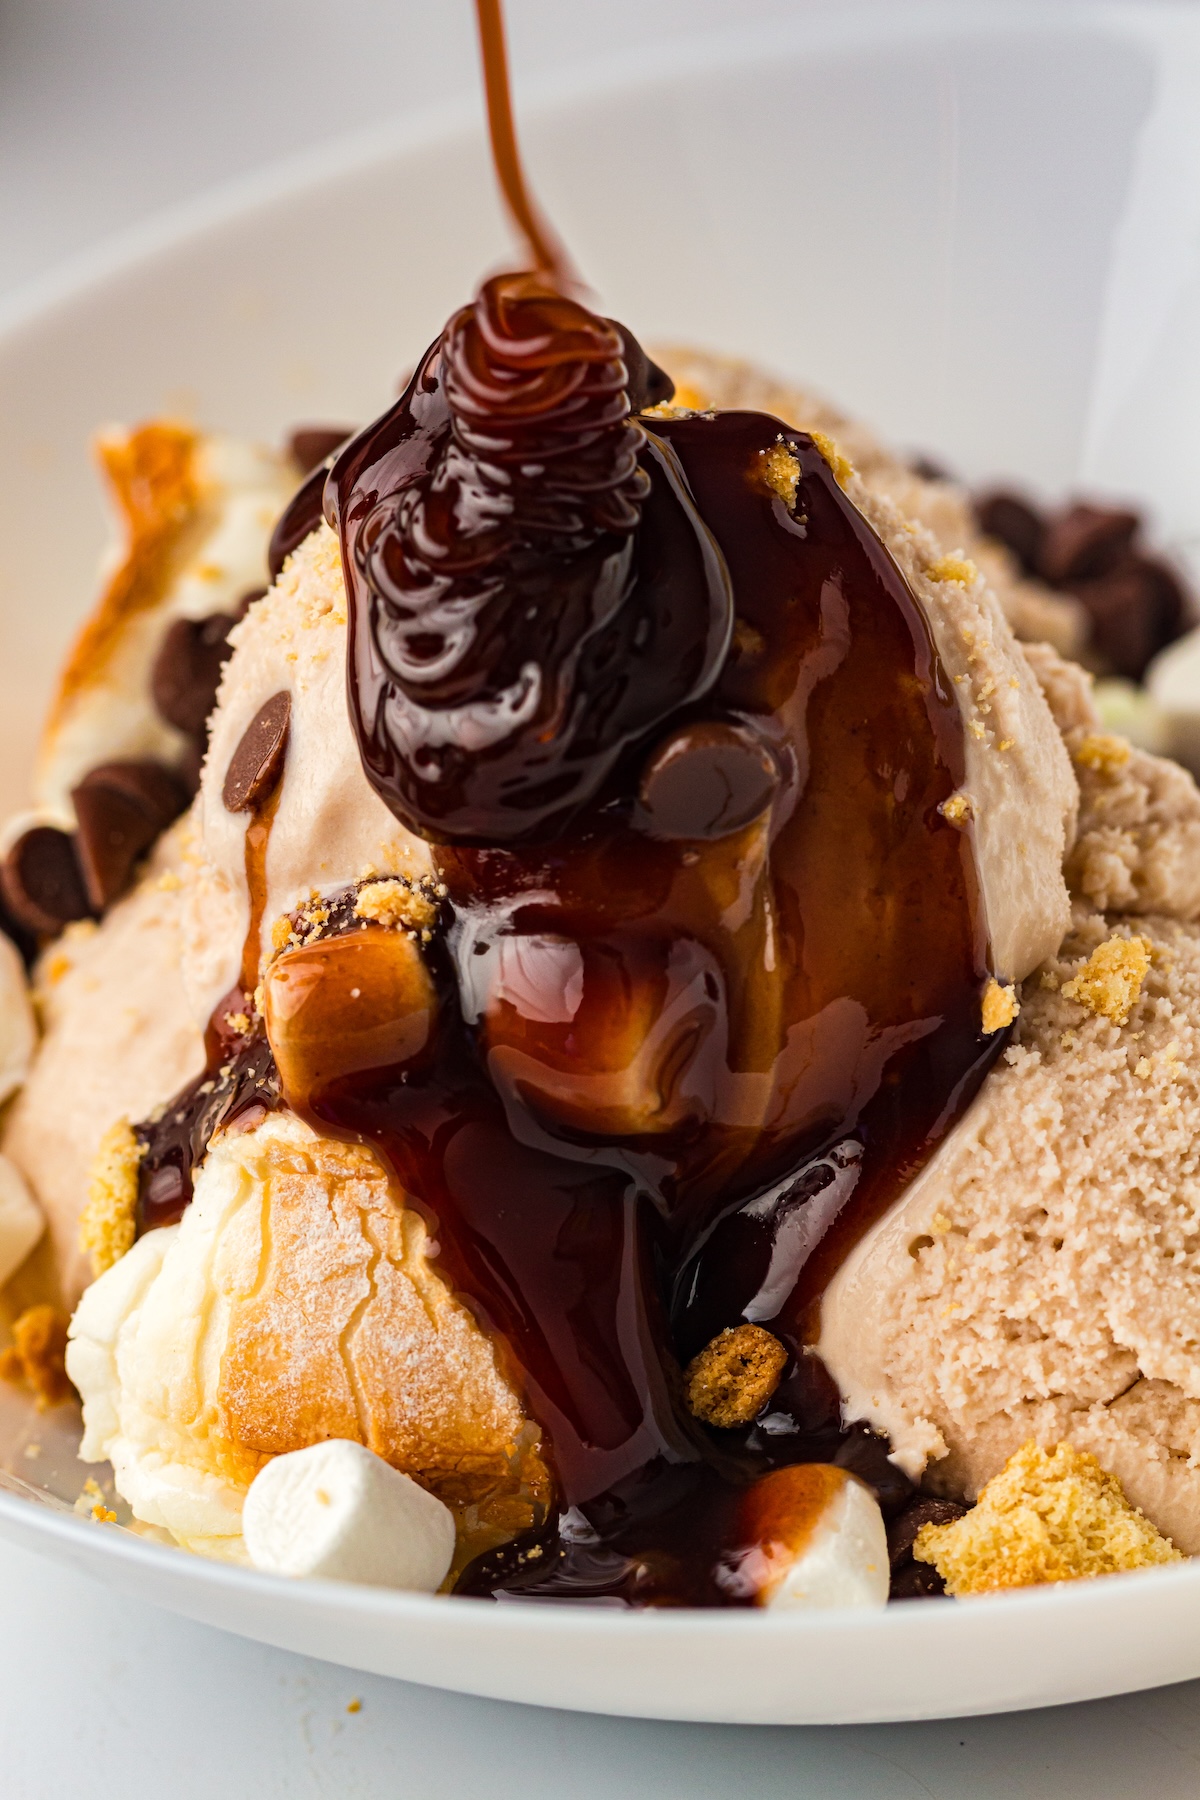
- Extra Chocolate: Drizzle warm chocolate syrup or fudge sauce over the top.
- More Crunch: Crumble an extra graham cracker over your bowl right before eating.
- The Cherry on Top (Literally or Figuratively): Top with one more freshly toasted marshmallow for presentation points.

Ninja Creami S’mores Ice Cream
Ingredients
- 1 cup whole milk
- ¾ cup heavy cream
- ⅓ cup confectioners’ sugar
- 2 tbsp unsweetened cocoa powder
- 1 tsp pure vanilla extract
- 2 graham crackers crushed
- 2 tbsp mini marshmallows or 2 large marshmallows
- 2 tbsp chocolate chips
Instructions
- In a jug or bowl, whisk together the whole milk, double cream, sugar, cocoa powder, and vanilla extract until smooth and the cocoa is fully dissolved.
- Pour the mixture into your Ninja Creami pint container, stopping just below the fill line.
- Freeze for 24 hours on a completely flat surface.
- Once fully frozen, remove the pint lid and place the container into the Ninja Creami. Process once on the Ice Cream setting.
- While it spins, toast the marshmallows: place them on a small tray and broil in the oven for 1–2 minutes, just until golden (watch closely so they don’t burn). Let cool slightly.
- When the first spin finishes, create a small well down the centre of the ice cream and add the toasted marshmallows, crushed graham crackers, chocolate chips, and 1–2 tablespoons of milk to help blend.
- Process again on the Mix-In setting until the s’mores pieces are fully incorporated.
- Serve immediately for a soft scoop or return to the freezer for a firmer texture.
Storage Tips
If you manage not to eat the whole pint in one sitting (a rare feat!), here is how to store it:
- Freezer Life: Store the leftover ice cream in the pint container with the lid on for up to 2 weeks.
- Re-serving: Homemade ice cream freezes harder than store-bought versions. If it feels like a solid brick, leave it on the counter for 5–10 minutes to soften before scooping.
Frequently Asked Questions (FAQs)
1. Do I have to toast the marshmallows?
No, you don’t have to, but we highly recommend it! Toasting the marshmallows is what gives this recipe that distinct “s’mores” profile rather than just “chocolate rocky road.” It adds a depth of flavor that mimics the campfire experience.
2. Can I replace marshmallows with marshmallow fluff?
Absolutely. If you want a swirl of marshmallow rather than chunks, add 1–2 spoonfuls of marshmallow fluff during the Mix-In stage. Just be aware it might blend in more than whole marshmallows would.
3. Can kids help with this recipe?
Yes! This is a great family activity. Kids can help whisk the base ingredients and crush the graham crackers. However, an adult should handle the broiling of the marshmallows and operating the oven.
4. Can I make this without cocoa?
Sure thing. If you prefer a vanilla base, simply omit the cocoa powder. You will end up with a vanilla-graham-marshmallow treat that tastes a bit more like the marshmallow itself is the star.
5. How do I keep the biscuits crunchy?
The key is timing. Add the crushed graham crackers right before the Mix-In cycle. If you add them during the initial freeze or let them sit in the mixture too long before eating, they will absorb moisture and become soft.
For more Ninja Creami ideas, check out these ice cream recipes: