Feeling drained after a tough workout or on a sweltering summer day? That familiar feeling of fatigue and thirst is your body signaling it needs more than just water. It needs electrolytes. While many people reach for colorful sports drinks, you can easily create a healthier, more effective, and tastier alternative right in your own kitchen. This guide will show you how to make a simple homemade electrolyte drink.
Why Do Electrolytes Matter for Hydration?
Before we dive into the recipe, let’s understand what electrolytes are and why they are so crucial. Electrolytes are essential minerals—like sodium, potassium, calcium, and magnesium—that carry an electric charge. They play a vital role in numerous bodily functions, including:
- Balancing your body’s fluid levels
- Regulating muscle contractions (including your heartbeat)
- Supporting nerve function
- Maintaining proper pH levels
When you sweat, whether from exercise or heat, you lose these vital minerals along with water. Simply drinking more water isn’t enough to replenish them. Without a proper balance of electrolytes, you might experience symptoms like dizziness, fatigue, muscle cramps, and headaches. Replenishing them is key to true hydration and peak performance.

The Problem with Store-Bought Sports Drinks
The convenience of store-bought electrolyte drinks is undeniable, but it often comes at a cost. Many popular brands are packed with high-fructose corn syrup, artificial colors, and synthetic flavors. In essence, they can be more like a sugary soda than a health-conscious hydration solution.
By making your own electrolyte drink, you have complete control over the ingredients. You can skip the artificial additives and refined sugars, tailoring the drink to your specific dietary needs and flavor preferences. It’s a cleaner, more natural way to rehydrate.
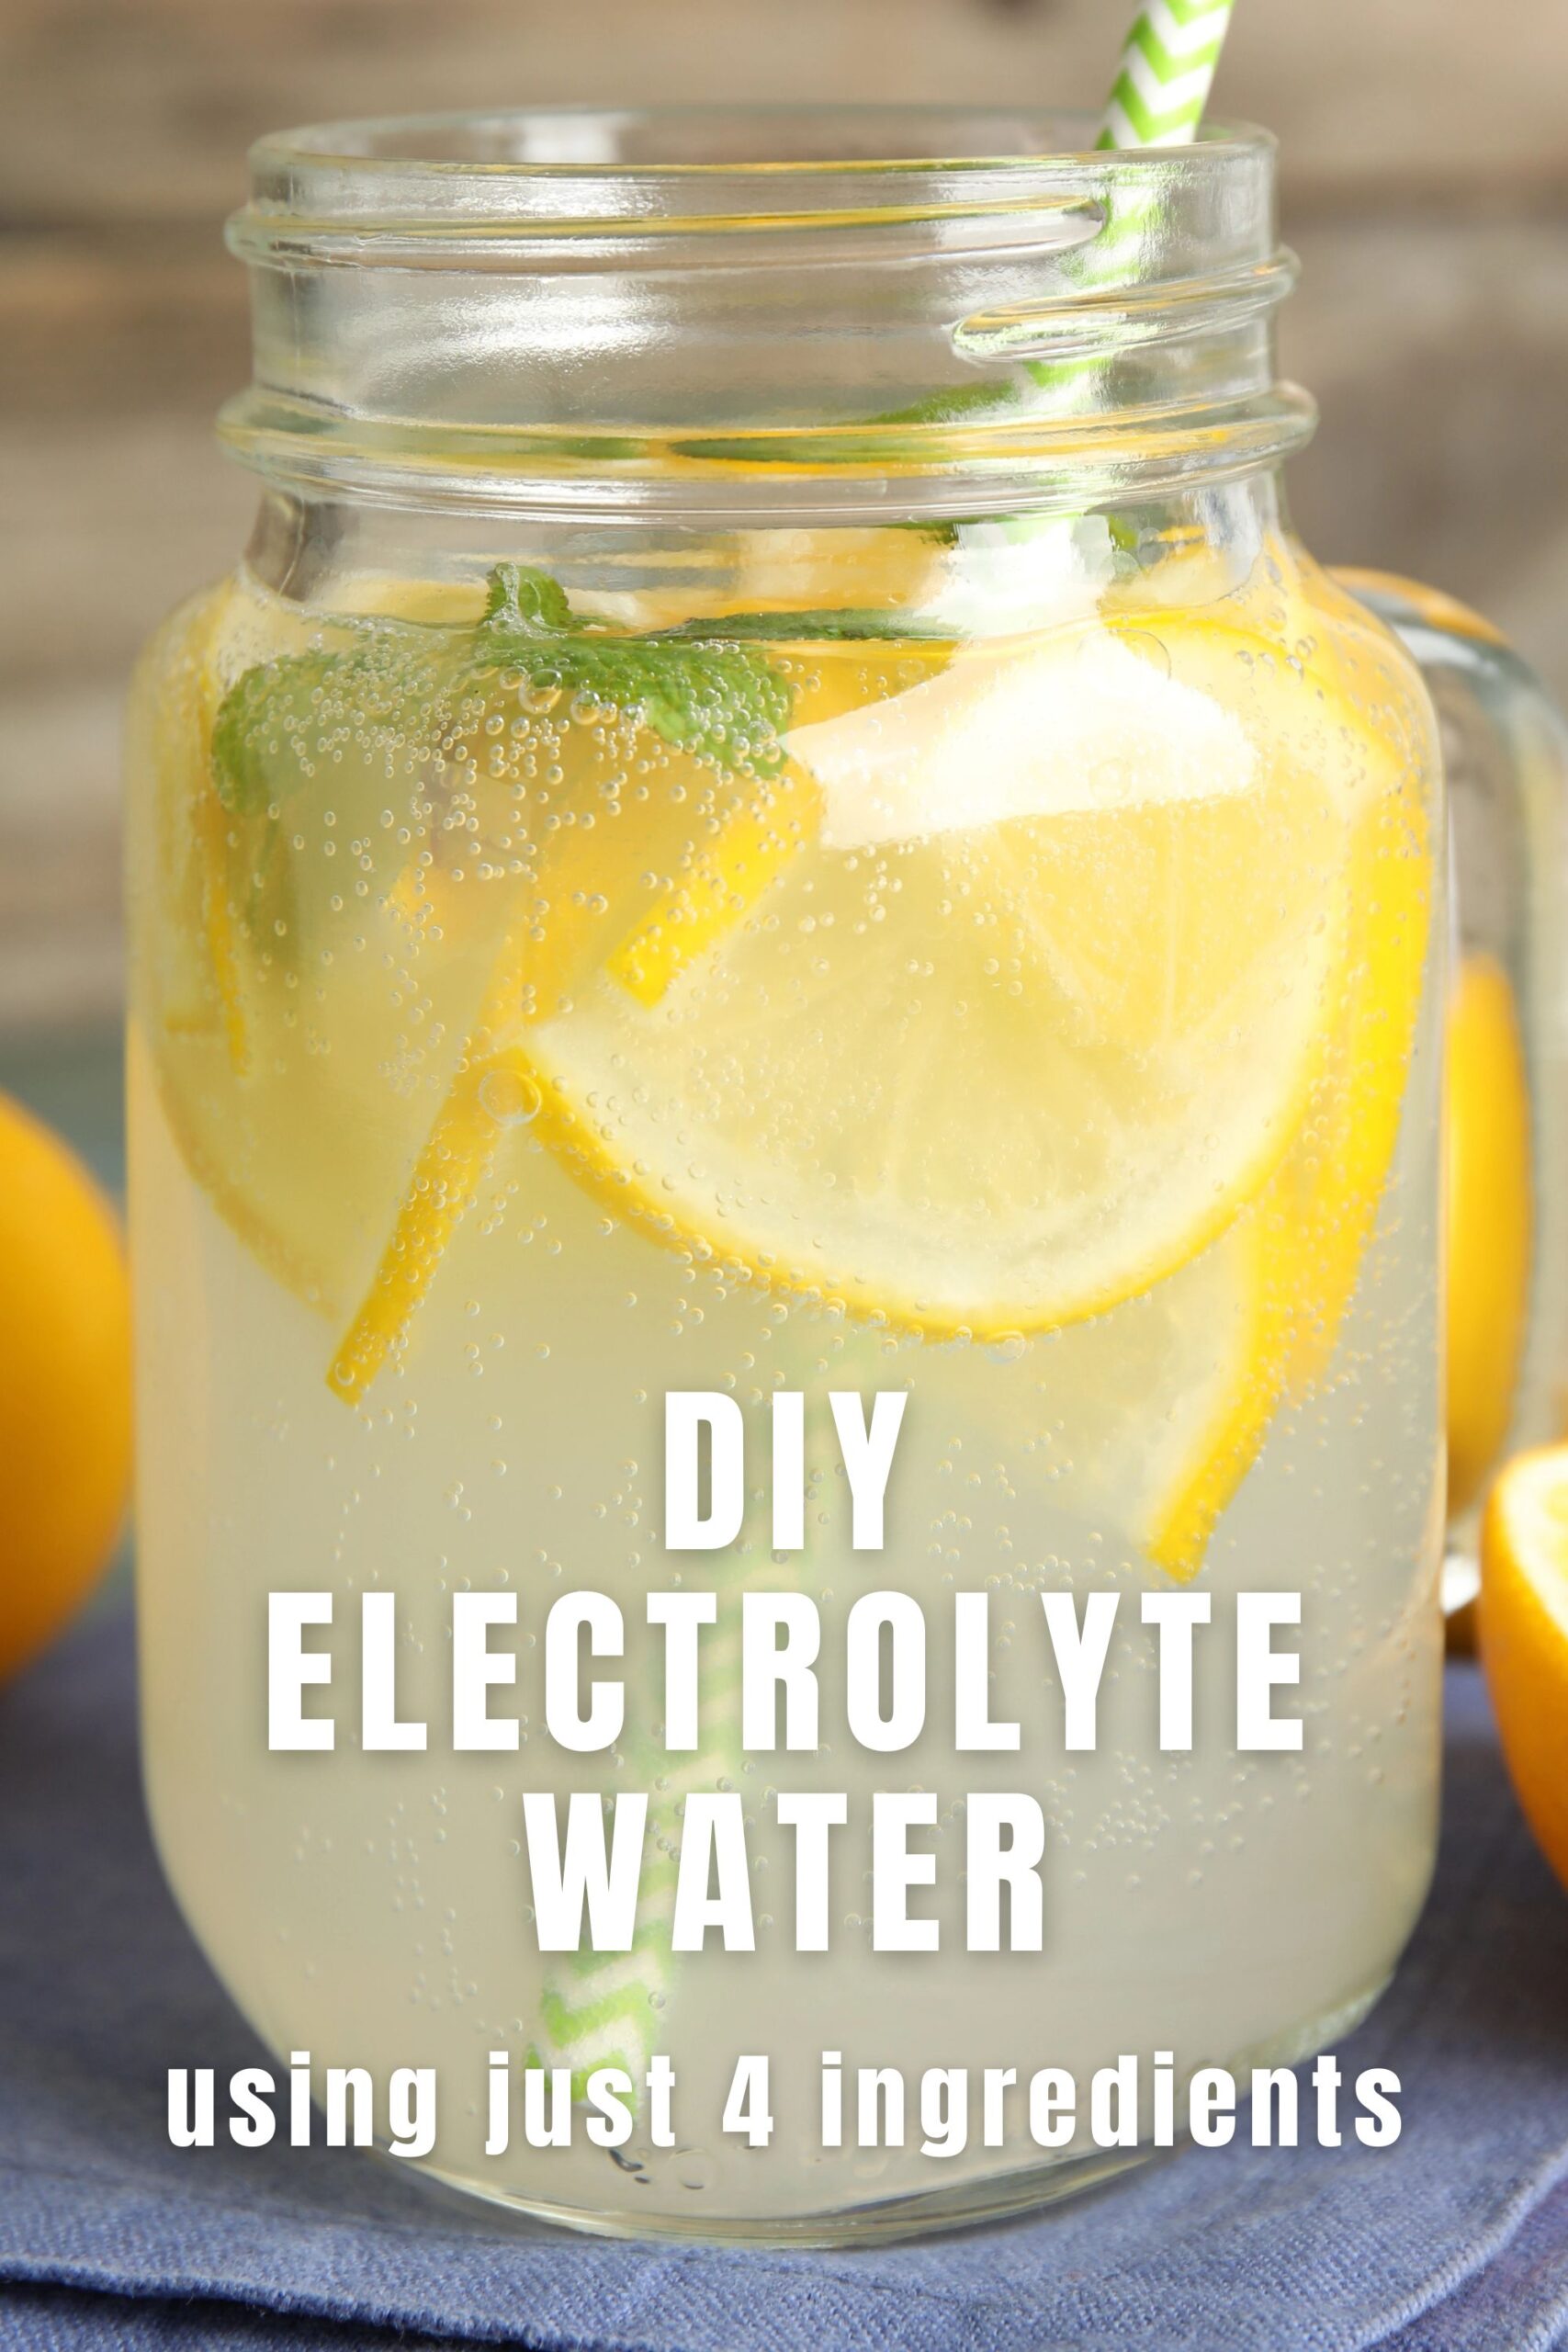
Simple Homemade Electrolyte Drink Recipe
This base recipe is all you need to get started. It’s a simple formula that effectively replenishes lost electrolytes using natural, wholesome ingredients.
Ingredients:
- 2 cups of water (or a mix of 1 cup water and 1 cup unsweetened coconut water)
- 1/2 cup of fresh juice (lemon or lime work great)
- 1-2 tablespoons of a natural sweetener (like honey or maple syrup)
- 1/4 teaspoon of pink Himalayan salt or high-quality sea salt
Instructions:
- Gather all your ingredients. For the best flavor and nutrient profile, use fresh-squeezed juice.
- Combine the water, juice, sweetener, and salt in a mason jar or a bottle with a secure lid.
- Shake vigorously until the salt and sweetener are completely dissolved.
- Taste and adjust if needed. You might prefer it a little sweeter or saltier depending on your needs and preference.
- Serve chilled or over ice for a refreshing boost.
Why these ingredients?
- Coconut Water: Often called “nature’s sports drink,” it’s rich in potassium.
- Lemon/Lime Juice: Provides a refreshing taste and a dose of vitamin C and other minerals.
- Honey/Maple Syrup: Offers natural sugars (glucose) that help your body absorb the electrolytes more efficiently.
- Pink Himalayan Salt: Delivers sodium and trace minerals essential for fluid balance.
Delicious Recipe Variations
Once you master the basic recipe, feel free to get creative with different flavors. Here are a couple of ideas to try.
Cherry Lime Refresher
This version is perfect for those who love a tart and slightly sweet flavor profile.
- 1 cup of unsweetened coconut water
- 1 cup of water
- 1/2 cup of unsweetened cherry juice
- Juice of one lime
- 1 tablespoon of honey
- 1/4 teaspoon of pink Himalayan salt
Cool Cucumber Mint Hydration
This combination is light, refreshing, and perfect for hot days or post-workout recovery.
- 2 cups of water
- 1/2 cucumber, thinly sliced
- A handful of fresh mint leaves
- Juice of half a lemon
- 1/4 teaspoon of pink Himalayan salt
Mix all the ingredients together in a pitcher and chill for at least 30 minutes to allow the flavors to infuse. Serve over ice for an extra cooling effect!
Tips for Storage and Use
Making your own electrolyte drink is simple, and so is storing it. Pour your homemade drink into a sealed container, like a glass pitcher or mason jars, and keep it in the refrigerator. Because it doesn’t contain any preservatives, it’s best to consume it within three to four days.
If you know you’ll have a strenuous day ahead, make a larger batch so you have it ready to go. It’s perfect for sipping after a gym session, during a long hike, or when you’re feeling under the weather and need to stay hydrated.
Take Control of Your Hydration
Making your own electrolyte drink is a simple yet powerful step toward better health. It’s an easy way to ensure you’re rehydrating effectively without the unwanted additives found in many commercial products. Give this simple recipe a try and feel the difference that natural, homemade hydration can make.