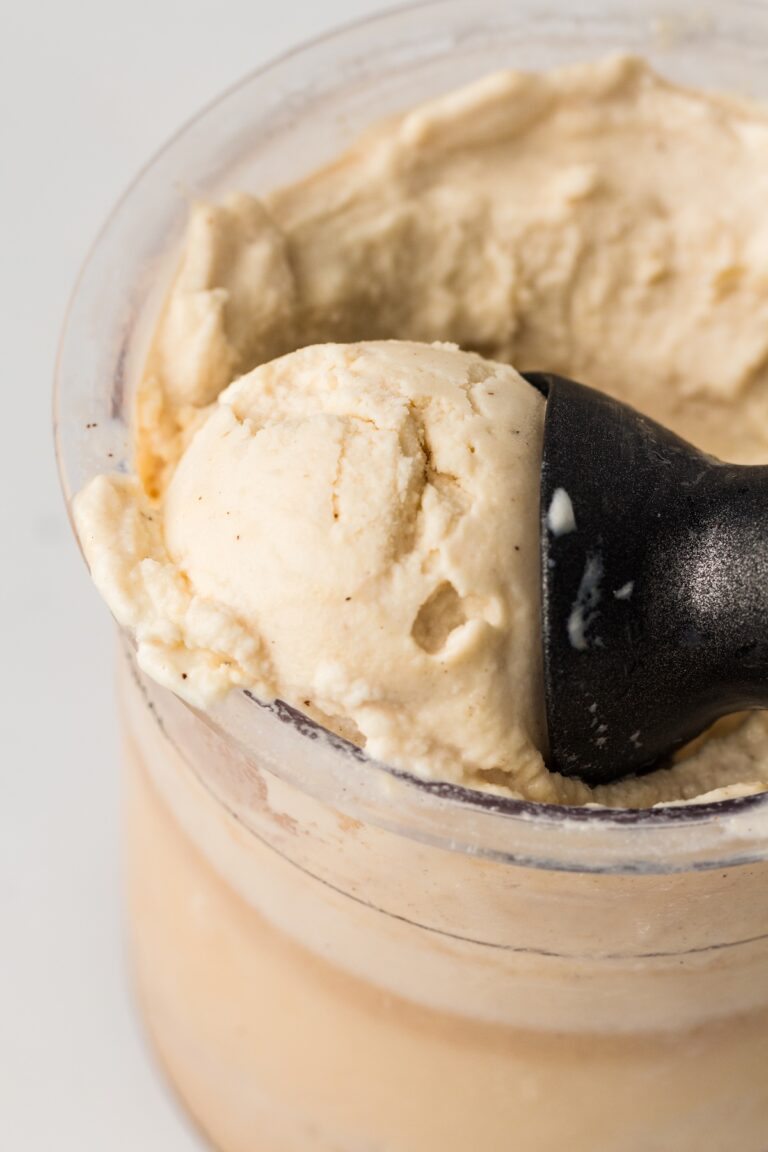
Ninja Creami Cookies and Cream Ice Cream
If you’ve ever dreamed of making your own perfectly creamy, cookie-packed ice cream at home, your moment has arrived. Forget those store-bought tubs that never seem to have enough cookie chunks. With a Ninja Creami and a few simple ingredients, you can create a Cookies and Cream ice cream that will have everyone reaching for a second scoop. This recipe is your new best friend for satisfying sweet cravings with minimal effort and maximum flavor.
We’re going to walk you through everything you need to know, from the basic ingredients to troubleshooting common issues. You’ll learn how to get that signature creamy texture and ensure every spoonful is loaded with delicious Oreo pieces. So, grab your pint container and let’s get churning!
Why Make Ice Cream with the Ninja Creami?

Unlike traditional ice cream makers that require a large, pre-frozen bowl and slow churning, the Creami works a little differently. It takes a solid frozen base and uses a powerful “Creamerizer” paddle to micro-shave the ice crystals, transforming them into an incredibly smooth and creamy dessert in minutes.
This process means you have more control over the ingredients, texture, and mix-ins. It’s the perfect tool for experimenting with flavors and creating customized treats that you just can’t find in stores.
Cookies and Cream Ice Cream Recipe
This recipe creates a rich, sweet cream base that serves as the perfect canvas for those crunchy, chocolatey cookie pieces. It’s simple, reliable, and absolutely delicious.
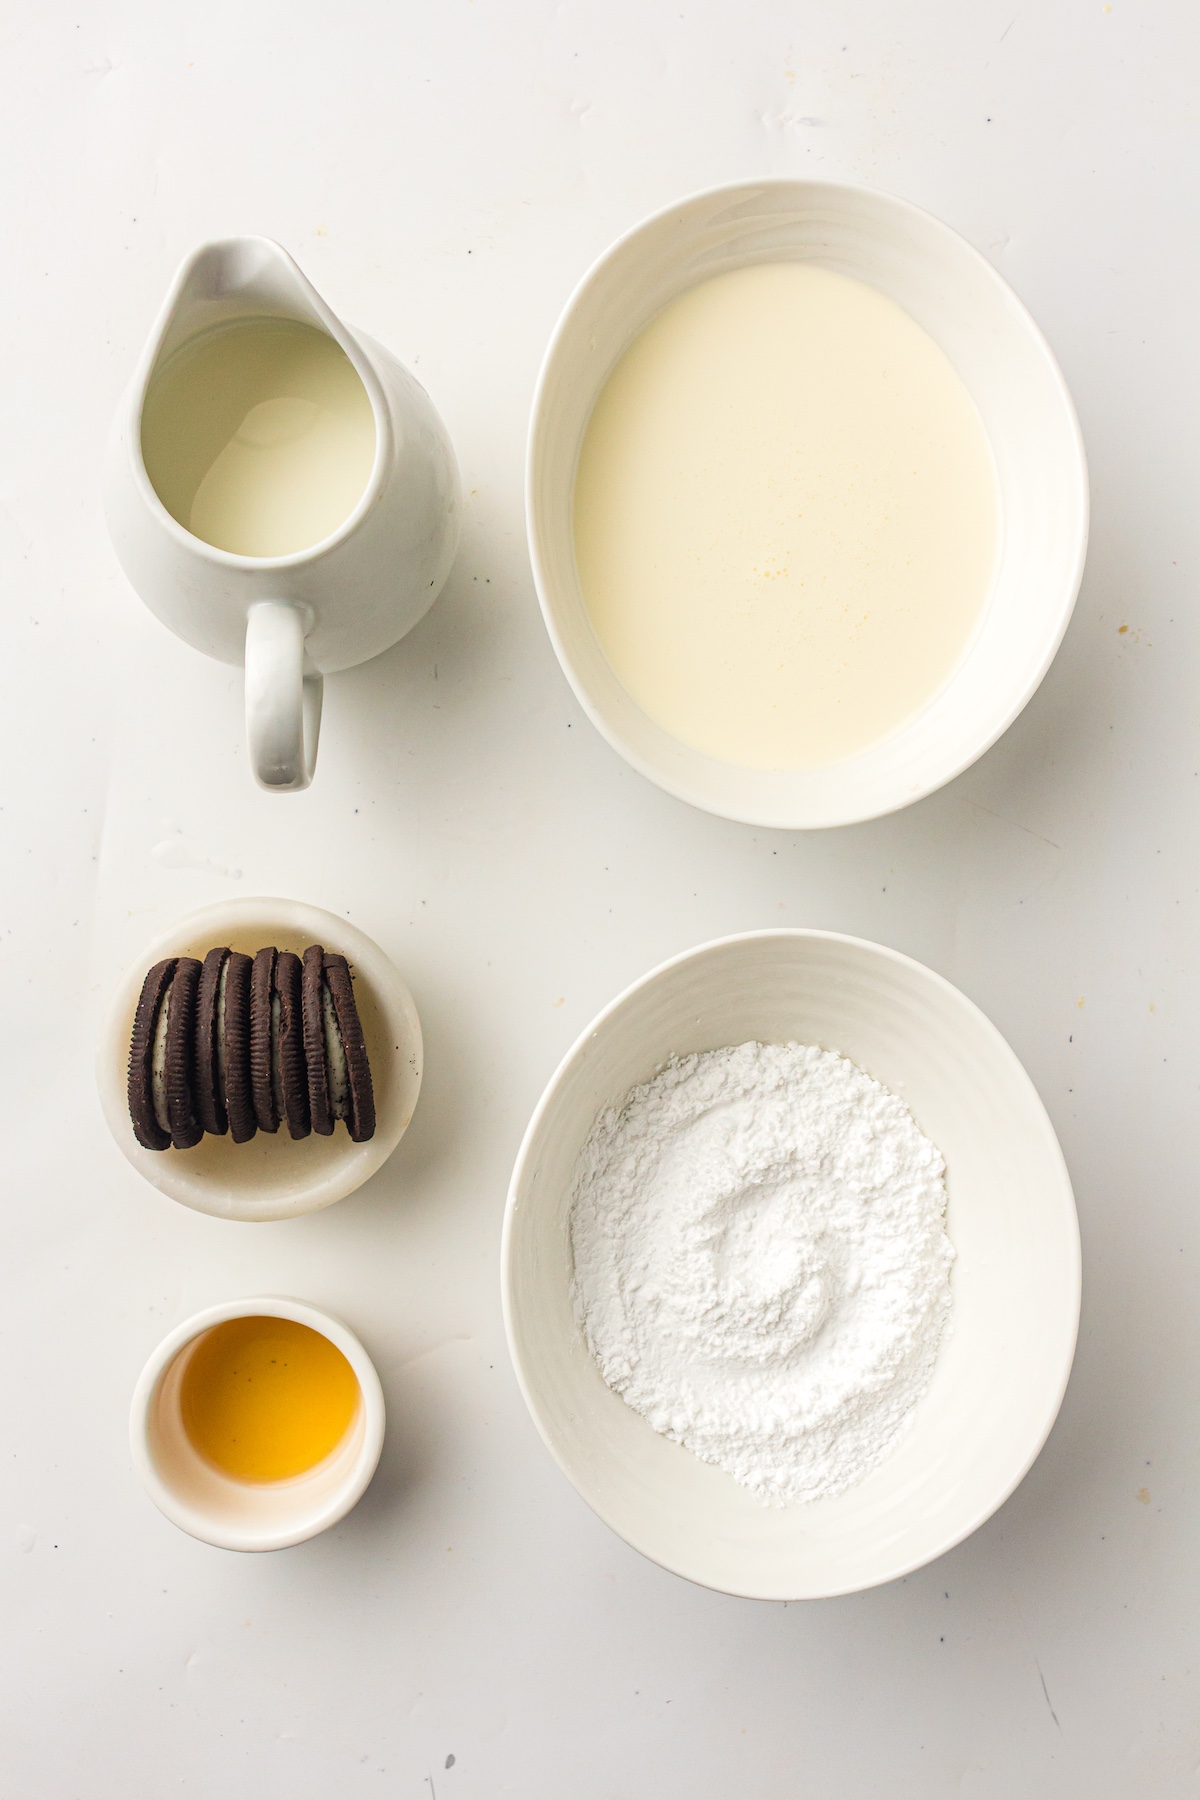
- 1 cup (240 ml) whole milk
- ¾ cup (180 ml) double cream (heavy cream)
- ⅓ cup (70 g) confectioners’ sugar
- 1 tsp pure vanilla extract
- 6 Oreo cookies, roughly crushed
Instructions
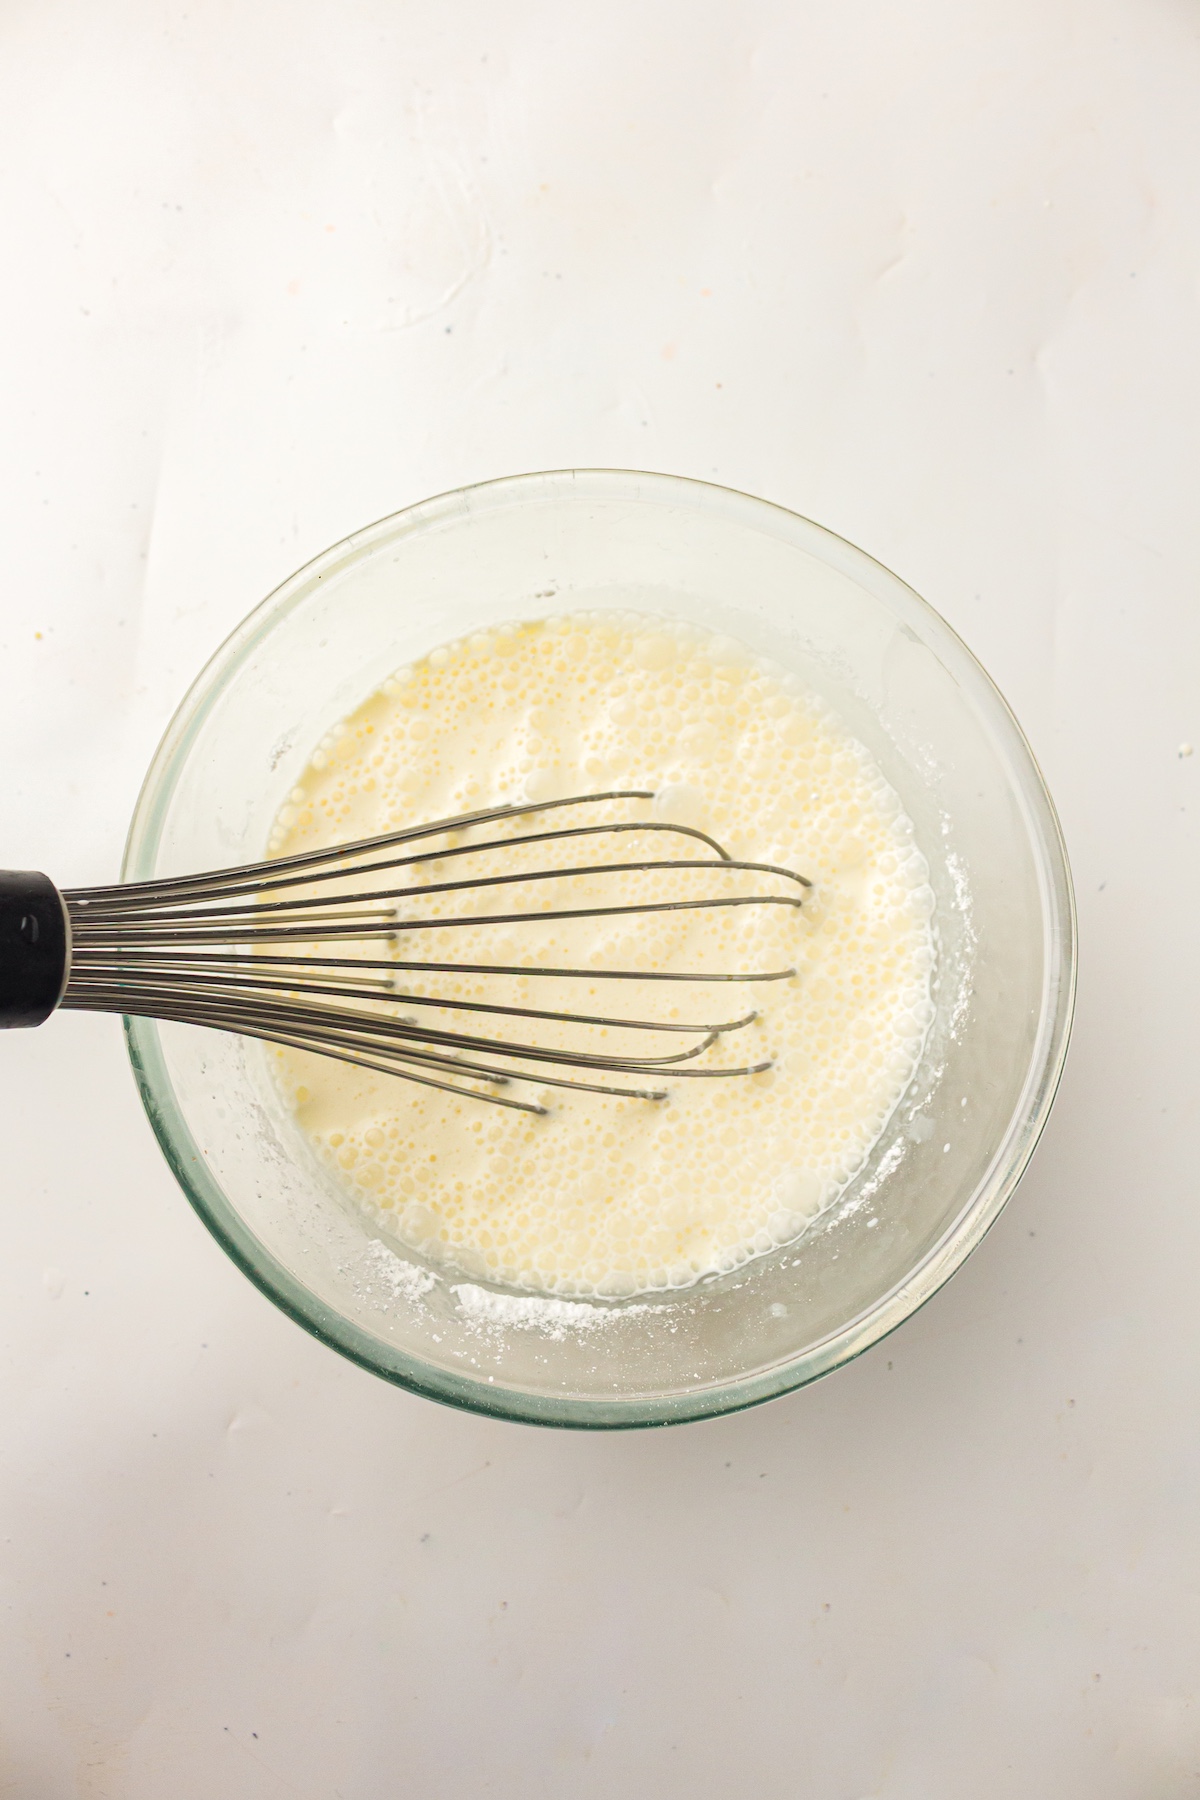
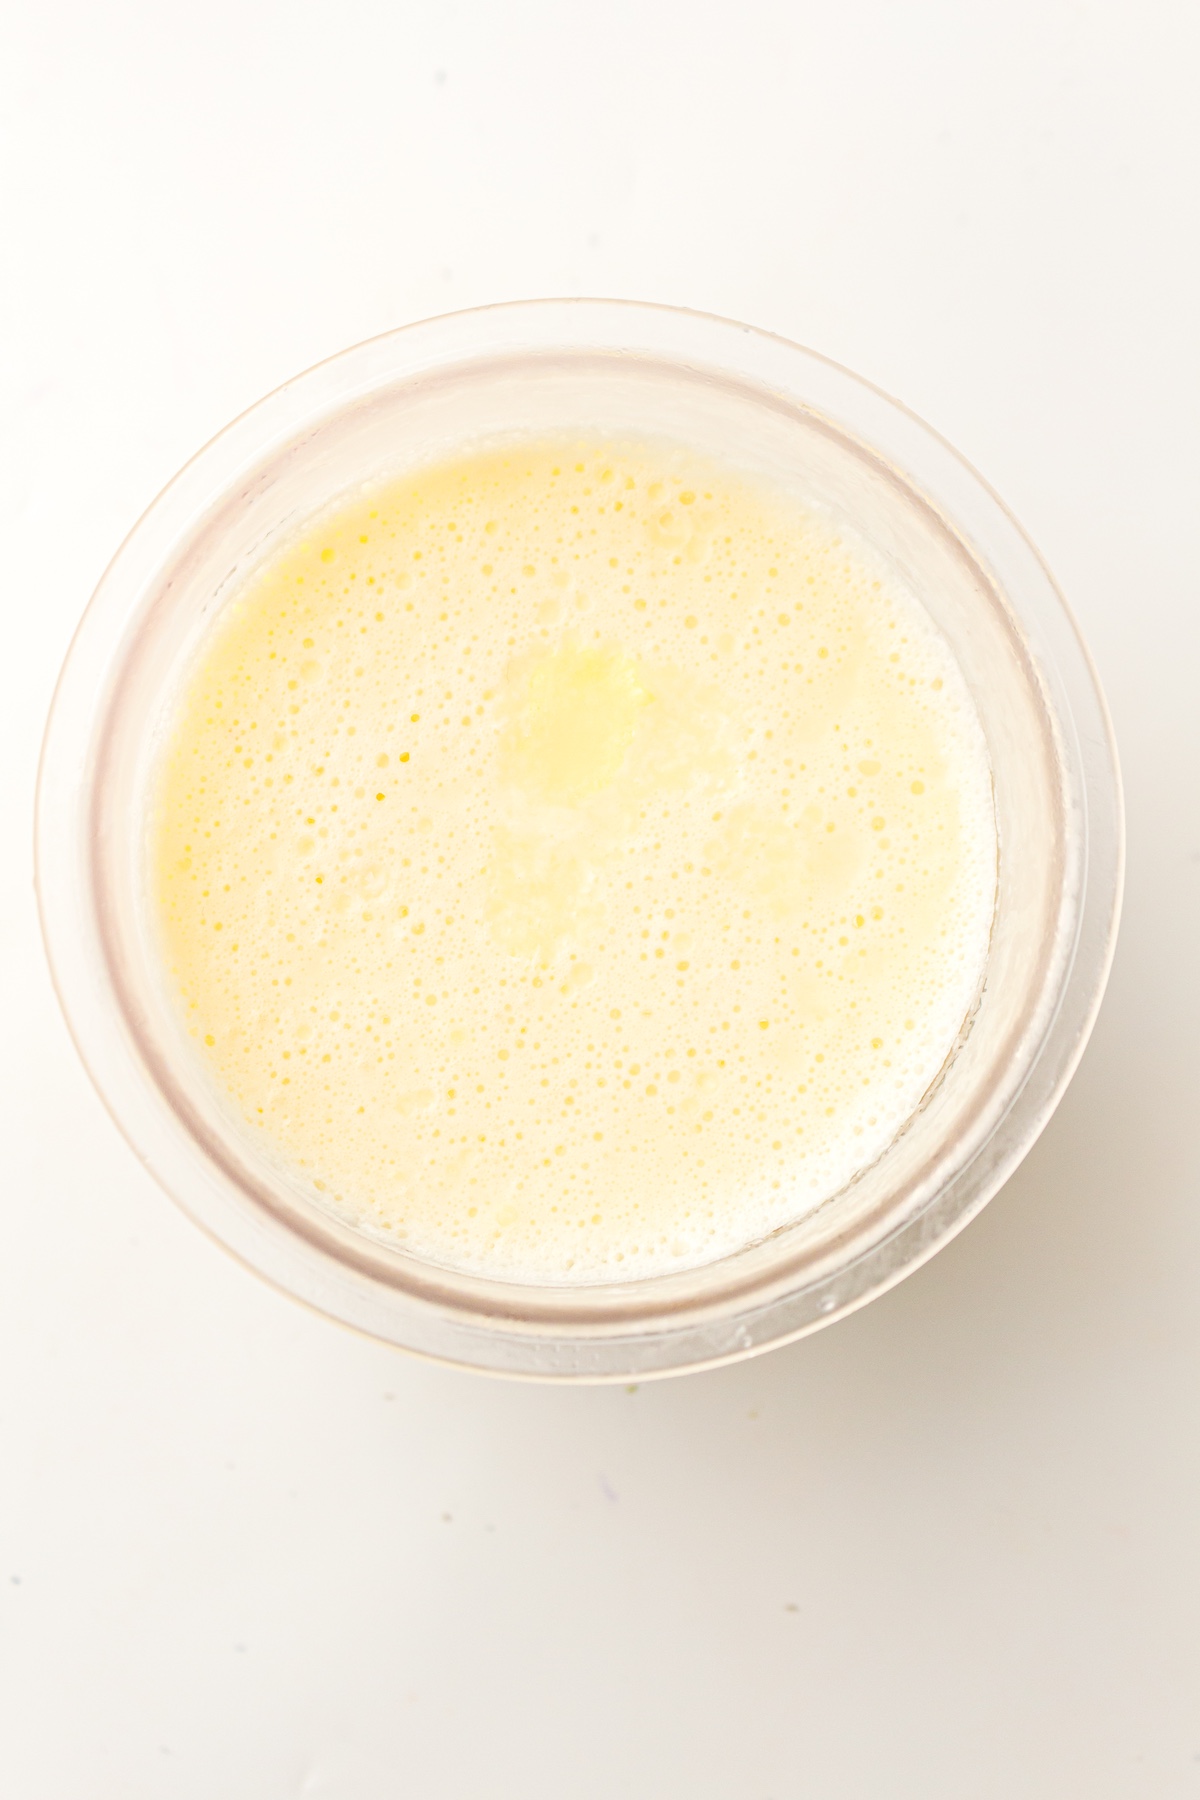
In a jug or small bowl, whisk together the whole milk, double cream, confectioners’ sugar, and vanilla extract.
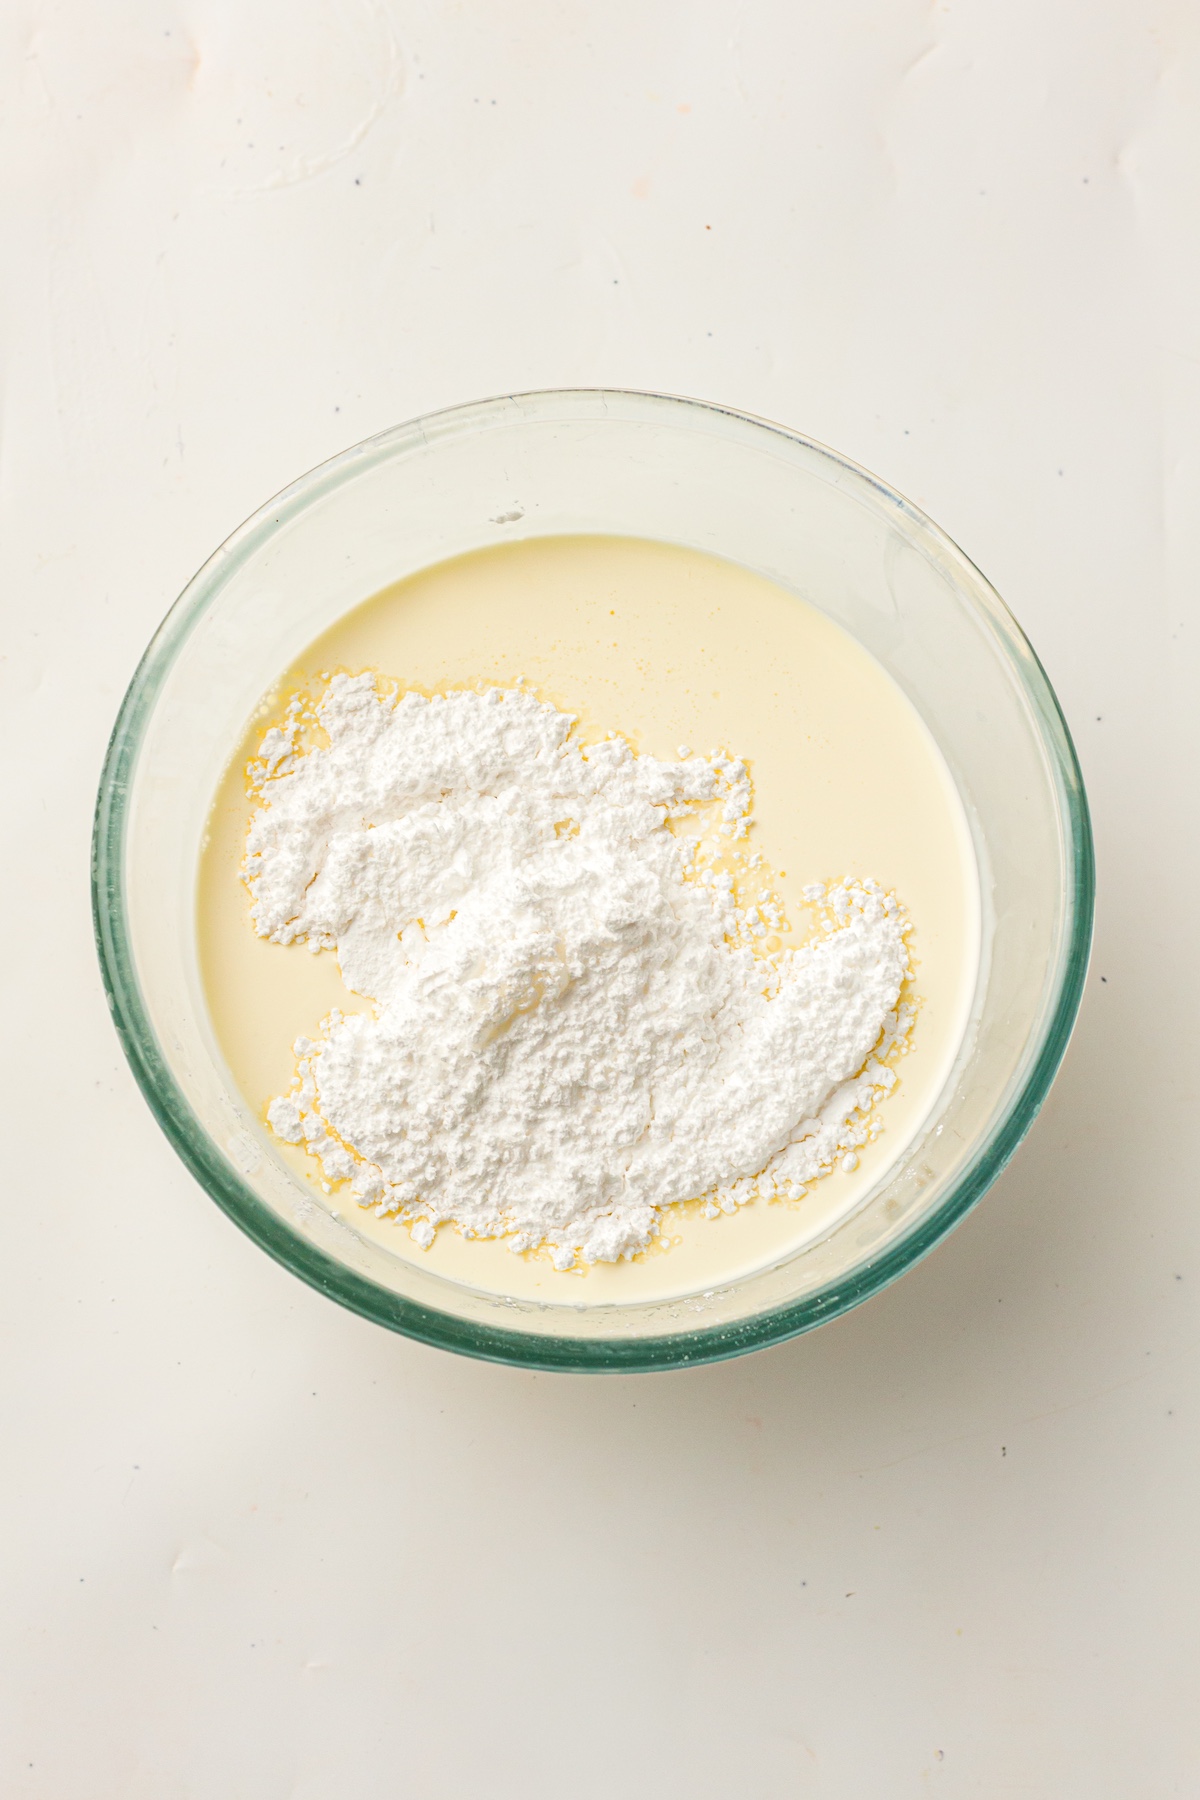
Keep whisking until the sugar is completely dissolved. Using confectioners’ sugar helps create a smoother texture without any graininess.
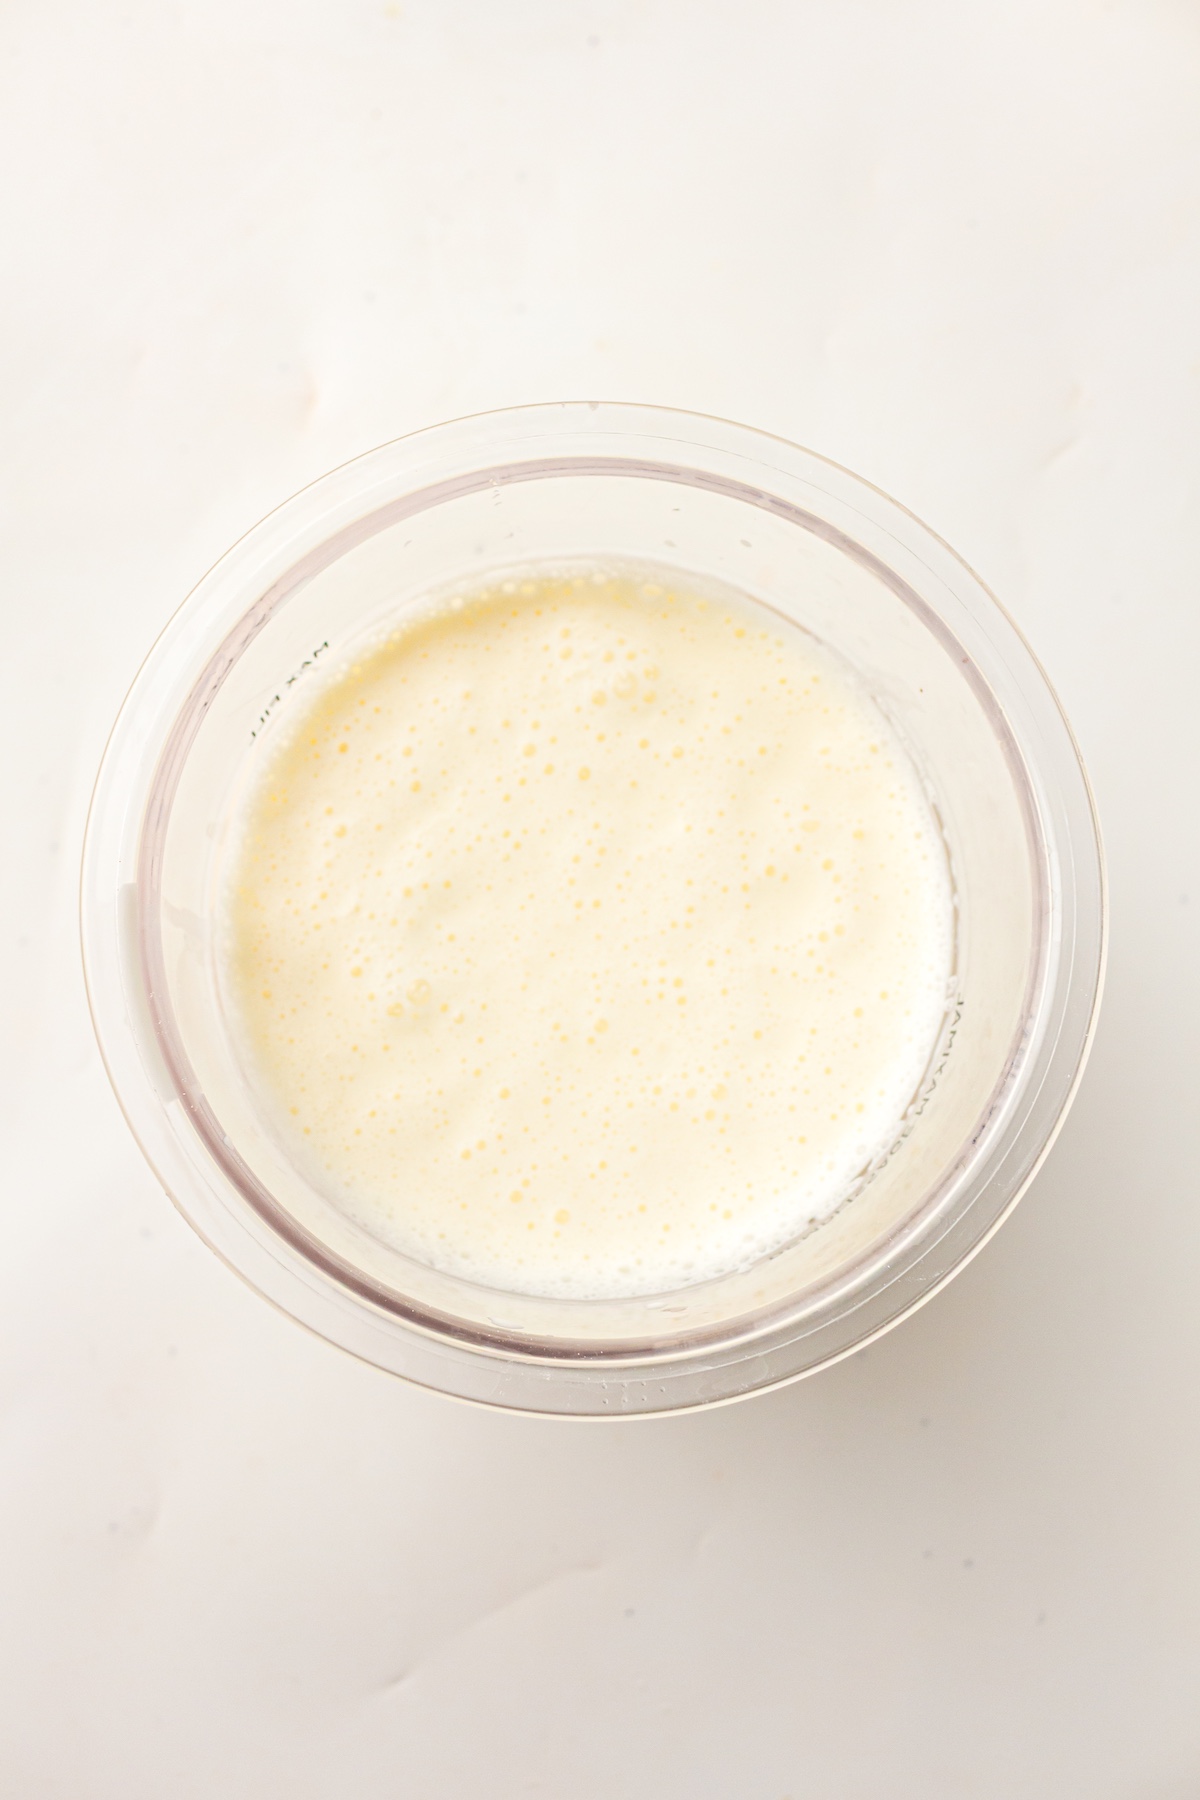
Pour the mixture into your Ninja Creami pint container, making sure to stop just below the max fill line. Secure the lid and place the pint on a completely flat surface in your freezer. This is important to ensure the top is level for processing. Freeze for at least 24 hours until it’s fully solid.
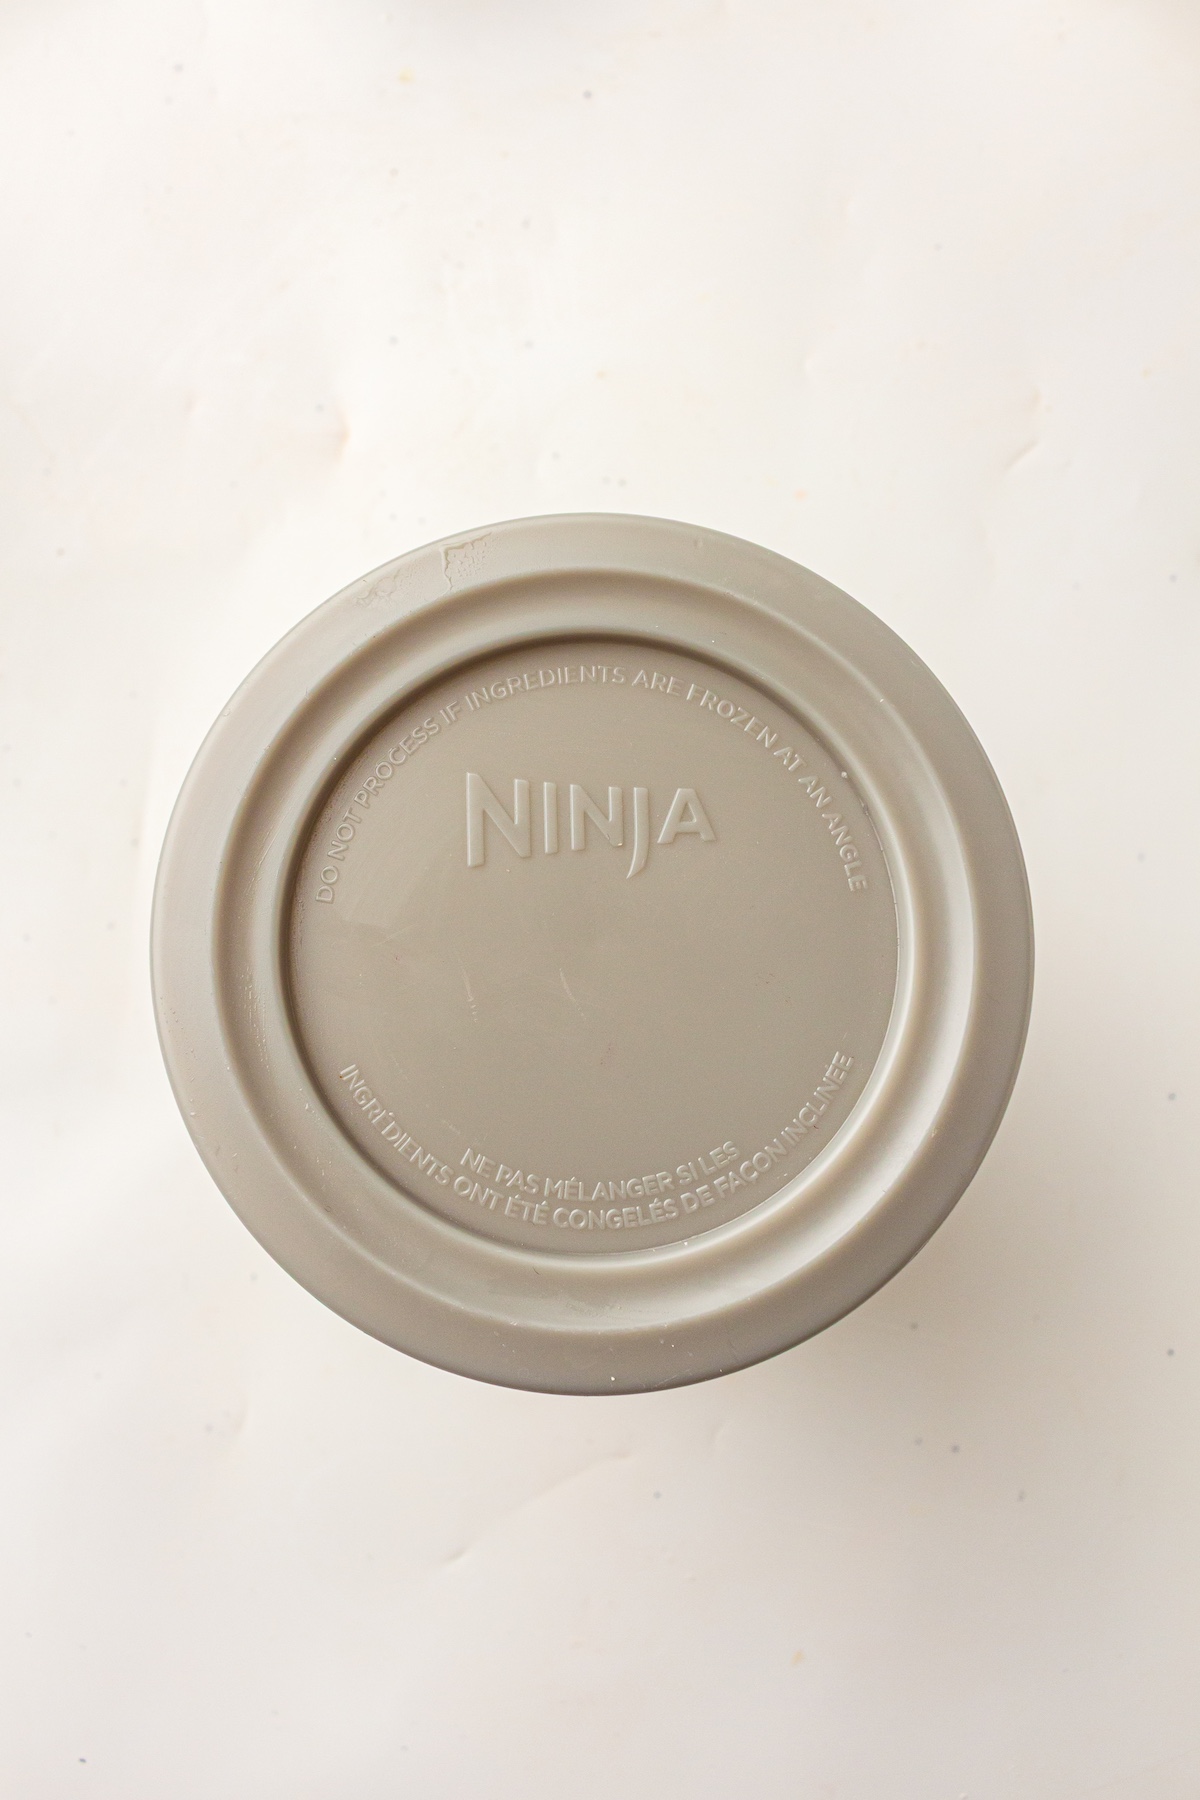
Once frozen solid, remove the lid and place the pint into the outer bowl of the Ninja Creami machine. Lock it into place and process using the Ice Cream function.
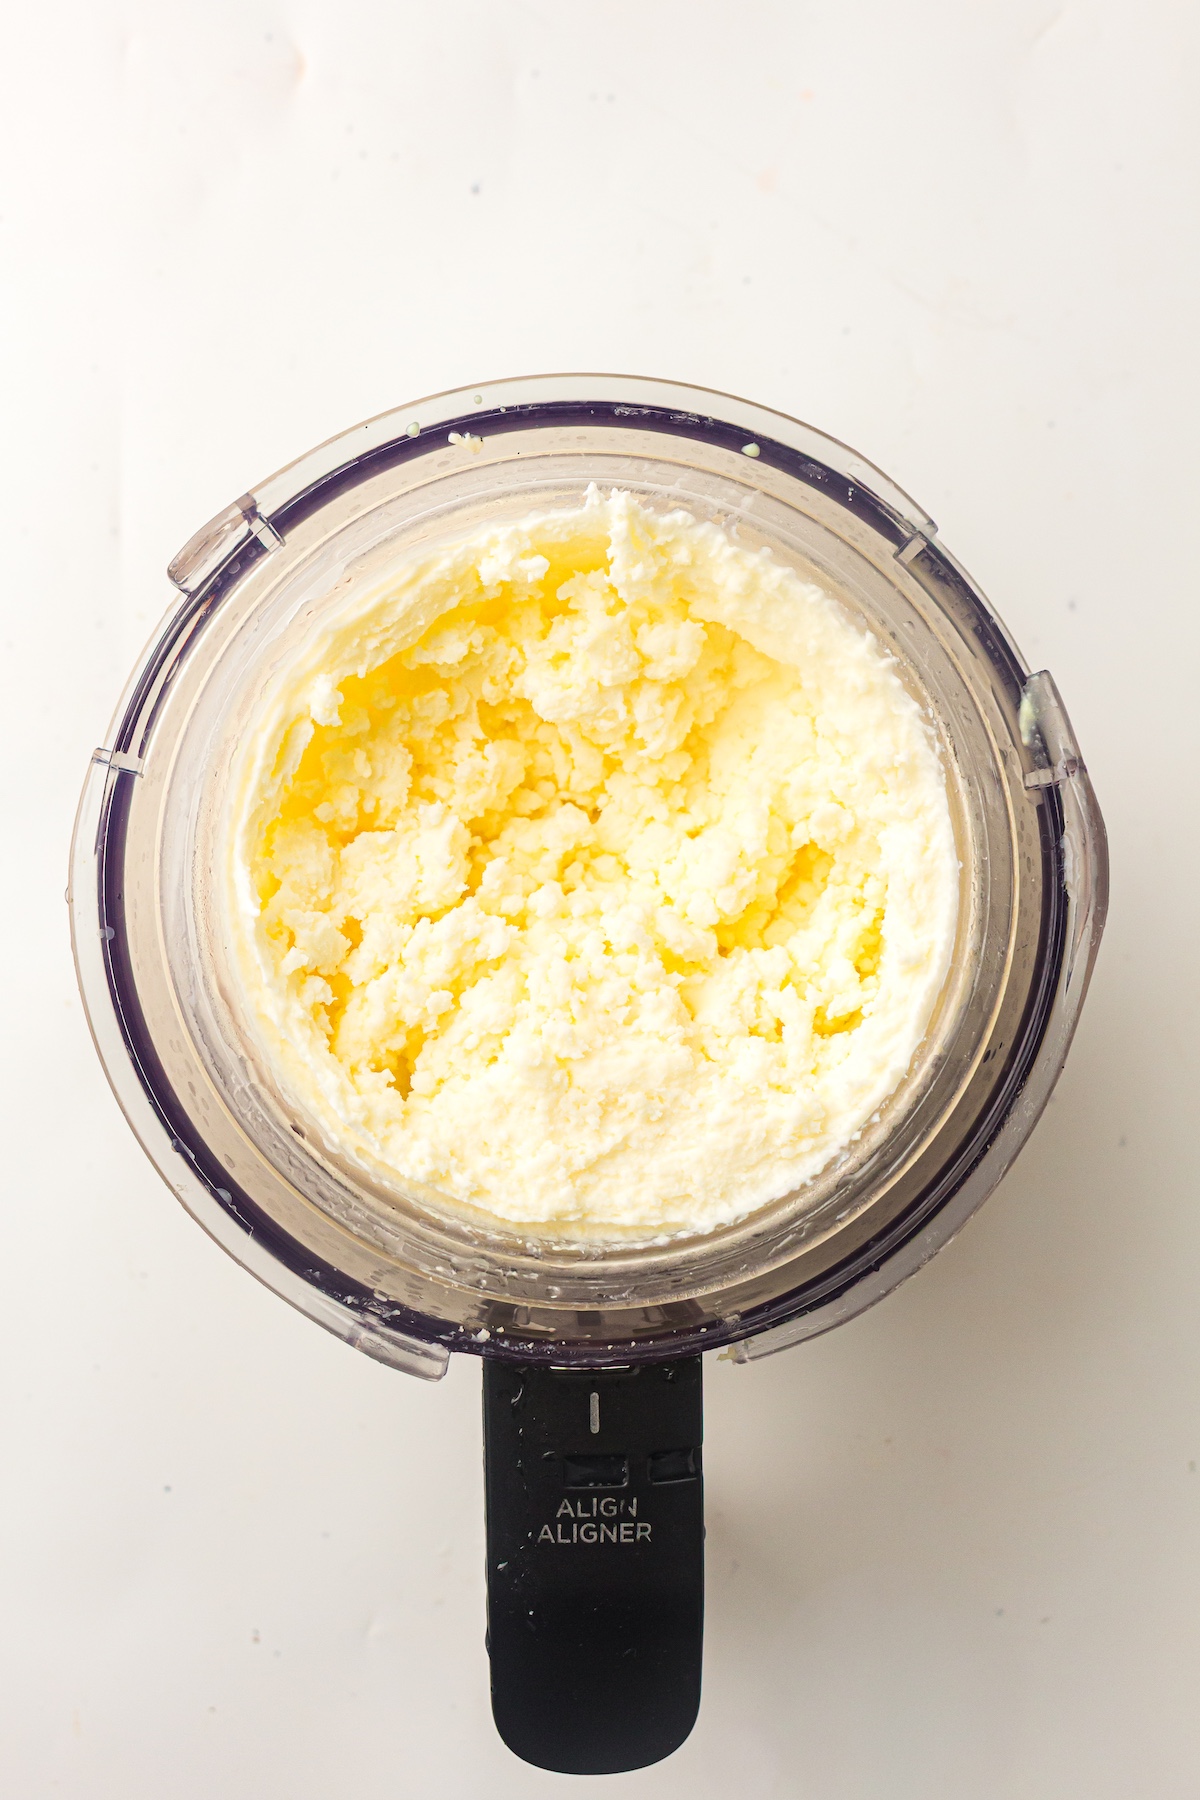
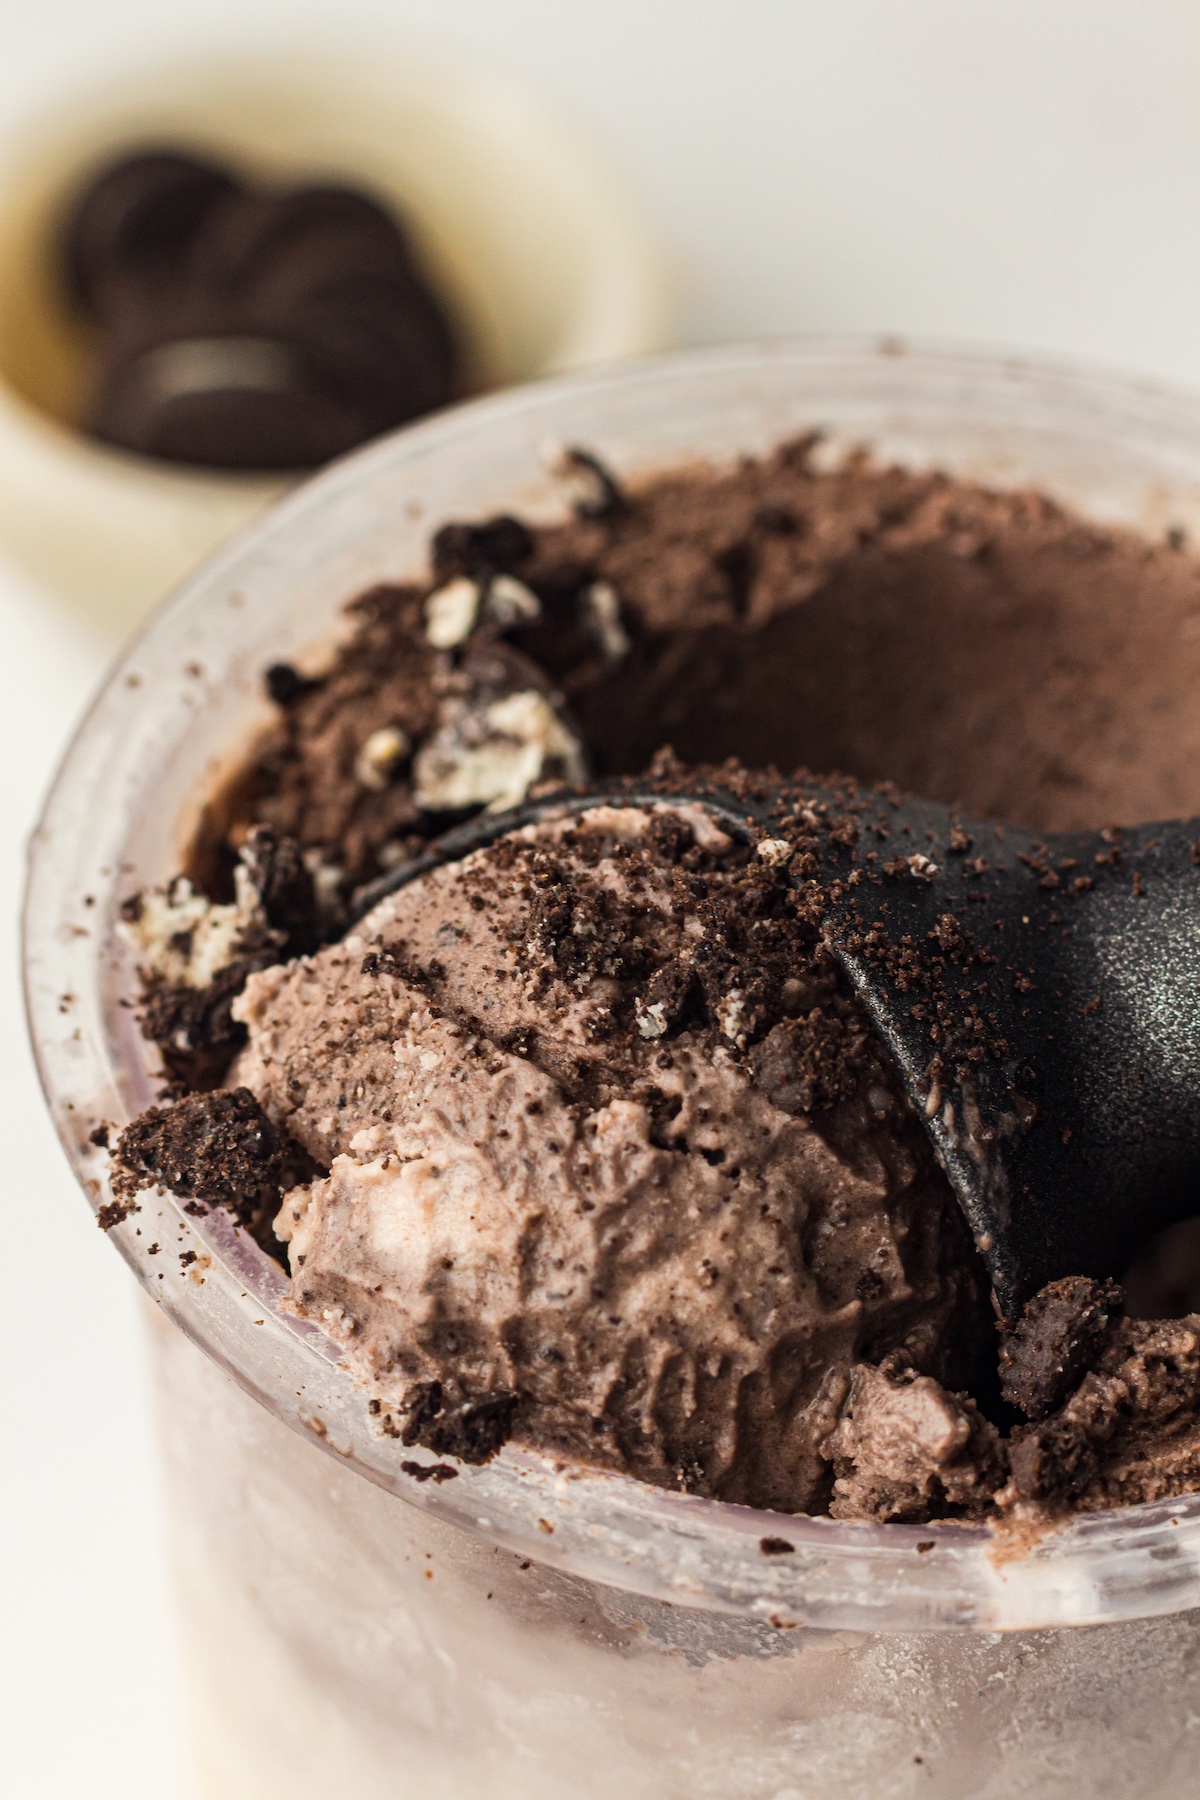
When the first cycle finishes, the ice cream might look a little crumbly—that’s normal! Use a spoon to create a small well down the center of the ice cream.
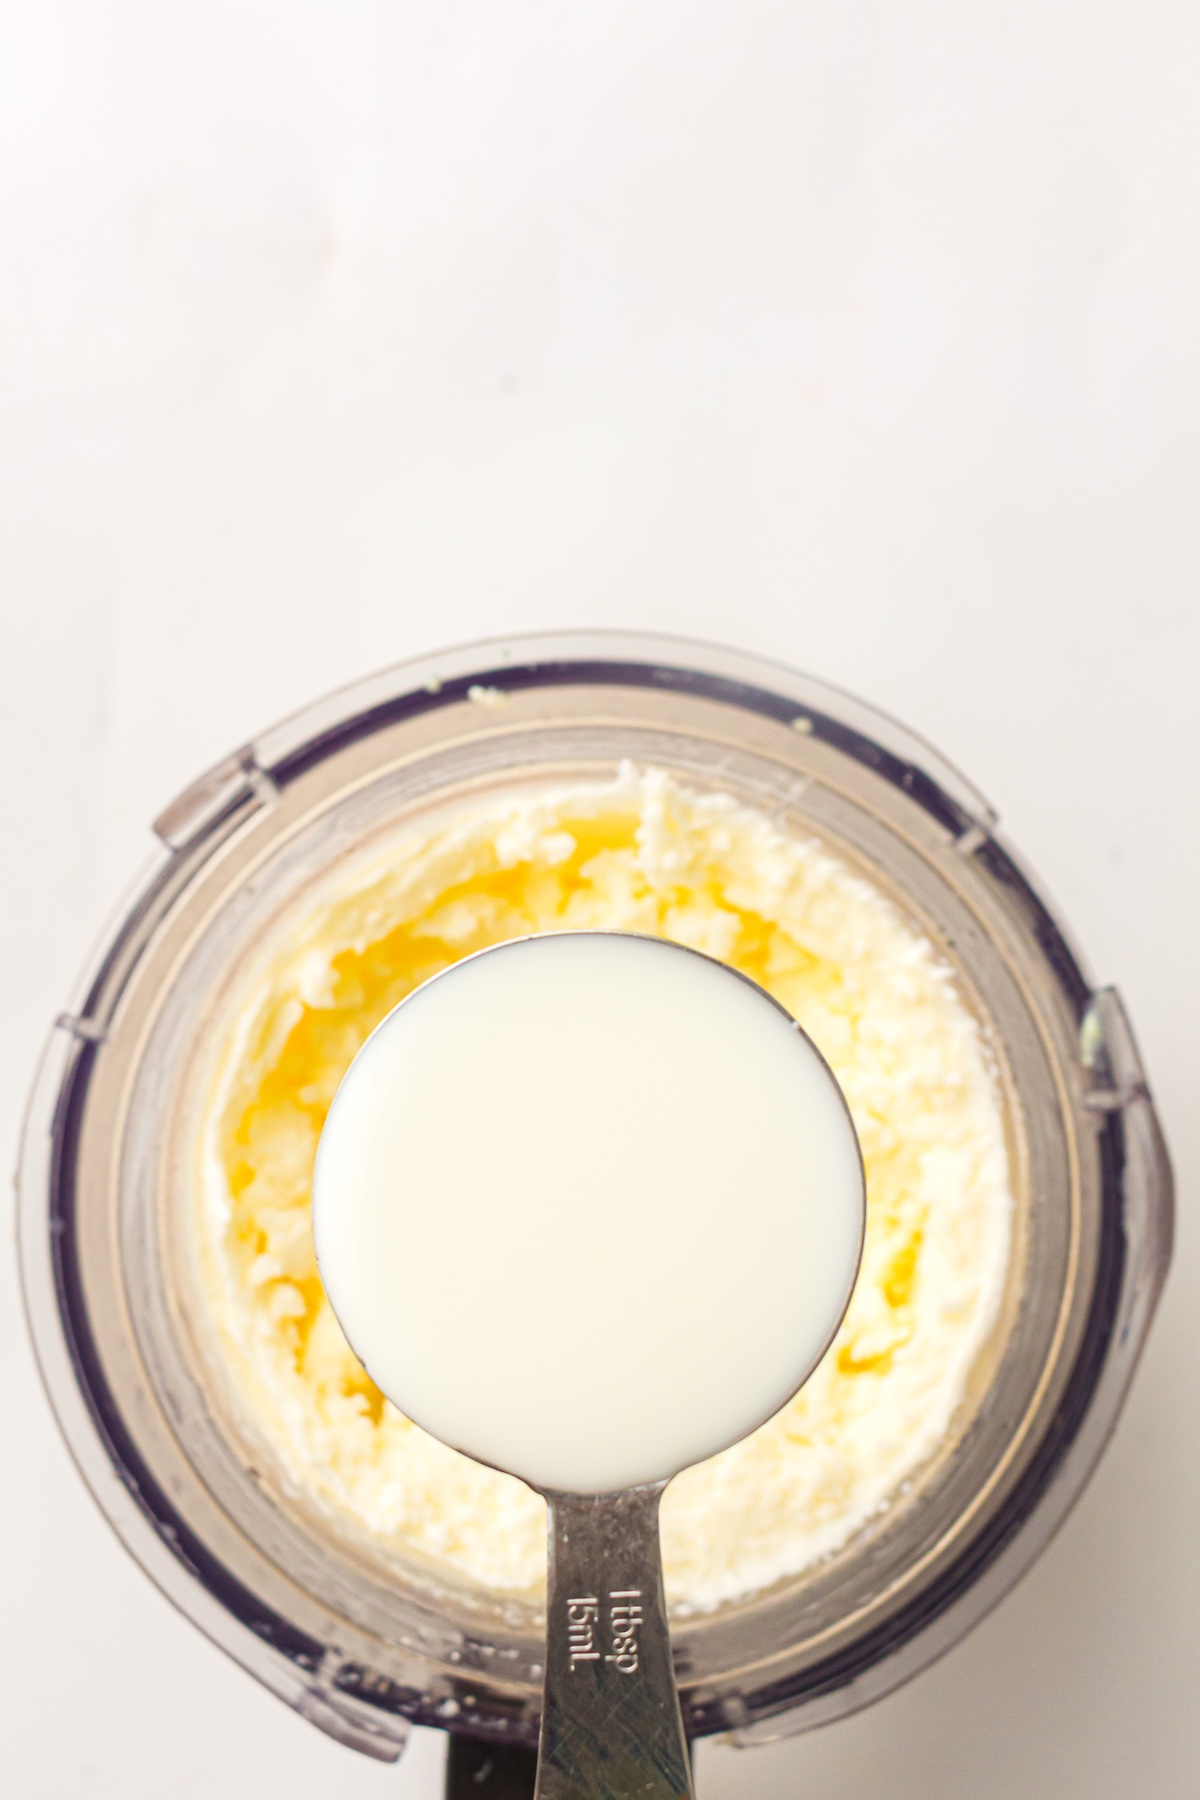
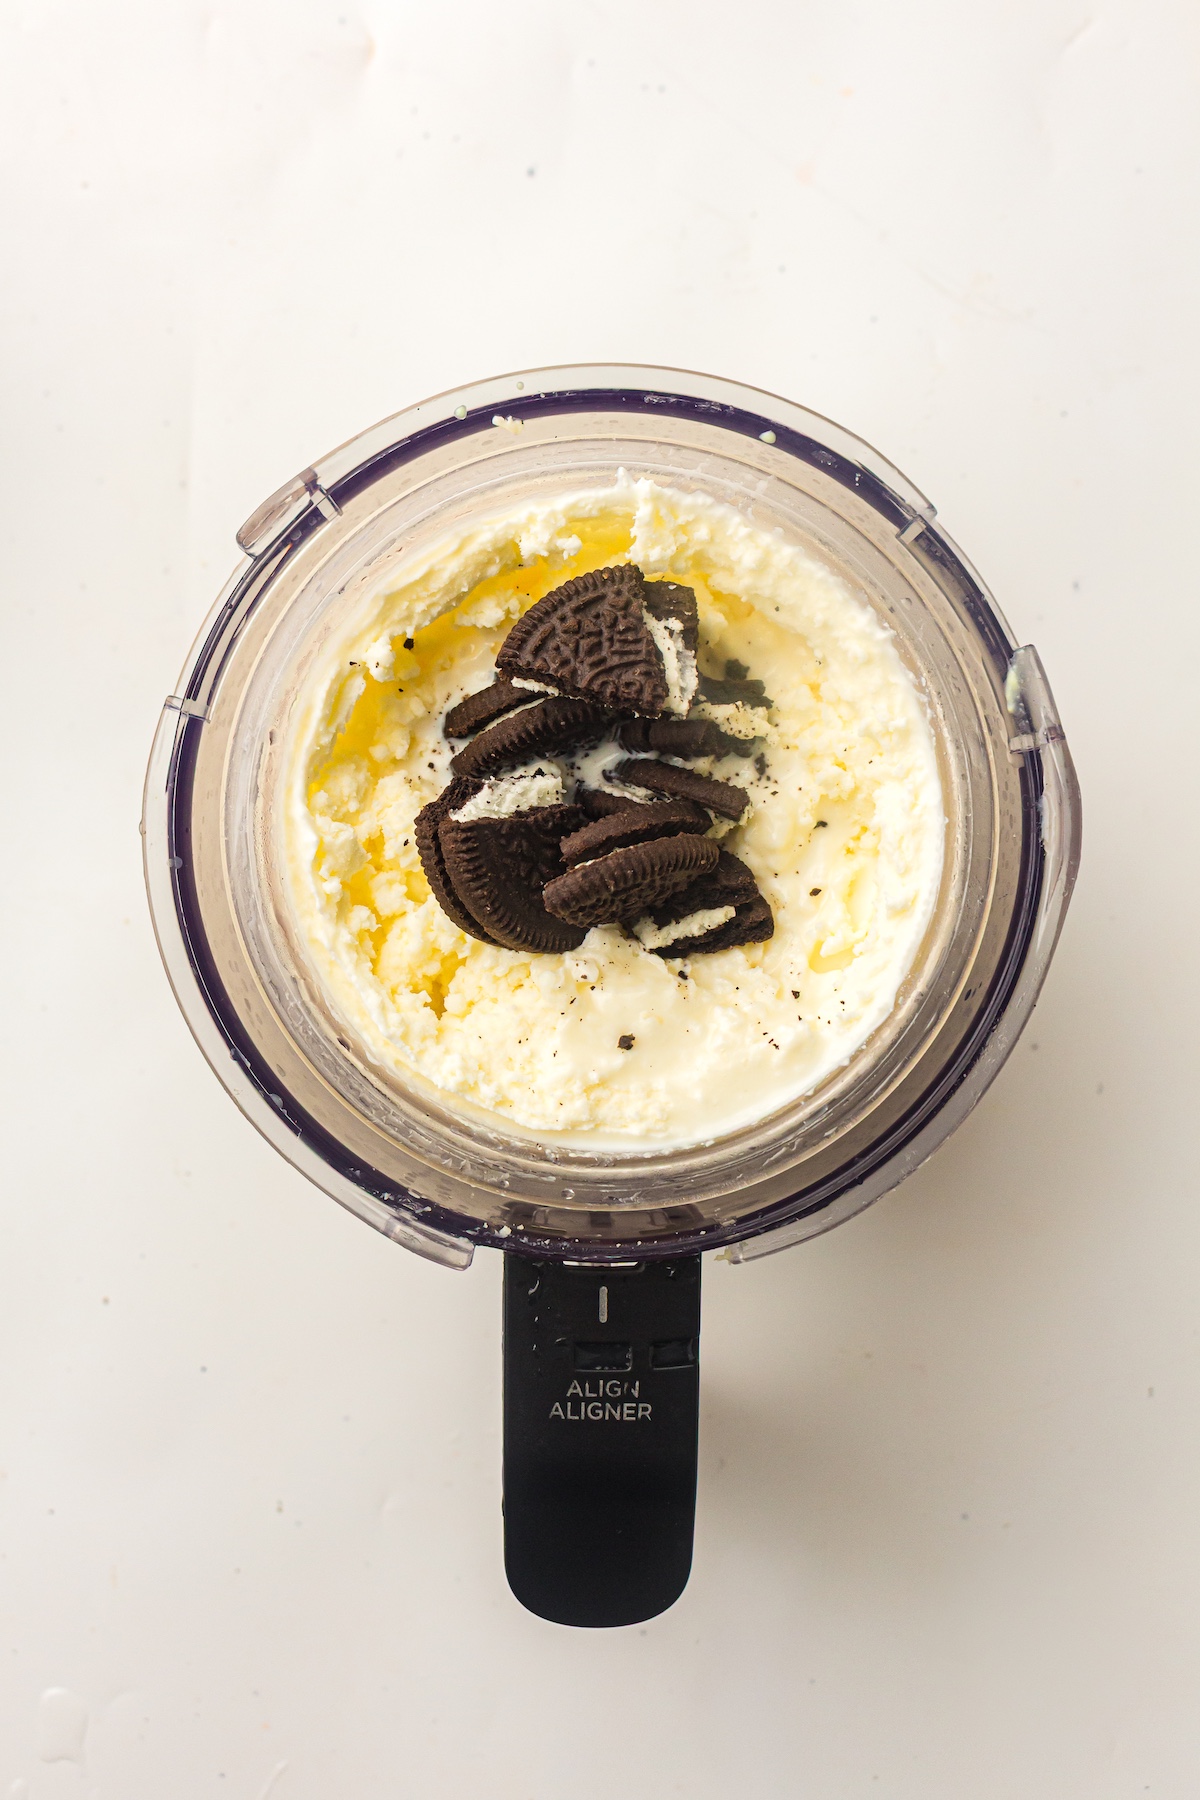
Add your crushed Oreos and 1–2 tablespoons of milk. The extra milk helps the machine incorporate the mix-ins without making the ice cream too dense.

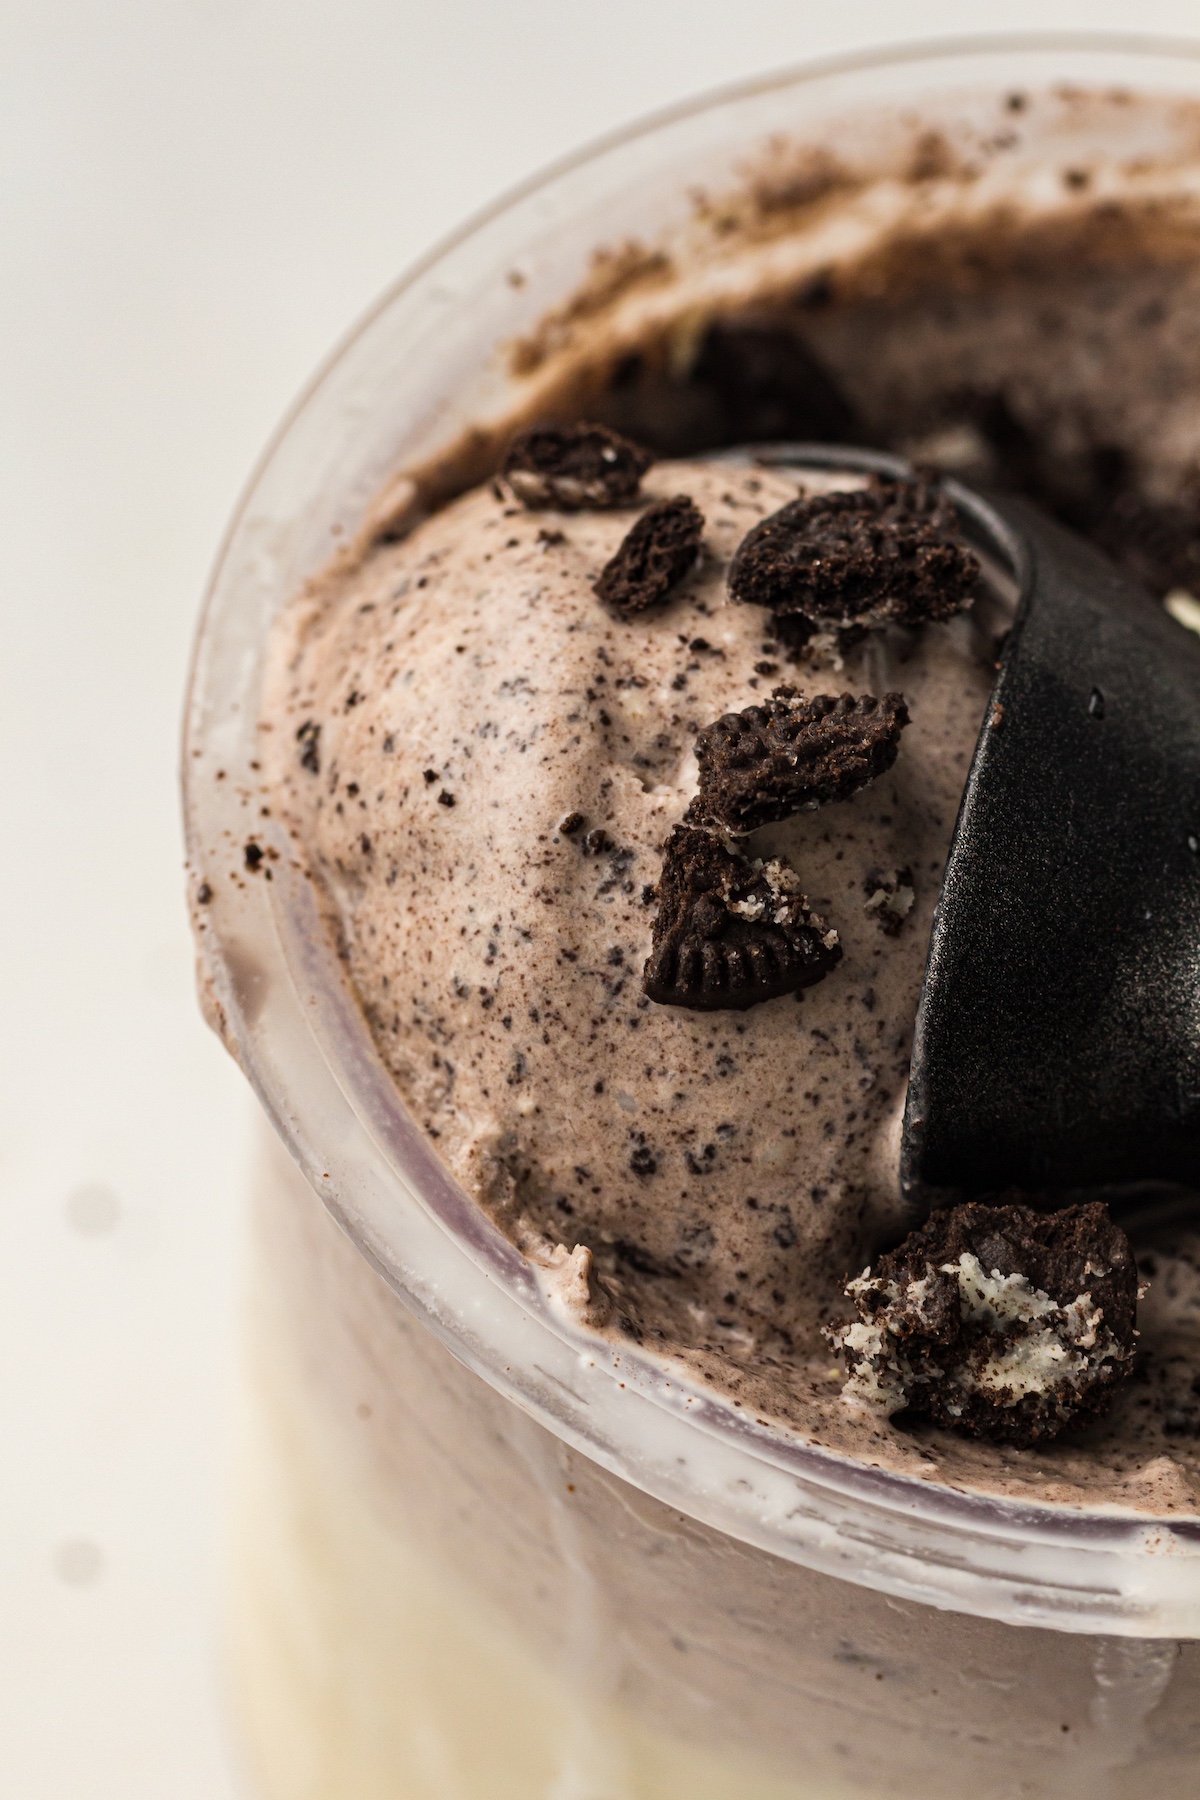
Place the pint back into the machine and process again, this time using the Mix-In setting. This cycle is designed to evenly distribute the cookies throughout the ice cream without completely pulverizing them.
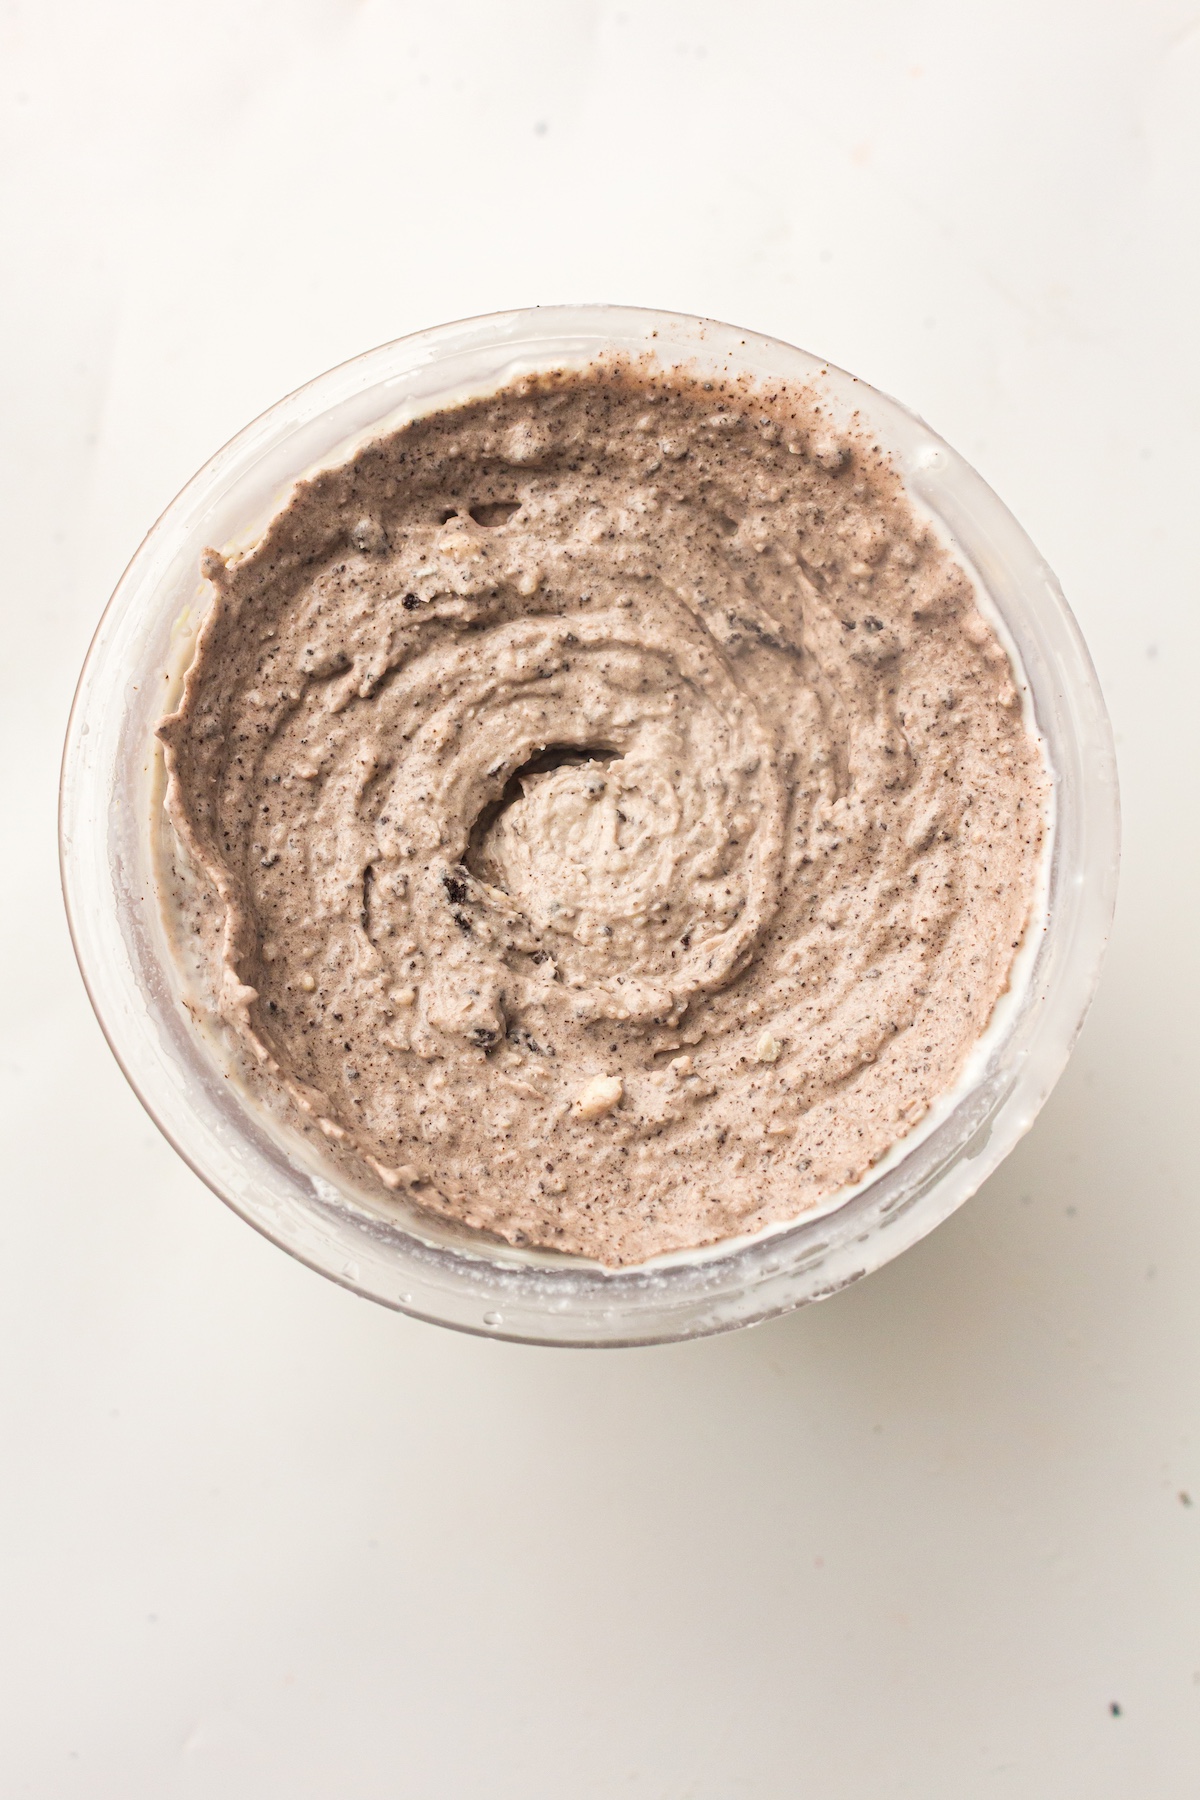
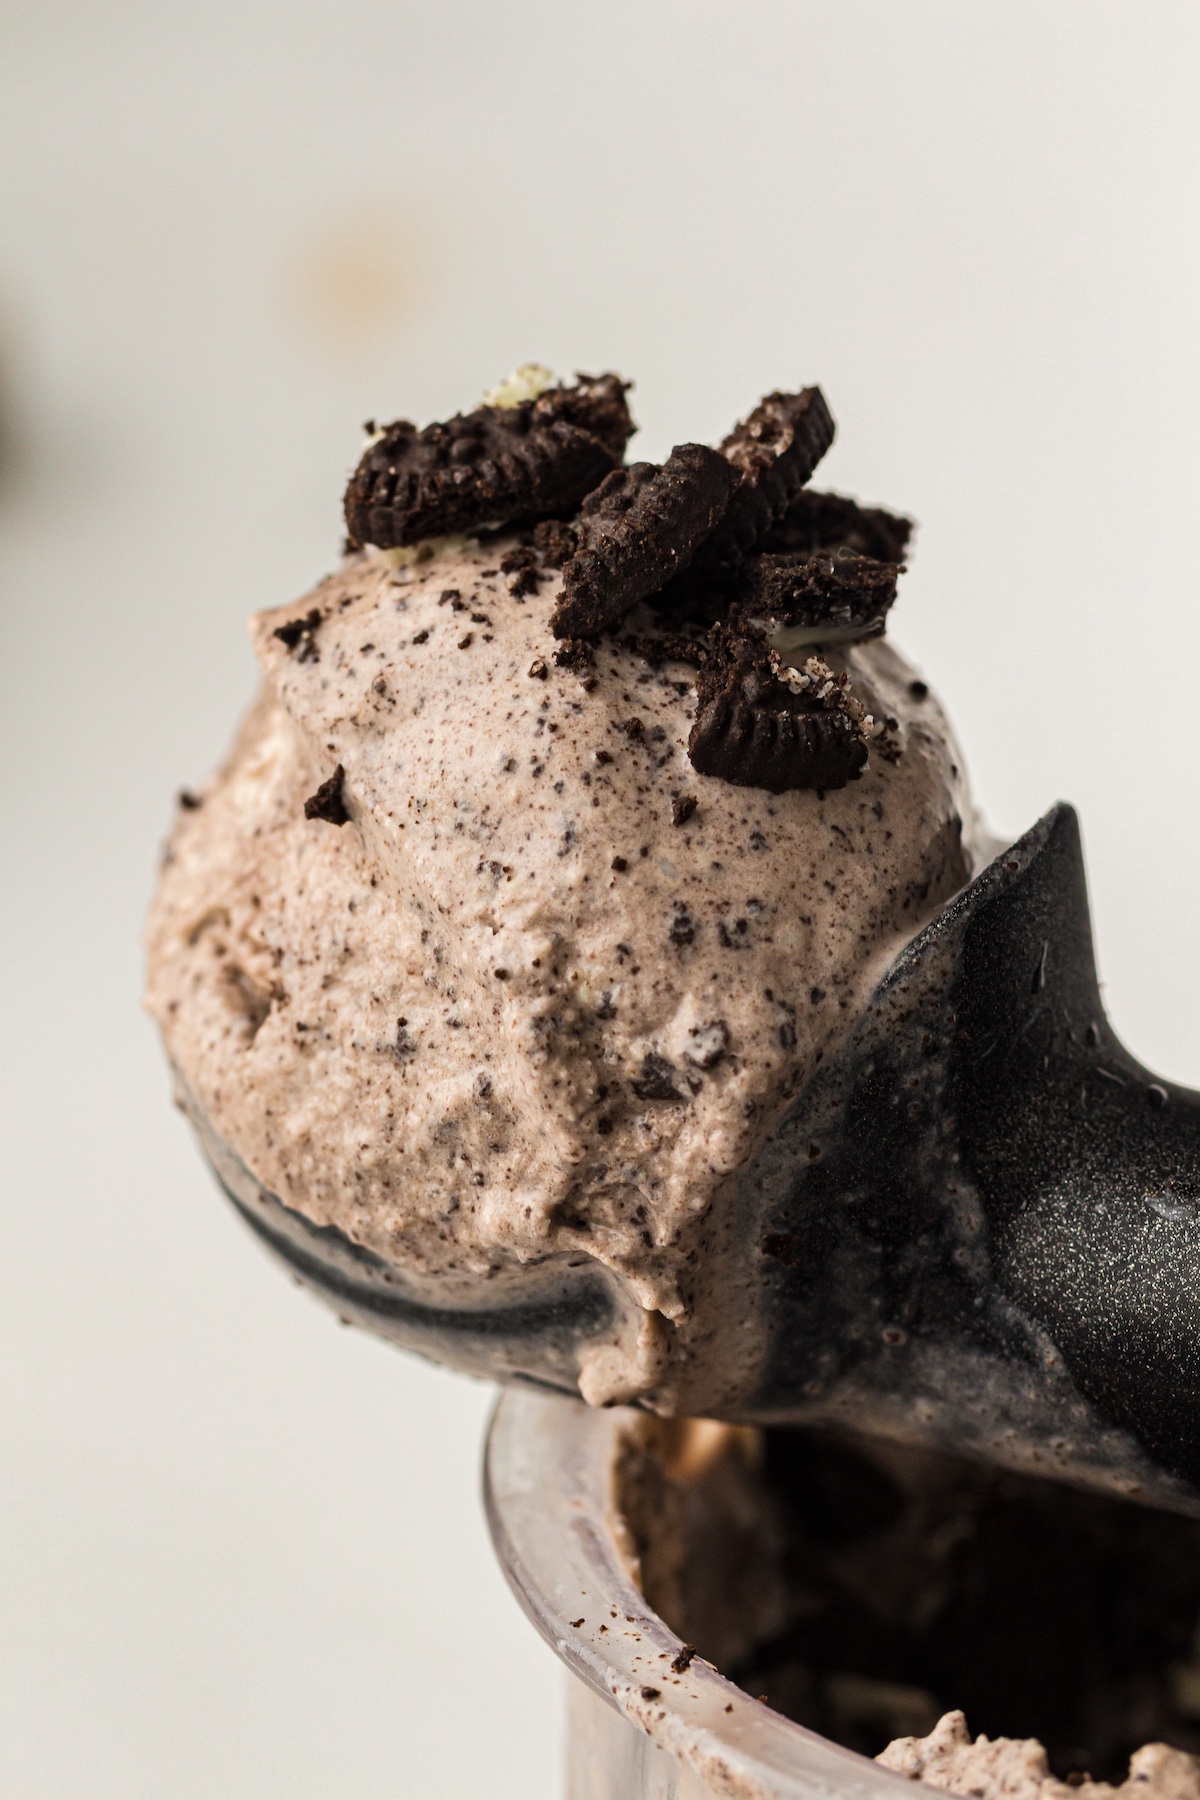
You can serve the ice cream immediately for a soft-serve consistency. If you prefer a firmer, more scoopable texture, return it to the freezer for 1–2 hours.
Serving Suggestions
Half the fun of homemade ice cream is dressing it up! While this Cookies and Cream is fantastic on its own, here are a few ideas to take it to the next level:
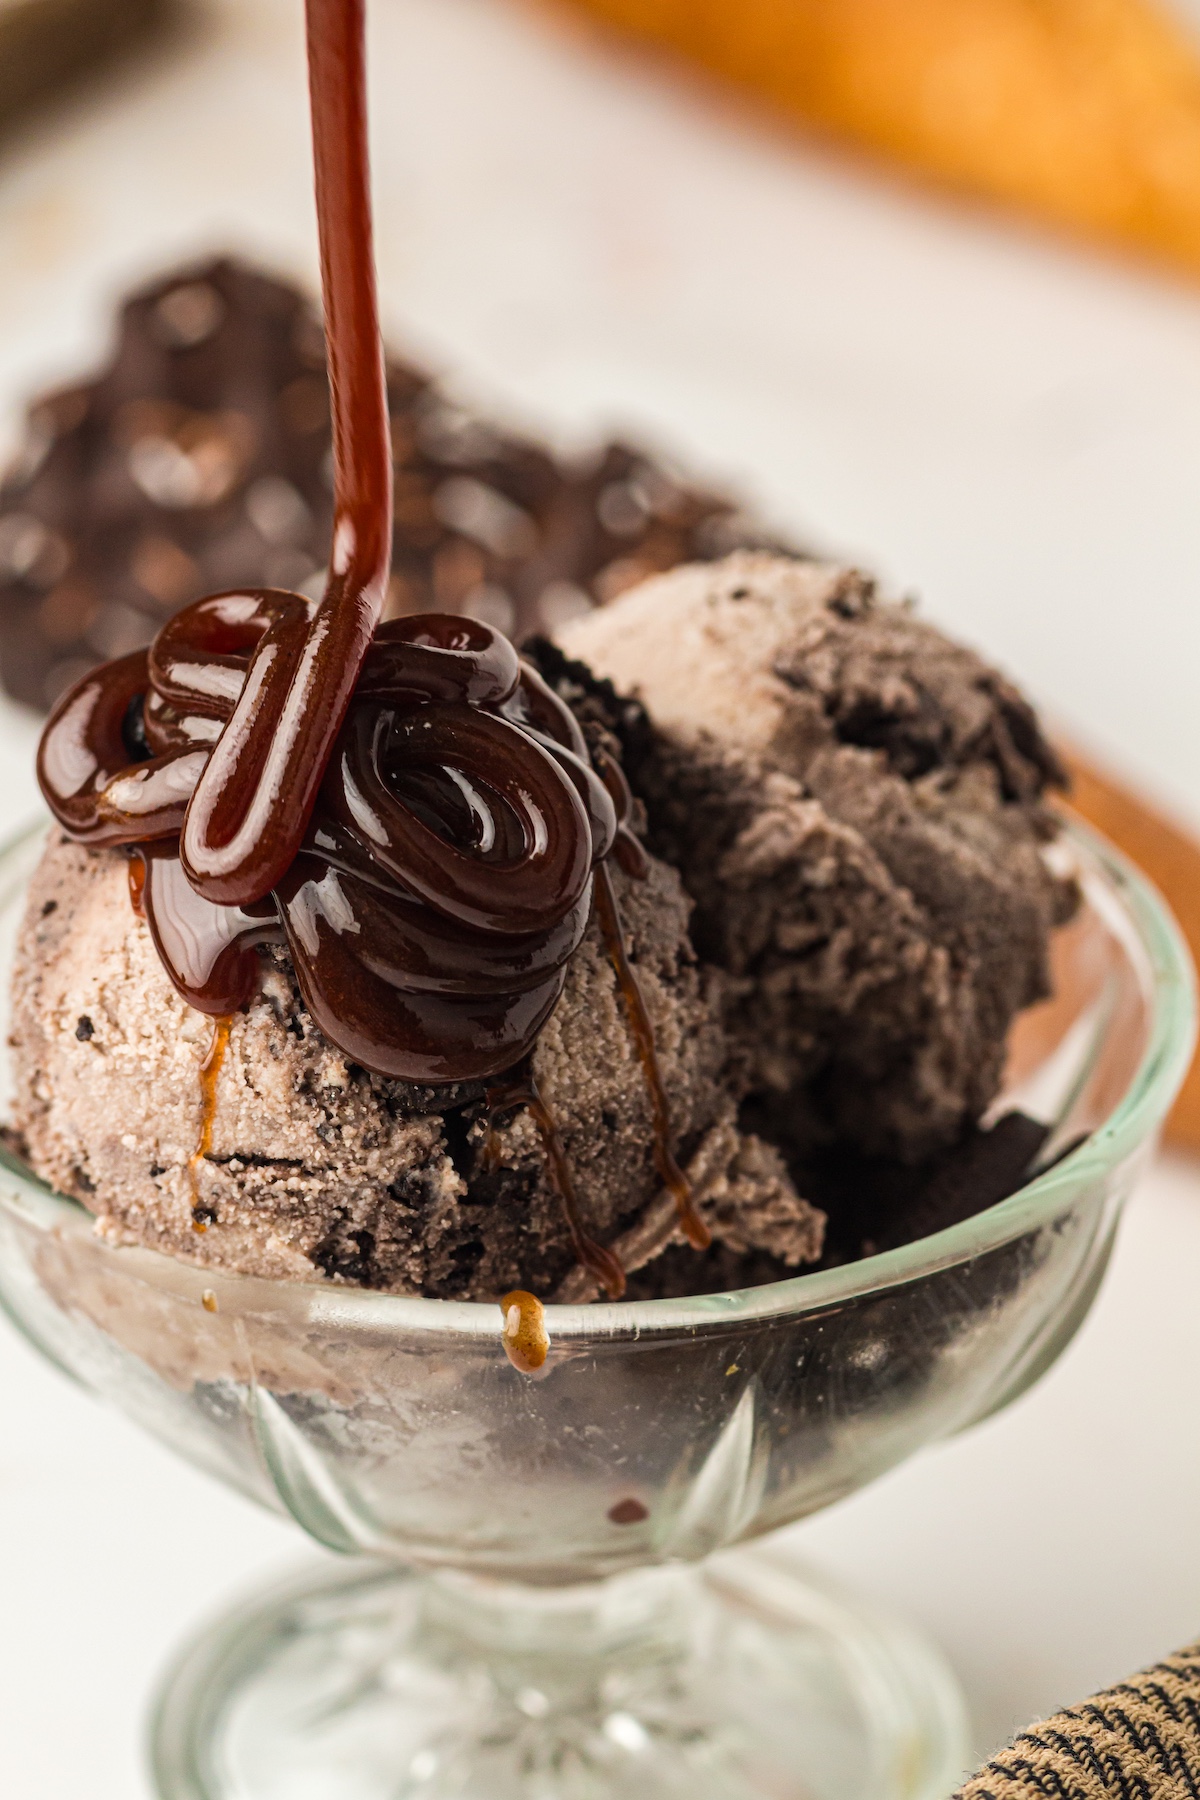
- Extra Crunch: Top your bowl with more crushed Oreos or even some mini chocolate chips.
- Decadent Drizzle: A generous drizzle of chocolate or caramel syrup turns it into a classic sundae.
- Ice Cream Sandwiches: Take two whole Oreo cookies and place a small scoop of the finished ice cream between them for adorable mini ice cream sandwiches.
Storage Tips
Storing your homemade ice cream is easy. Simply keep it in the Ninja Creami pint container with the lid secured. It will stay fresh in the freezer for up to two weeks.
If the ice cream becomes very hard after being stored, don’t worry. Just leave the pint on the counter for about 5-10 minutes to soften slightly before scooping. If it’s still too firm, you can pop it back in the machine and use the Re-Spin function to bring it back to a creamy state.

Ninja Creami Cookies and Cream Ice Cream
Ingredients
- 1 cup whole milk
- ¾ cup heavy cream
- ⅓ cup confectioners’ sugar
- 1 tsp pure vanilla extract
- 6 Oreo cookies roughly crushed
Instructions
- In a jug or small bowl, whisk together the whole milk, double cream, confectioners’ sugar, and vanilla extract. Keep whisking until the sugar is completely dissolved. Using confectioners' sugar helps create a smoother texture without any graininess.
- Pour the mixture into your Ninja Creami pint container, making sure to stop just below the max fill line. Secure the lid and place the pint on a completely flat surface in your freezer. This is important to ensure the top is level for processing. Freeze for at least 24 hours until it’s fully solid.
- Once frozen solid, remove the lid and place the pint into the outer bowl of the Ninja Creami machine. Lock it into place and process using the Ice Cream function.
- When the first cycle finishes, the ice cream might look a little crumbly. Use a spoon to create a small well down the center of the ice cream. Add your crushed Oreos and 1–2 tablespoons of milk. The extra milk helps the machine incorporate the mix-ins without making the ice cream too dense.
- Place the pint back into the machine and process again, this time using the Mix-In setting. This cycle is designed to evenly distribute the cookies throughout the ice cream without completely pulverizing them.
- You can serve the ice cream immediately for a soft-serve consistency. If you prefer a firmer, more scoopable texture, return it to the freezer for 1–2 hours.
Frequently Asked Questions (FAQs)
Have questions? You’re not alone! Here are answers to some common queries about making Ninja Creami ice cream.
1. Can I use low-fat milk?
Yes, you can, but the final texture will be less creamy and a bit icier. The fat in whole milk and heavy cream is what gives ice cream its rich, smooth mouthfeel.
2. Can I reduce the sugar?
You can, but sugar does more than just sweeten the ice cream; it also helps prevent it from freezing into a solid block of ice. Reducing the sugar might result in a harder, icier texture. Confectioners’ sugar is ideal because it dissolves easily.
3. Can I make this dairy-free?
Absolutely. You can substitute the whole milk with a full-fat oat milk and the heavy cream with coconut cream. Be aware that the texture may be slightly different, but it will still be delicious.
4. Why not add the Oreos before freezing?
If you add the cookies to the base before freezing, they will absorb liquid and become soft and soggy. Adding them after the first spin keeps them chunky and crunchy, which is what makes Cookies and Cream so great.
5. My ice cream turned out crumbly or powdery. What do I do?
This is a very common occurrence! It usually means the base was frozen at a very cold temperature. The solution is simple: add 1–2 tablespoons of milk into a well in the center of the ice cream and use the Re-Spin function. It should come out perfectly creamy.
6. Can I double this recipe?
Yes, but you will need two separate Ninja Creami pints. It’s very important not to fill a single pint past the max fill line, as the mixture expands during freezing and processing.
7. Can I use different cookies?
Of course! This recipe is a fantastic base for all sorts of mix-ins. Try chopped chocolate chip cookies, Biscoff cookies, or any of your favorite sandwich cookies for a fun twist.
8. Can I refreeze the ice cream after serving?
Yes, you can refreeze any leftovers. If you scoop some out and want the rest to firm up again, just pop the pint back in the freezer. It will be ready to enjoy later.
For more Ninja Creami ideas, check out these ice cream recipes: