The Ultimate Halloween Cookie Cake Recipe
Spooky season is upon us, and with it comes the perfect excuse to get creative in the kitchen. There’s something special about Halloween baking—it’s less about perfection and more about having fun. From ghoulishly green frostings to silly candy eyes, it’s a time to let your imagination run wild. And what’s more fun than a giant cookie you can share?

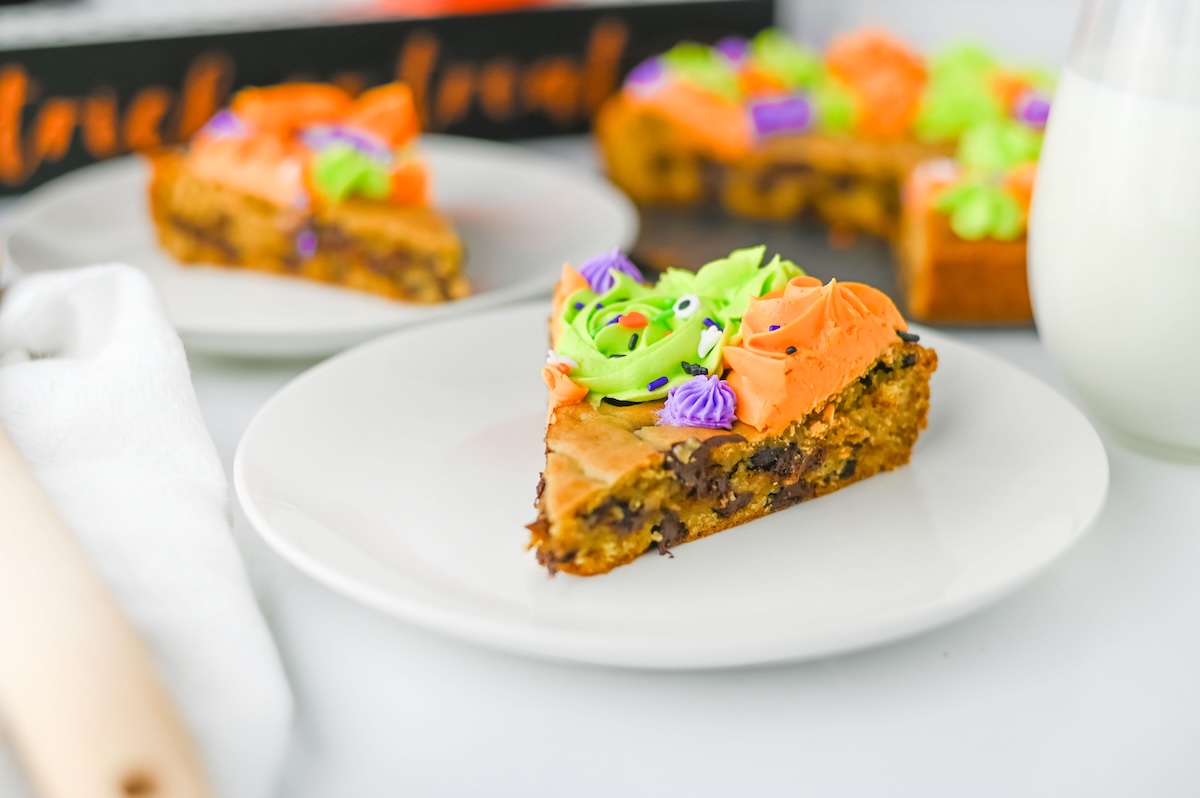
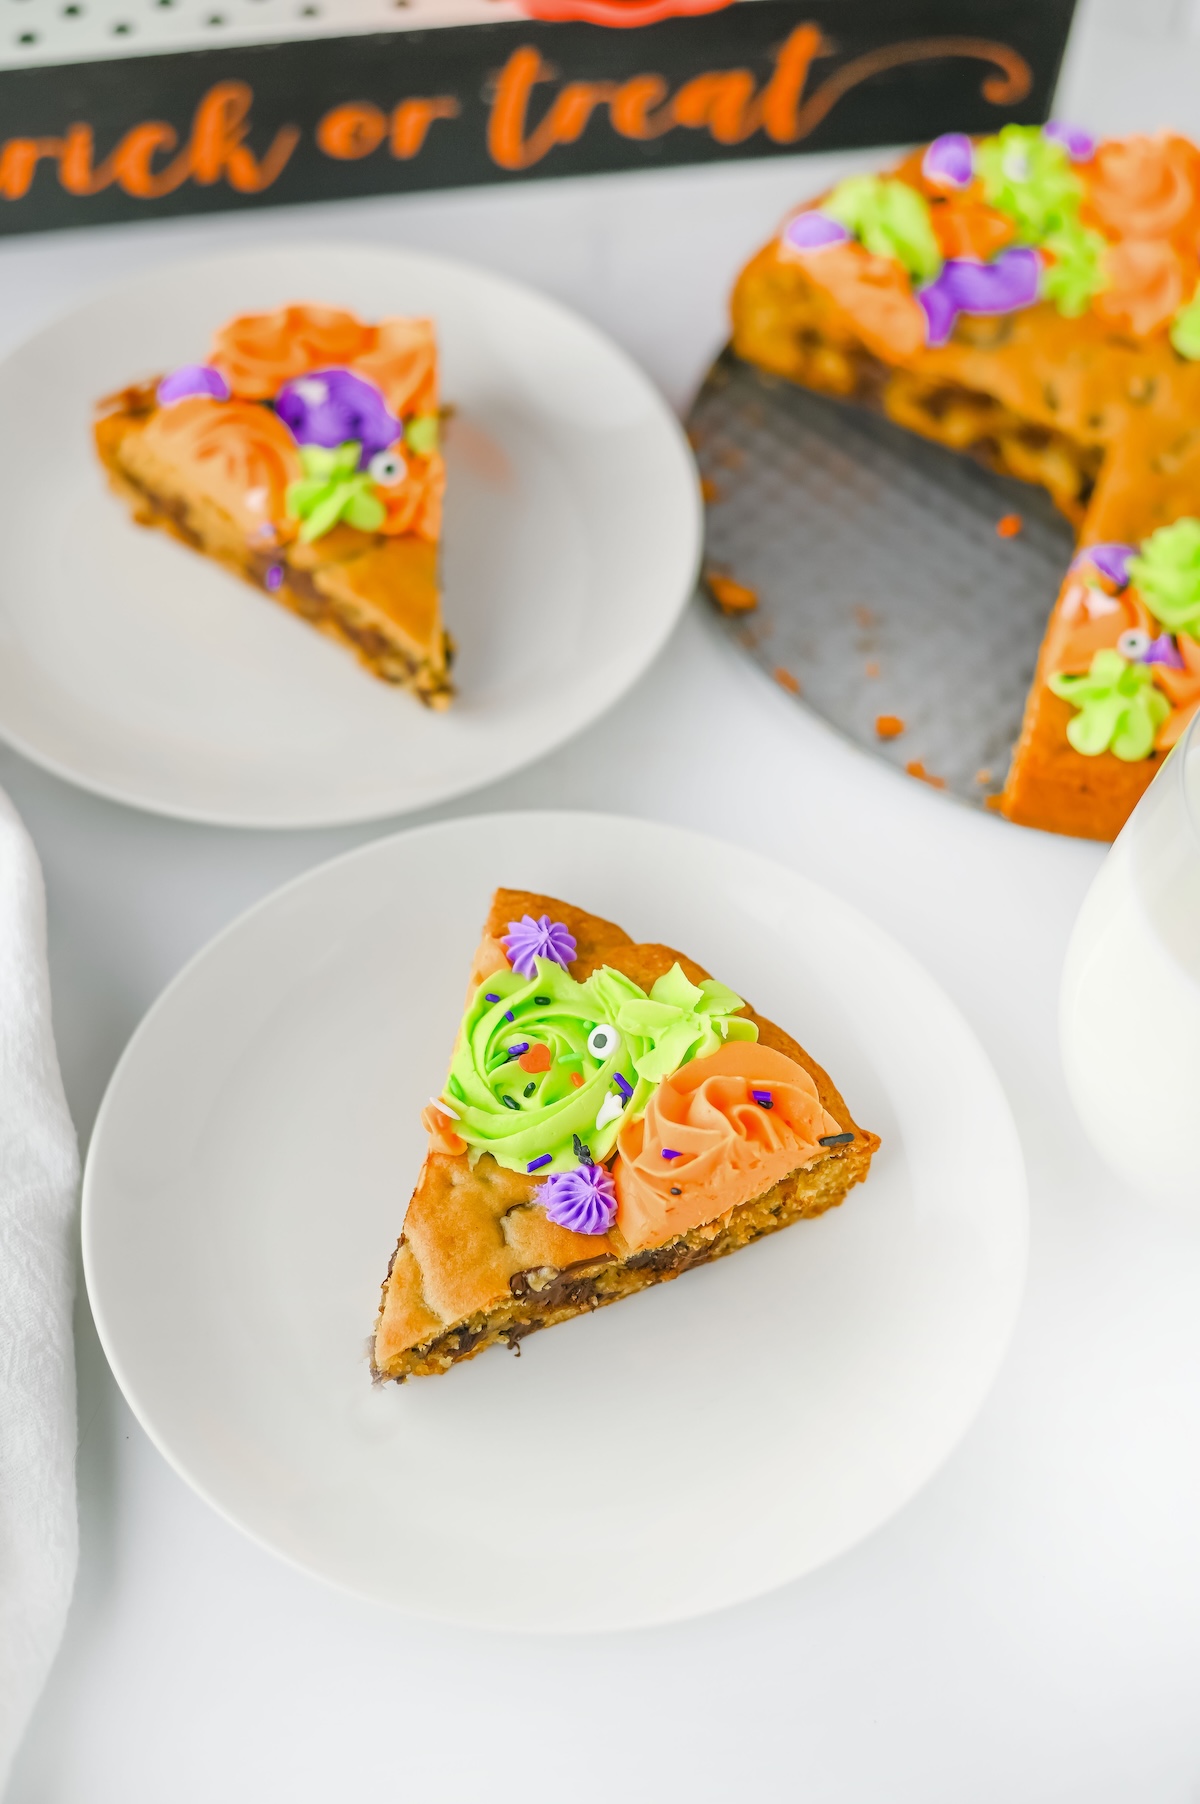
This Halloween Cookie Cake is the perfect centerpiece for any celebration, whether you’re hosting a party or just having a festive family night in. It combines the chewy, chocolate-chippy goodness of a classic cookie with the decorative flair of a cake. We’ll be using vibrant orange, purple, and green frosting to bring our spooky vision to life. So, grab your apron, and let’s get baking!
Why You’ll Love This Halloween Cookie Cake
Before we dive into the recipe, let’s talk about why this is about to become your new favorite Halloween treat.
- It’s Crowd-Pleasing: Who doesn’t love a chocolate chip cookie? This recipe takes that beloved classic and supersizes it, making it perfect for sharing.
- Endlessly Creative: The cookie cake is your canvas. We’re providing the steps for a classic spooky design with festive colors, but you can let your creativity take over. Draw a spiderweb, create a friendly monster, or just go wild with sprinkles.
- Simple Yet Impressive: While it looks like you spent hours in the kitchen, this recipe is surprisingly straightforward. It uses simple ingredients and techniques, making it a great project for bakers of all skill levels—and a fantastic activity to do with kids.
Ingredients for Your Spooky Creation
Here’s what you’ll need to gather to bring this monstrously delicious dessert to life. We’ll break it down by the cookie base and the colorful frosting.
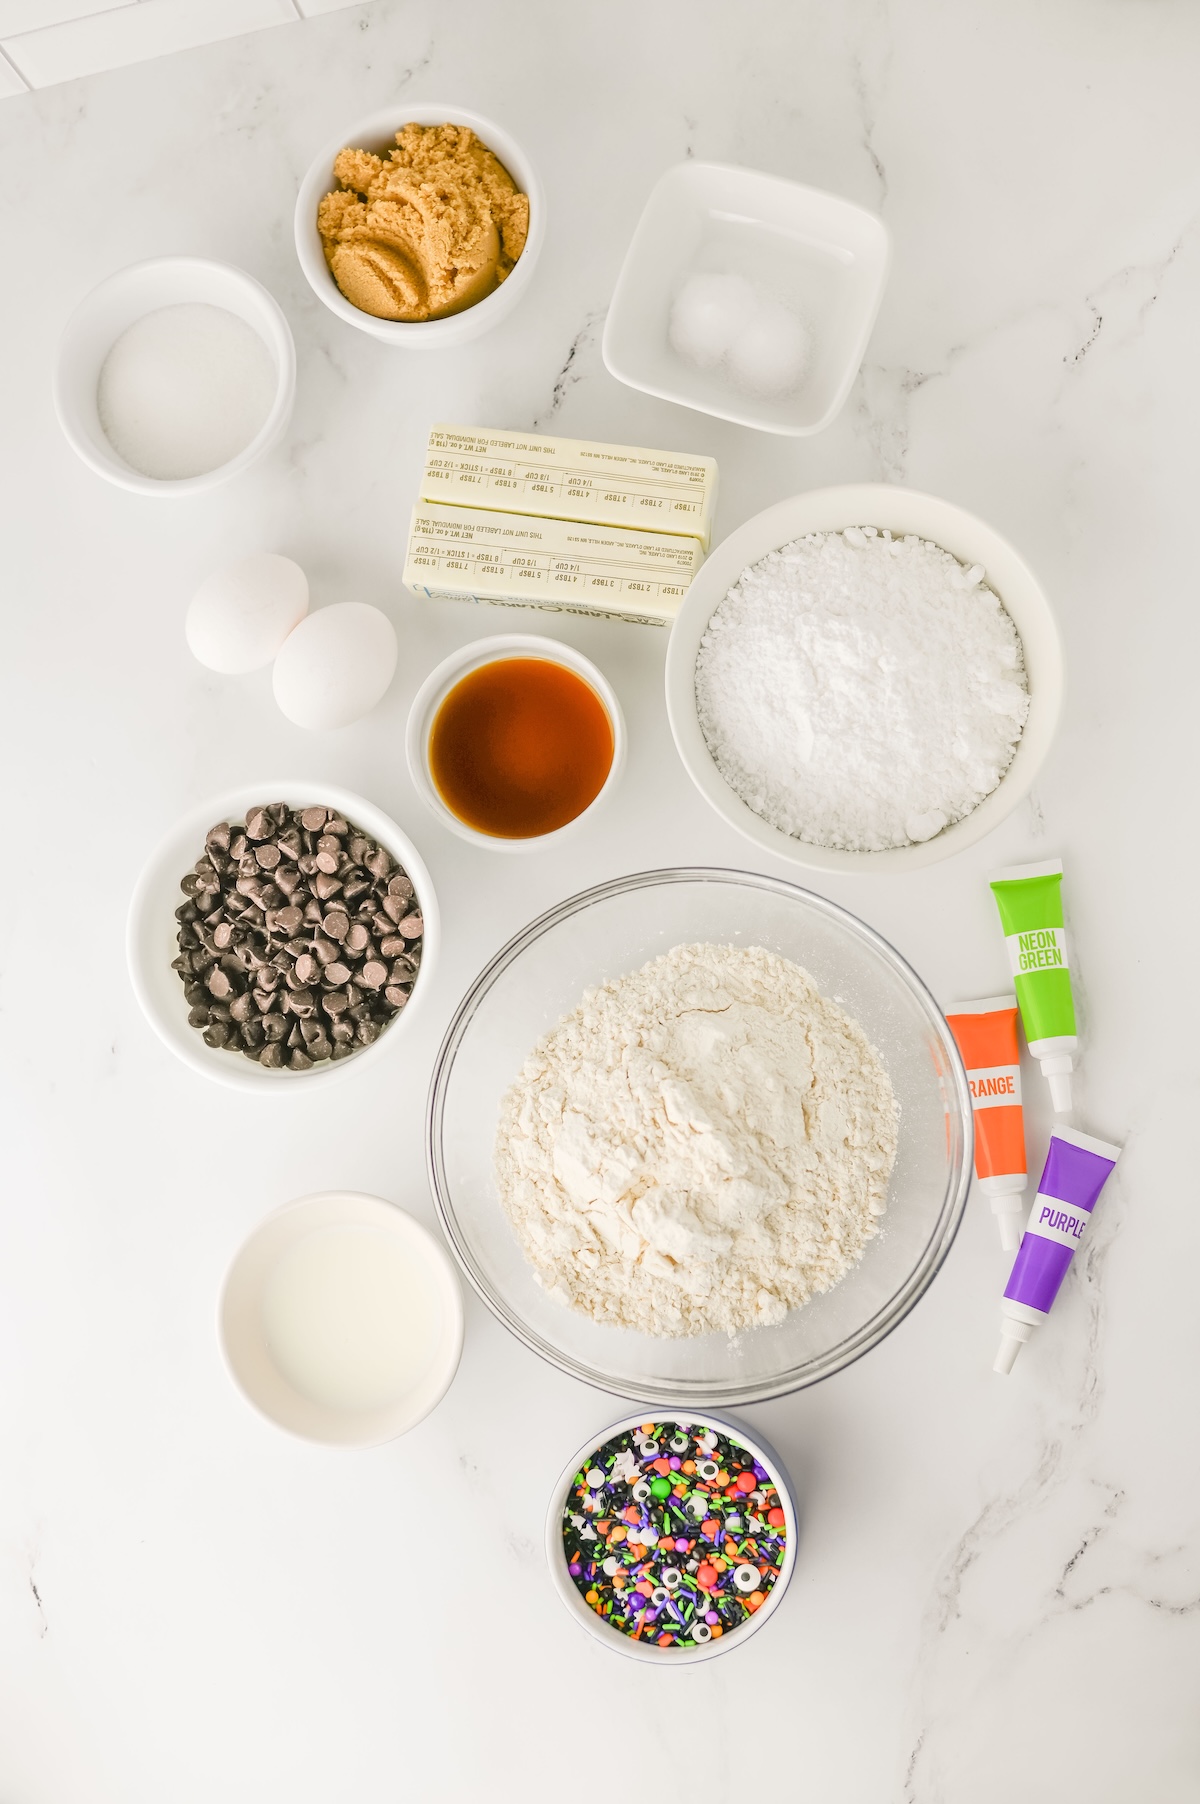
For the Cookie Cake:
- 1 cup unsalted butter, divided
- 2/3 cup brown sugar
- 1/3 cup granulated sugar
- 2 large eggs
- 2 1/2 tsp vanilla extract
- 2 cups all-purpose flour
- 1 tsp salt
- 3/4 tsp baking soda
- 1 cup semi-sweet chocolate chips
For the Festive Frosting & Decorations:
- 2 cups powdered sugar
- 1 tbsp milk (plus a little more, if needed)
- Green, orange, and purple gel food coloring
- Halloween sprinkles
- Candy eyes
- Piping bags and tips
Step-by-Step Baking Instructions
Ready to make some magic? Follow these simple steps for a perfect Halloween cookie cake every time.
Making the Cookie Dough
Prep Your Oven and Pan: First things first, preheat your oven to 350°F (175°C). Lightly spray a 9-inch springform pan with non-stick cooking spray to ensure your giant cookie comes out cleanly.
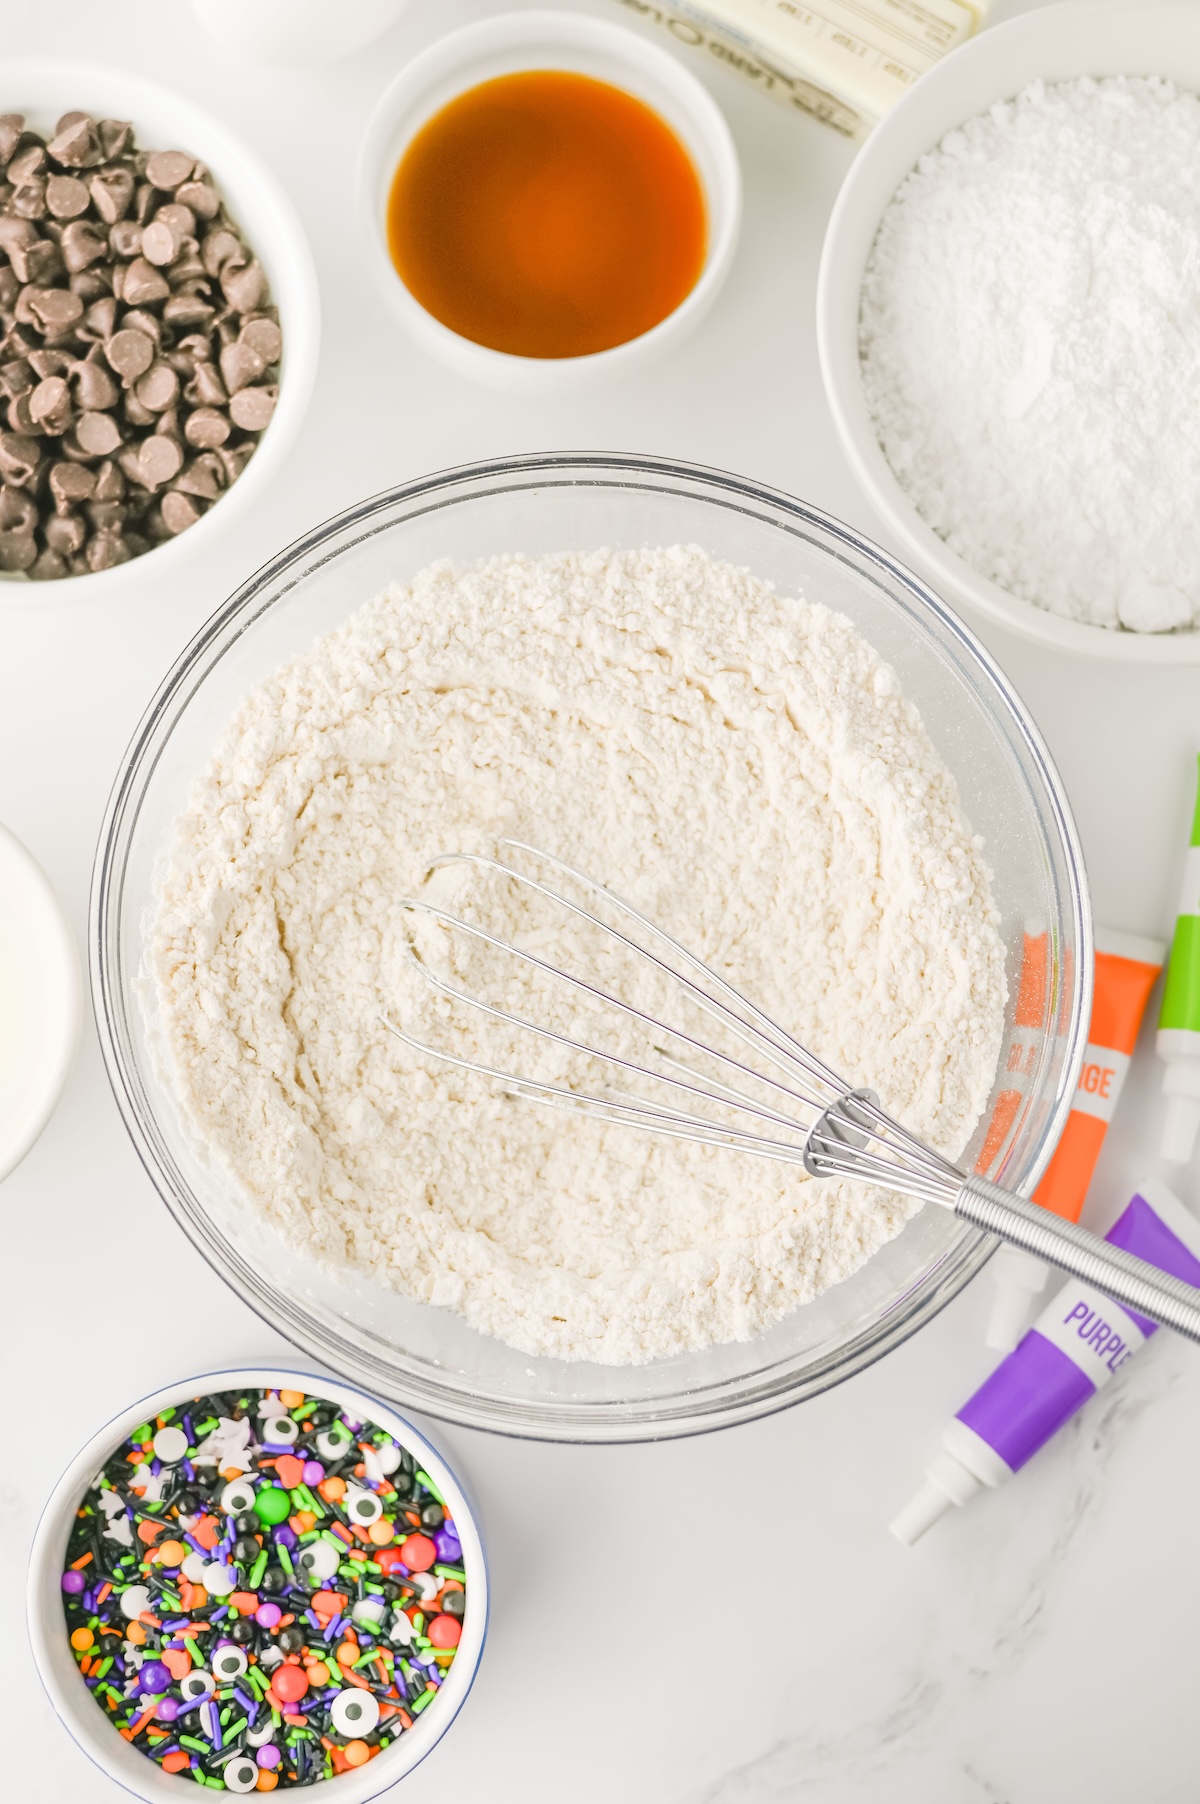
Combine Dry Ingredients: In a large mixing bowl, whisk together the all-purpose flour, salt, and baking soda. This helps distribute the leavening agents evenly. Set this bowl aside for now.
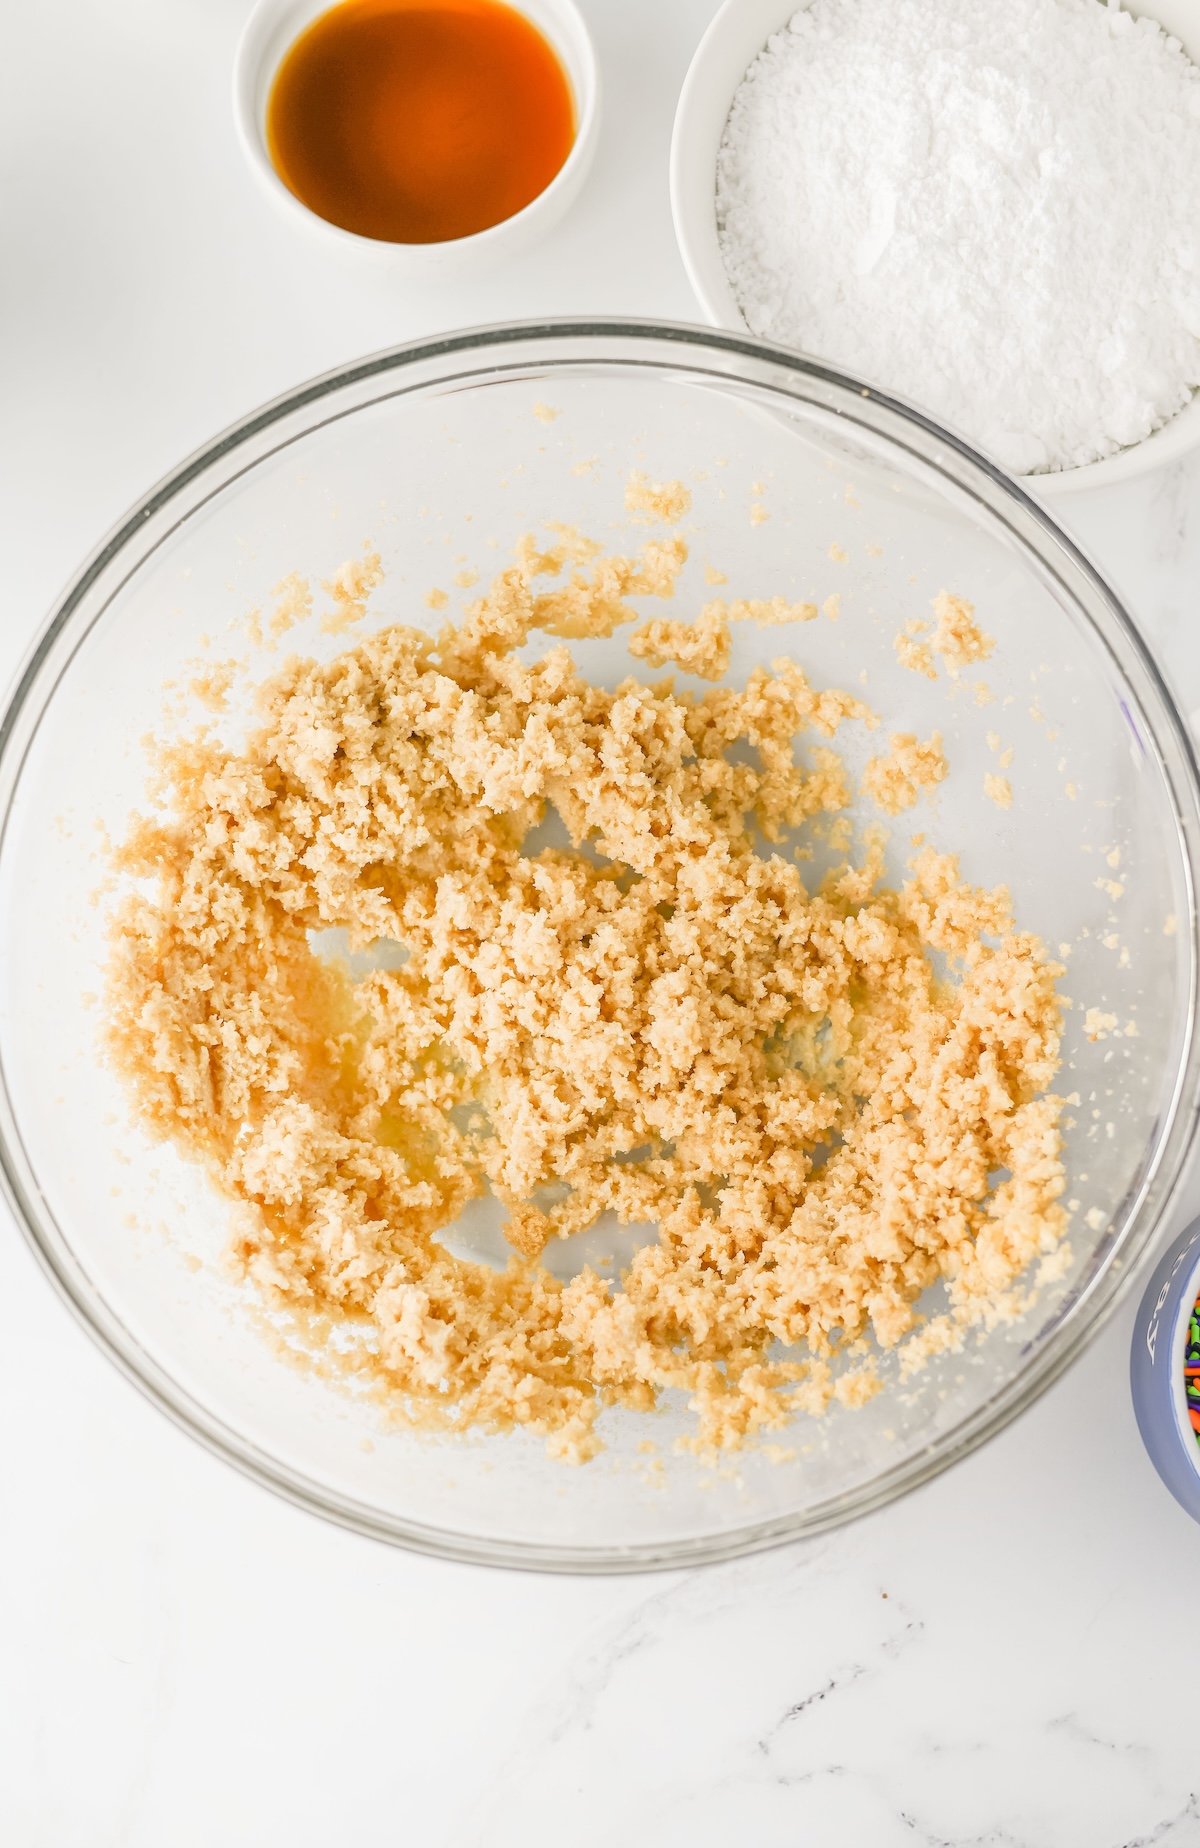
Cream Butter and Sugars: In a separate large bowl (or the bowl of your stand mixer), beat 1/2 cup of the unsalted butter (make sure it’s softened!), the brown sugar, and the granulated sugar together. Mix on medium-high speed until the mixture is light and fluffy.
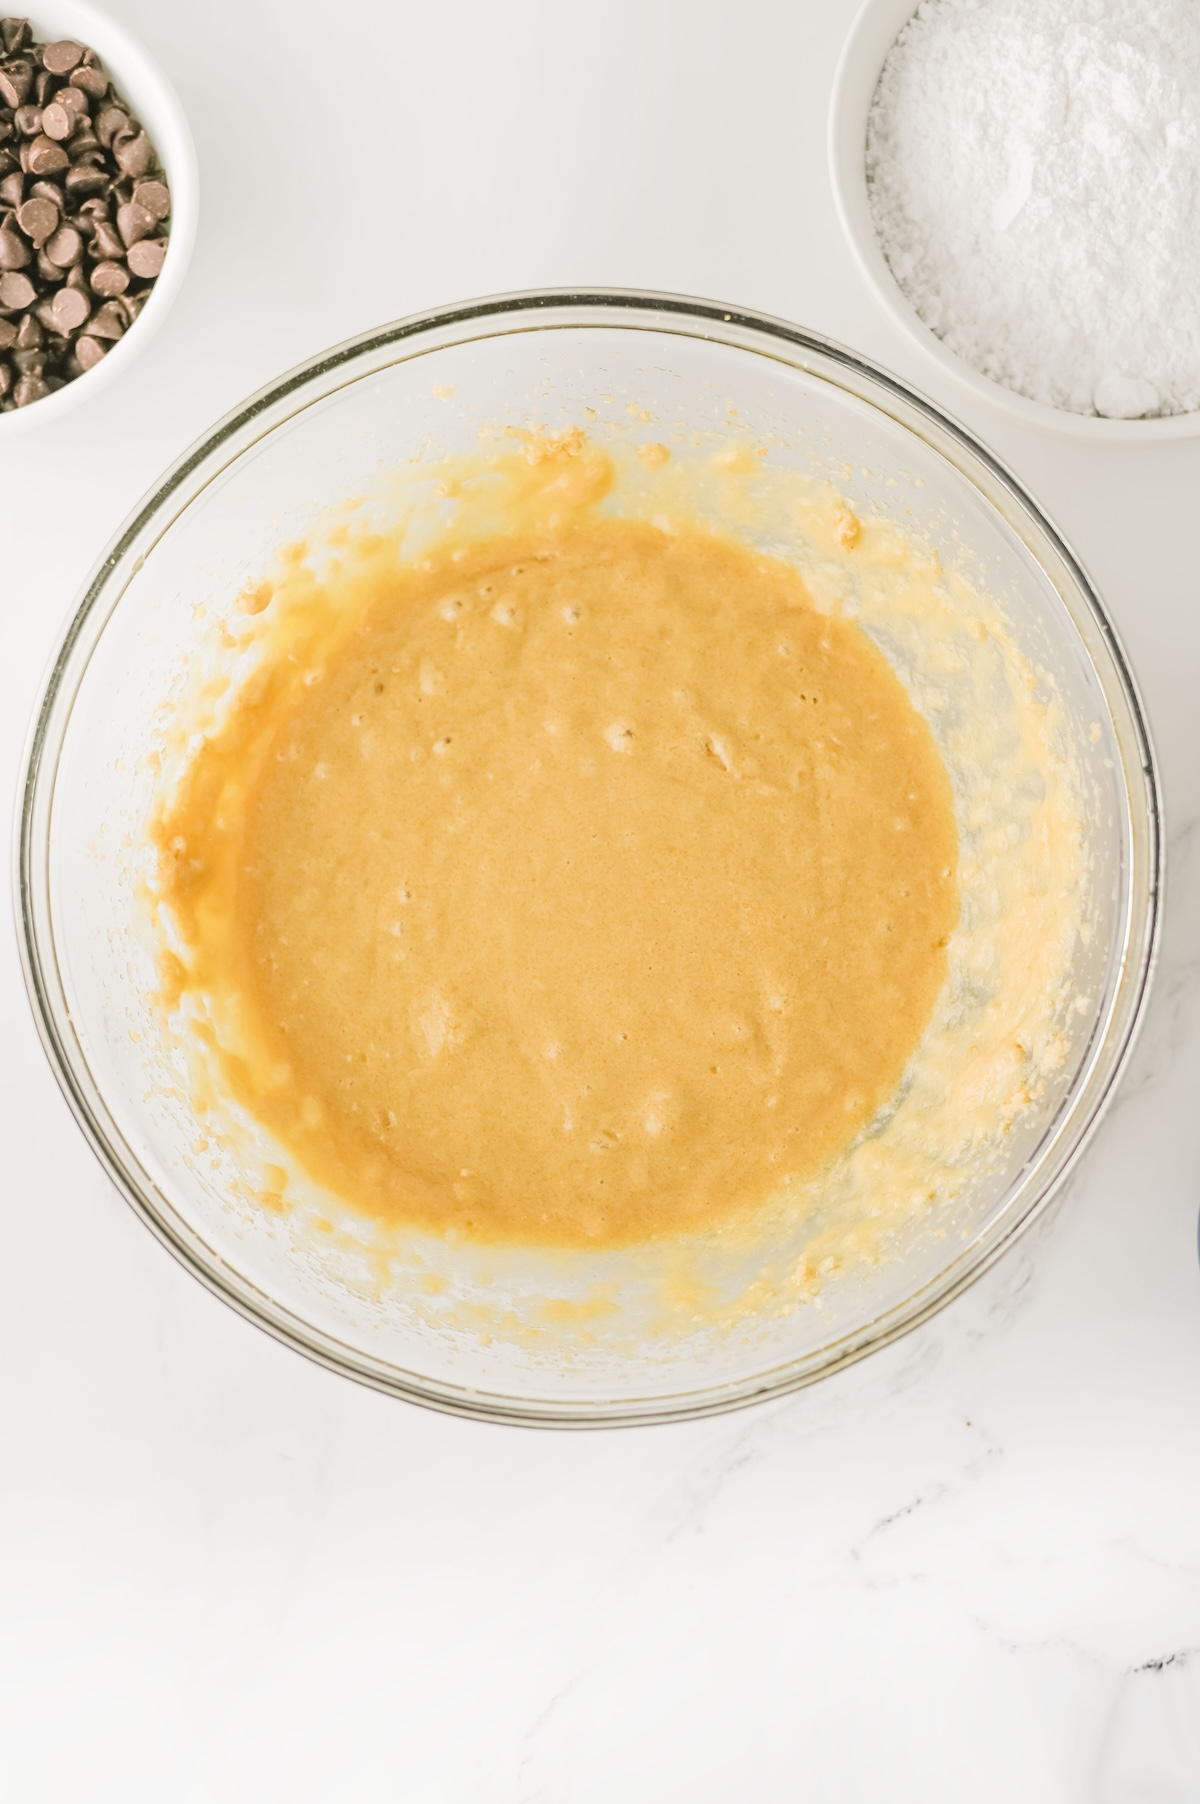
Add Wet Ingredients: Add the eggs and vanilla extract to the butter mixture. Mix well until everything is fully combined. Scrape down the sides of the bowl as needed.
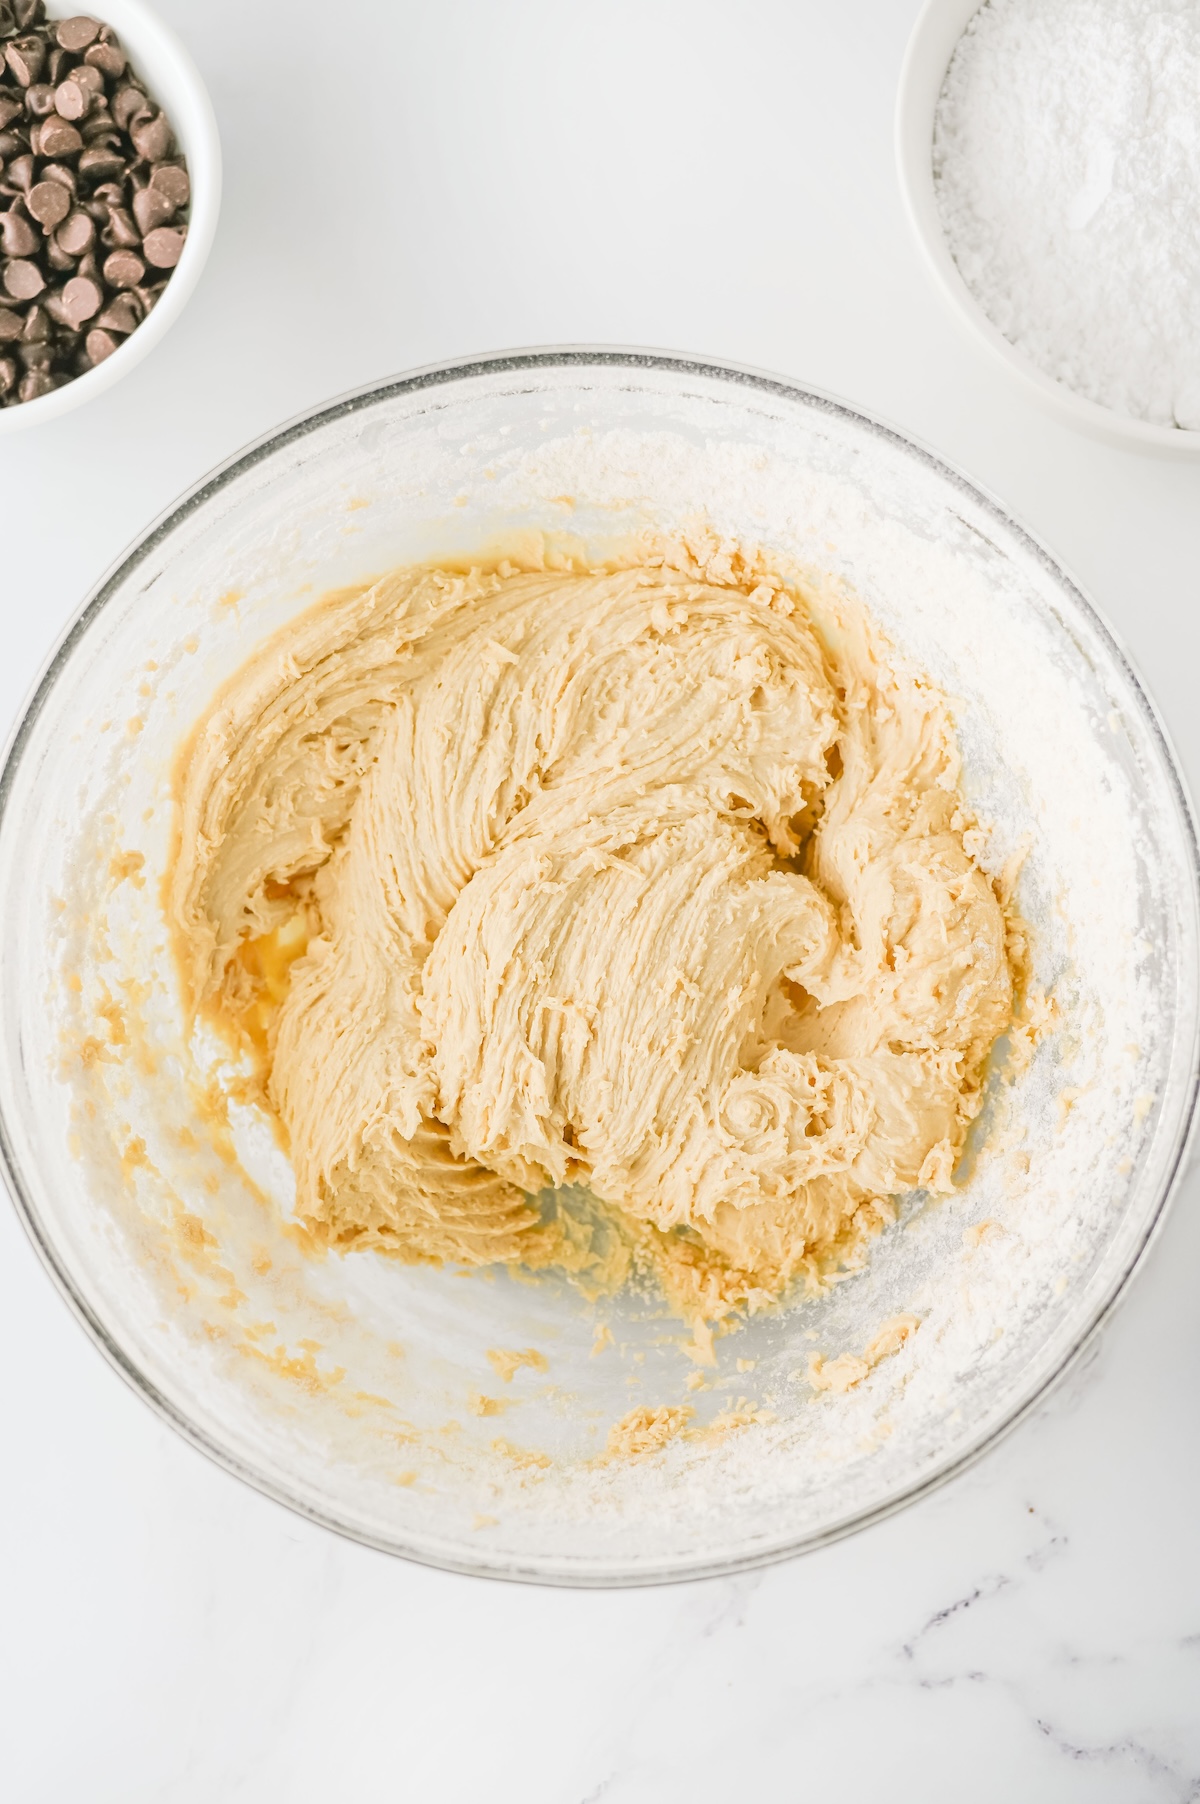
Combine Wet and Dry: Slowly add the flour mixture to the wet ingredients, mixing on low speed until just combined. Be careful not to overmix here; that’s the secret to a soft, chewy cookie!
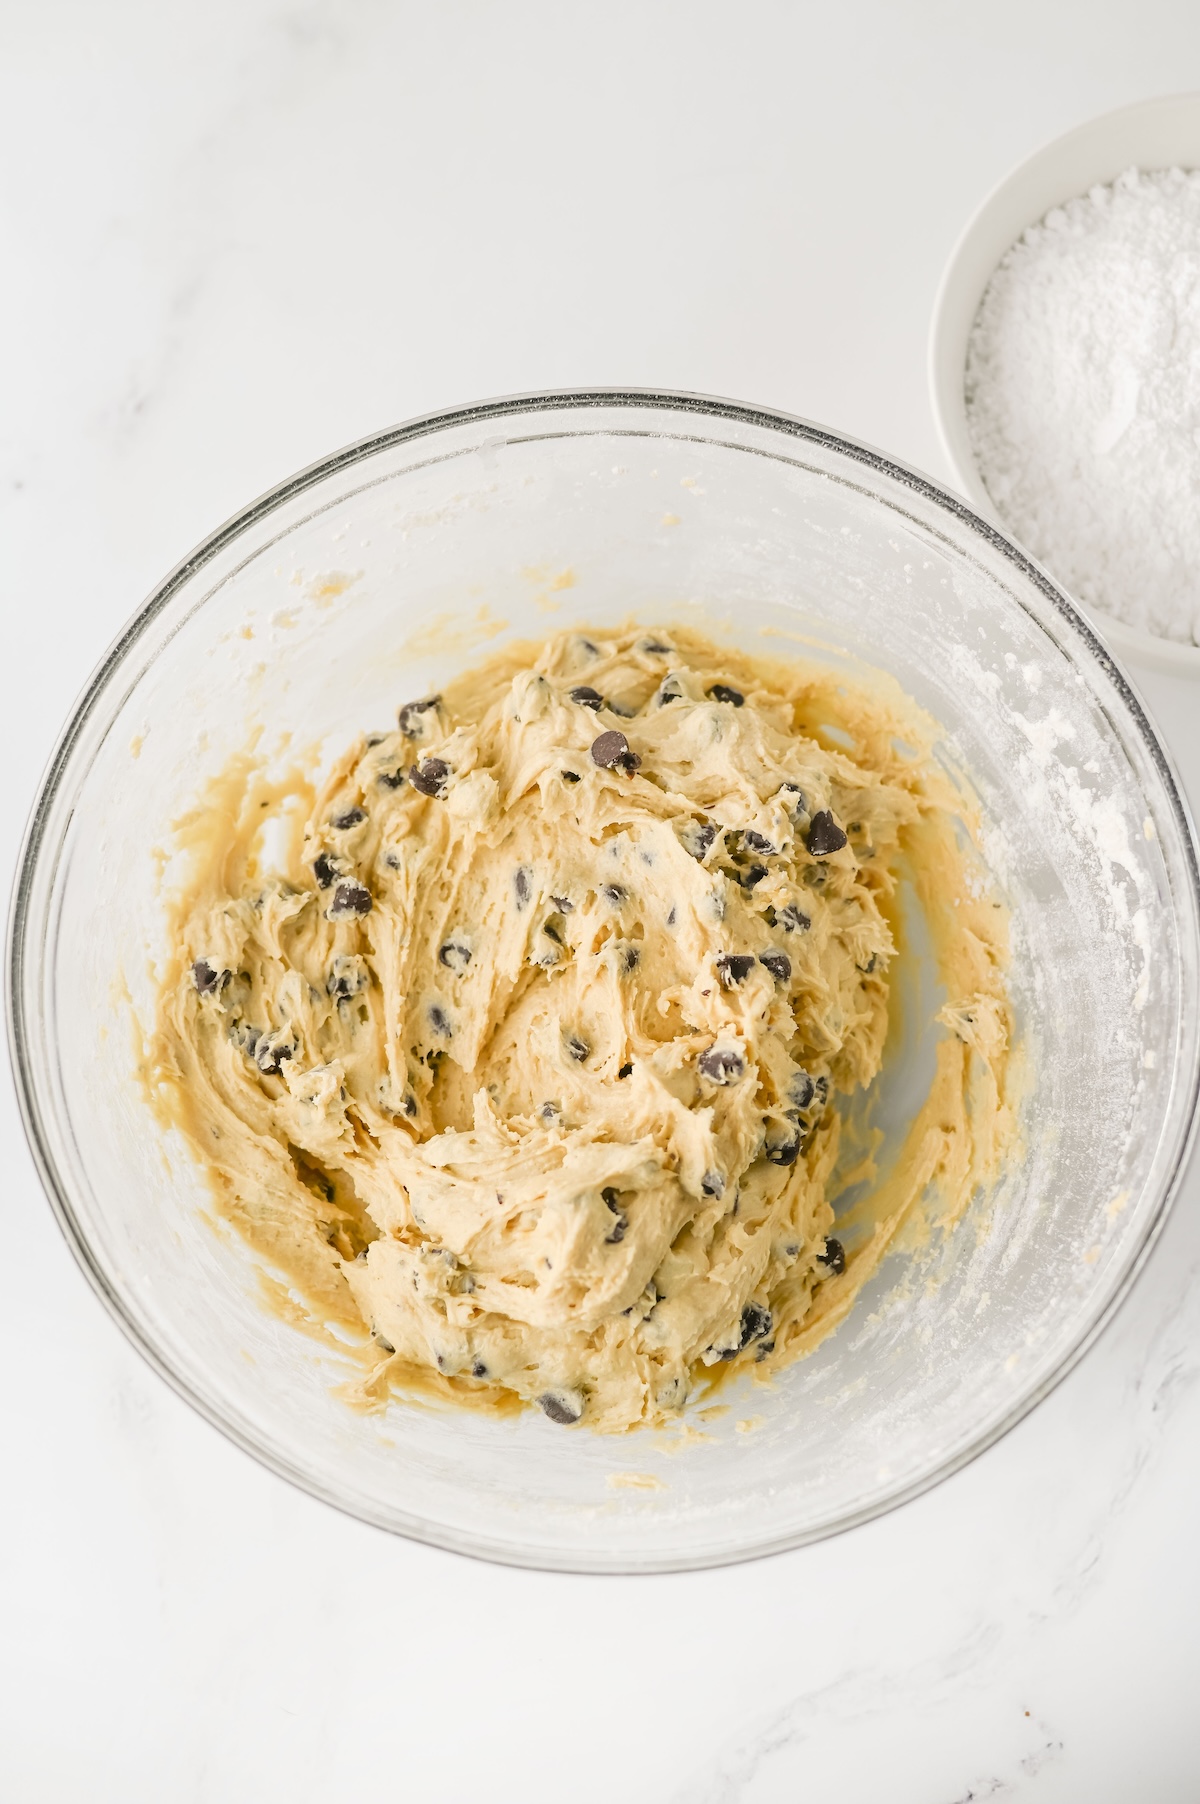
Fold in Chocolate Chips: Gently fold in the semi-sweet chocolate chips using a spatula.
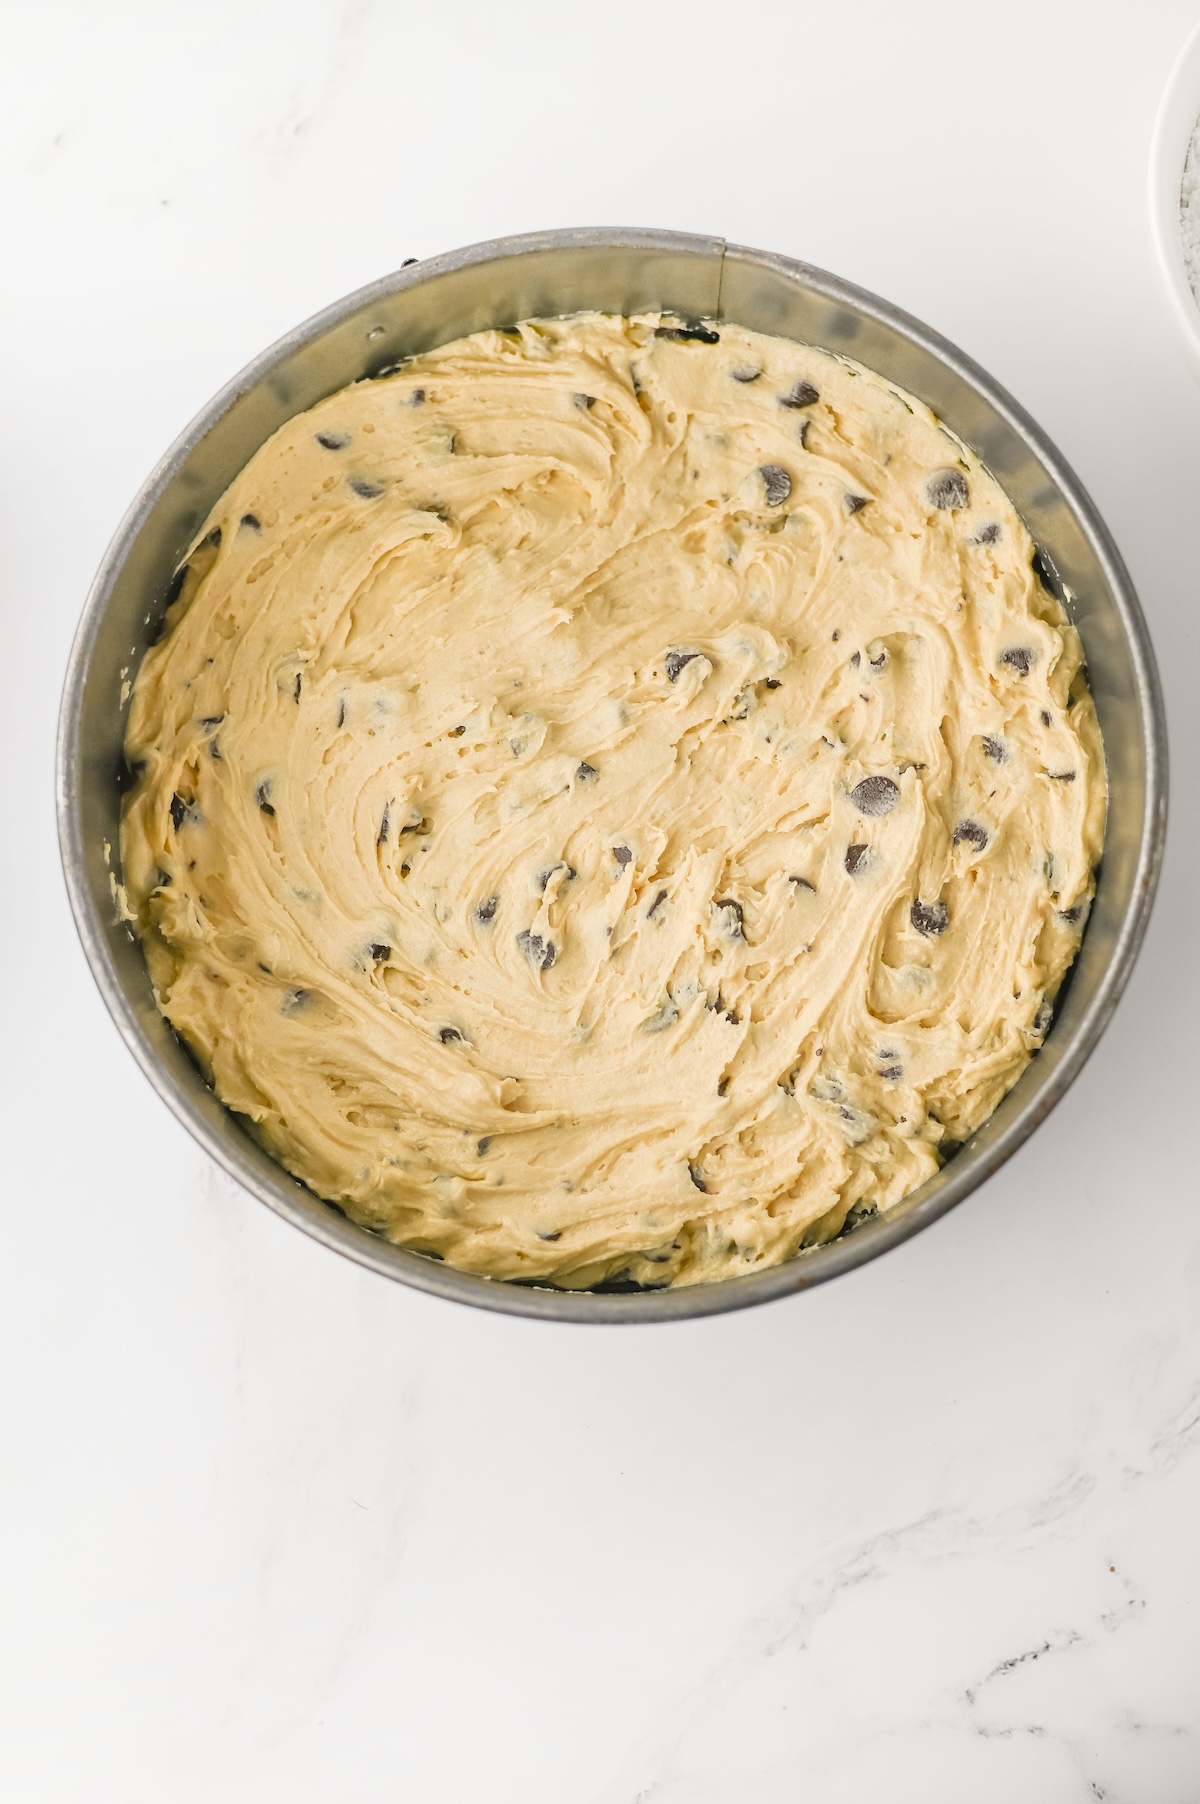
Press and Bake: Transfer the cookie dough into your prepared springform pan. Use your hands or the back of a spatula to press the dough into an even layer. Bake for 23-25 minutes, or until the edges are firm and the top is a beautiful golden brown.
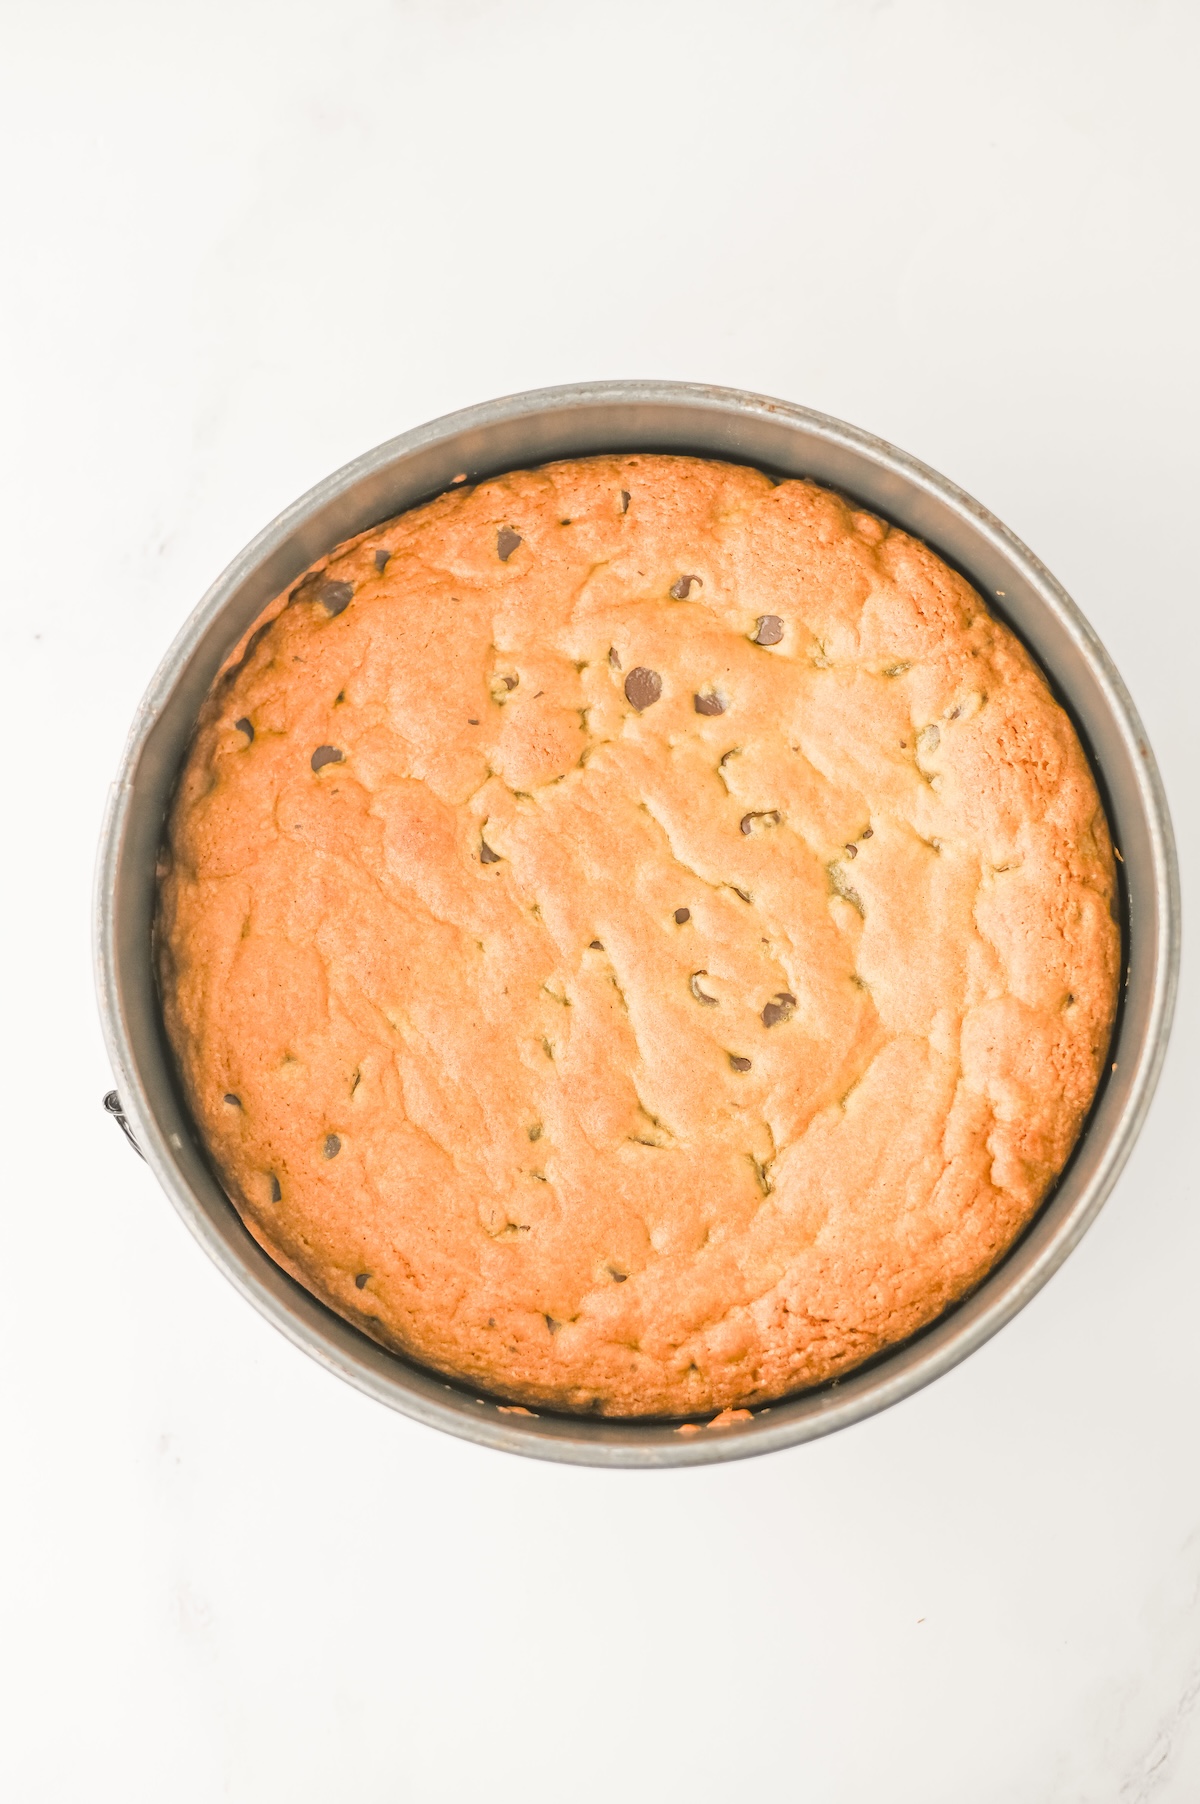
Cool Completely: Allow the cookie cake to cool completely in the pan on a wire rack. Once cooled, you can release the sides of the springform pan.
Whipping Up the Buttercream Frosting
Mix Butter and Sugar: In a mixing bowl, beat the remaining 1/2 cup of softened butter with the powdered sugar. Start on low speed to avoid a sugar cloud, then increase to medium-high.
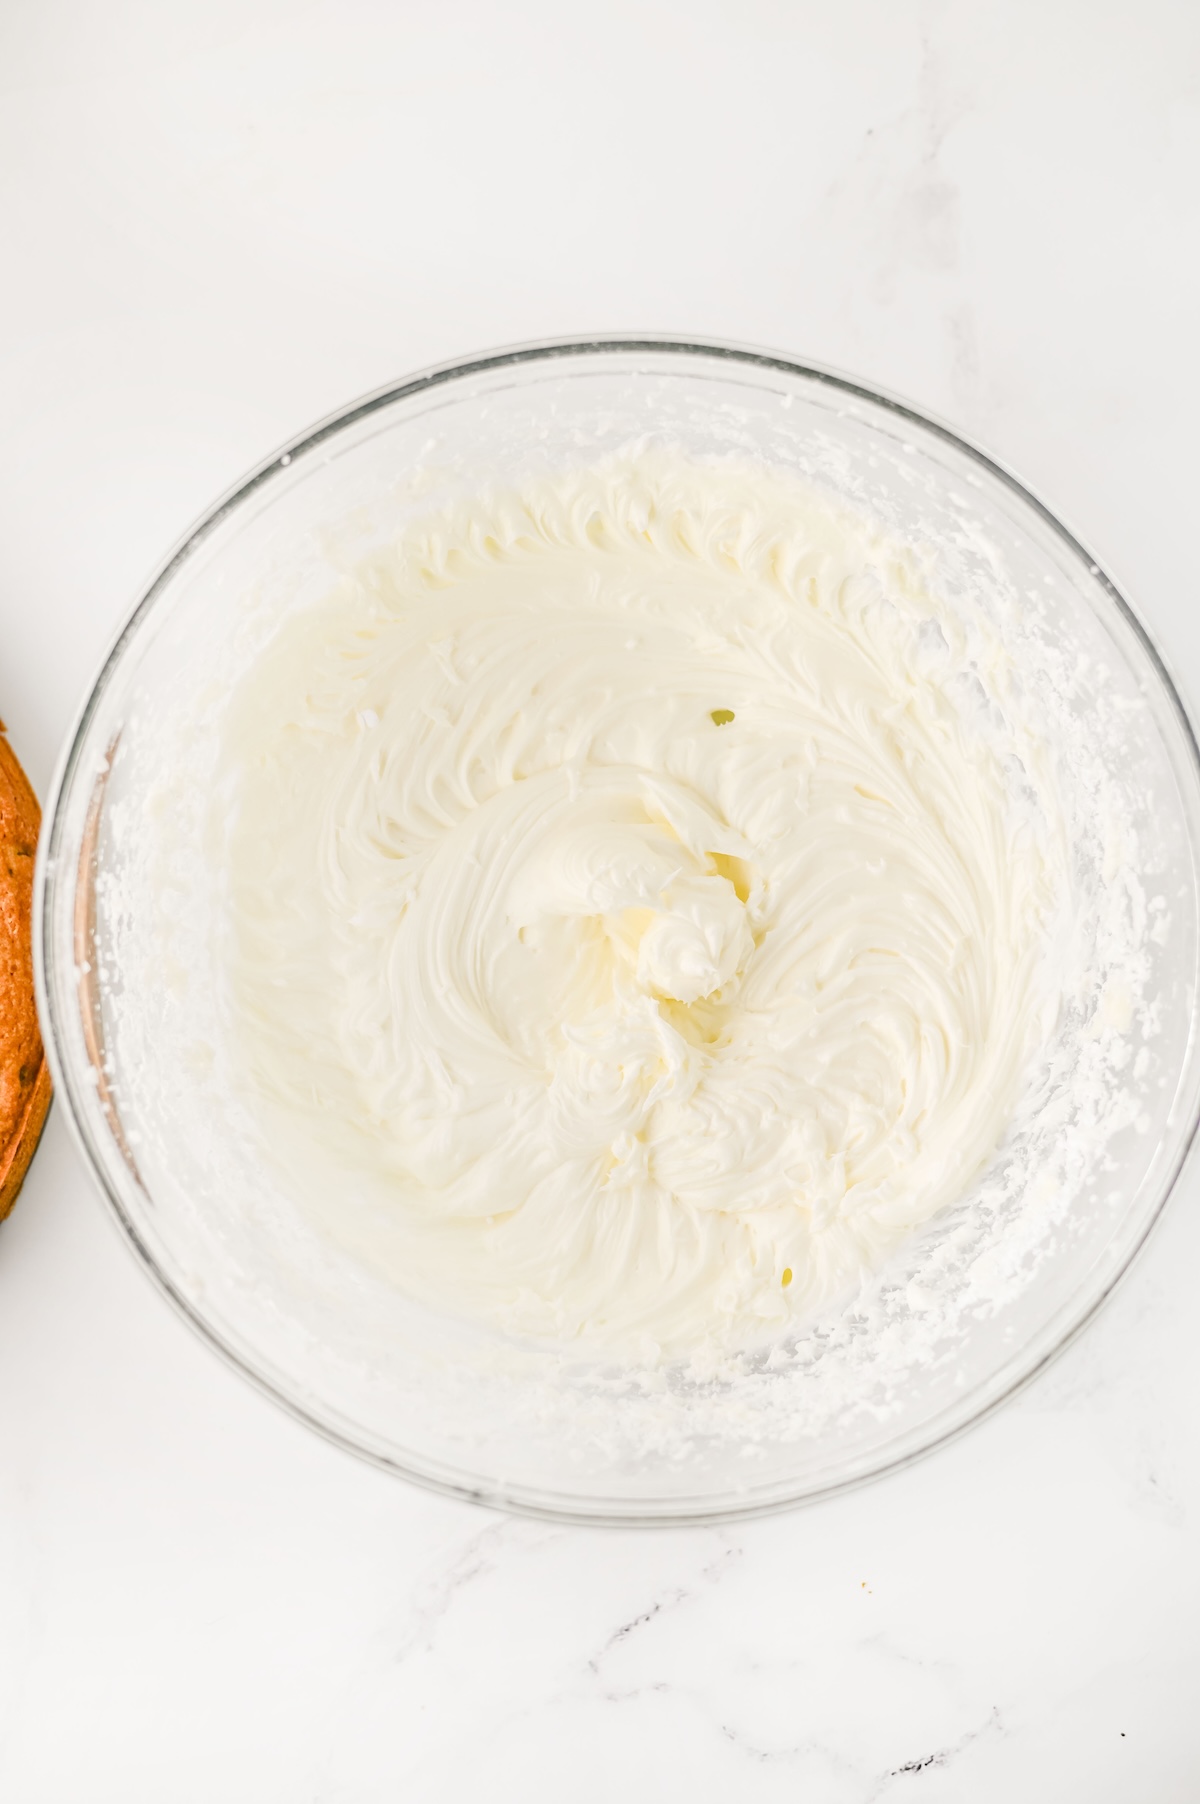
Add Milk: Slowly add the milk while mixing. You’re looking for a stable frosting that can hold its shape when piped. If it seems too stiff, add a tiny bit more milk. If it’s too thin, add a little more powdered sugar to get the right consistency.
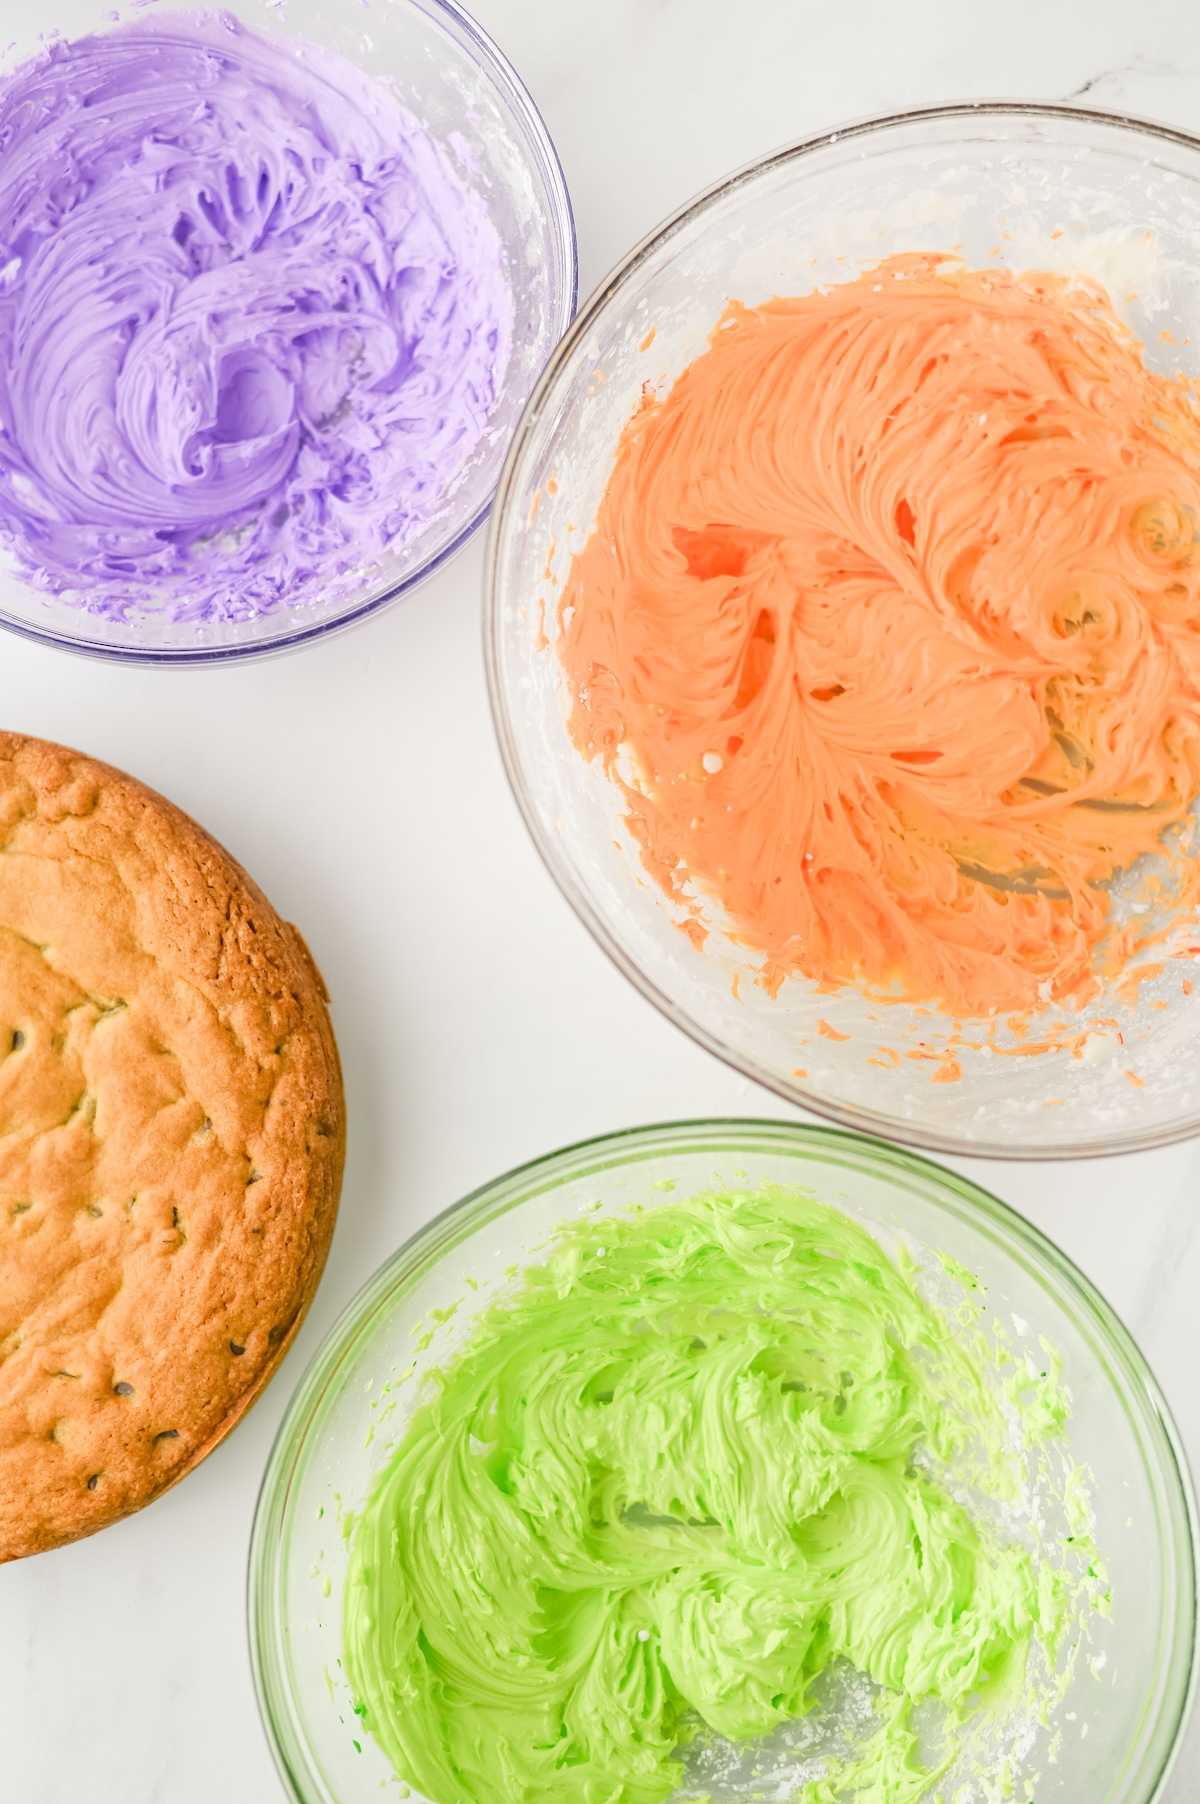
Color Your Frosting: Divide the frosting evenly into three separate bowls. Add a few drops of orange gel food coloring to one bowl, green to another, and purple to the third. Mix each one until the color is fully incorporated and vibrant.
Prepare Piping Bags: Add your desired piping tips to three separate piping bags. Fill each bag with one of the colored frostings.
Decorating Your Halloween Masterpiece
This is where the real fun begins!
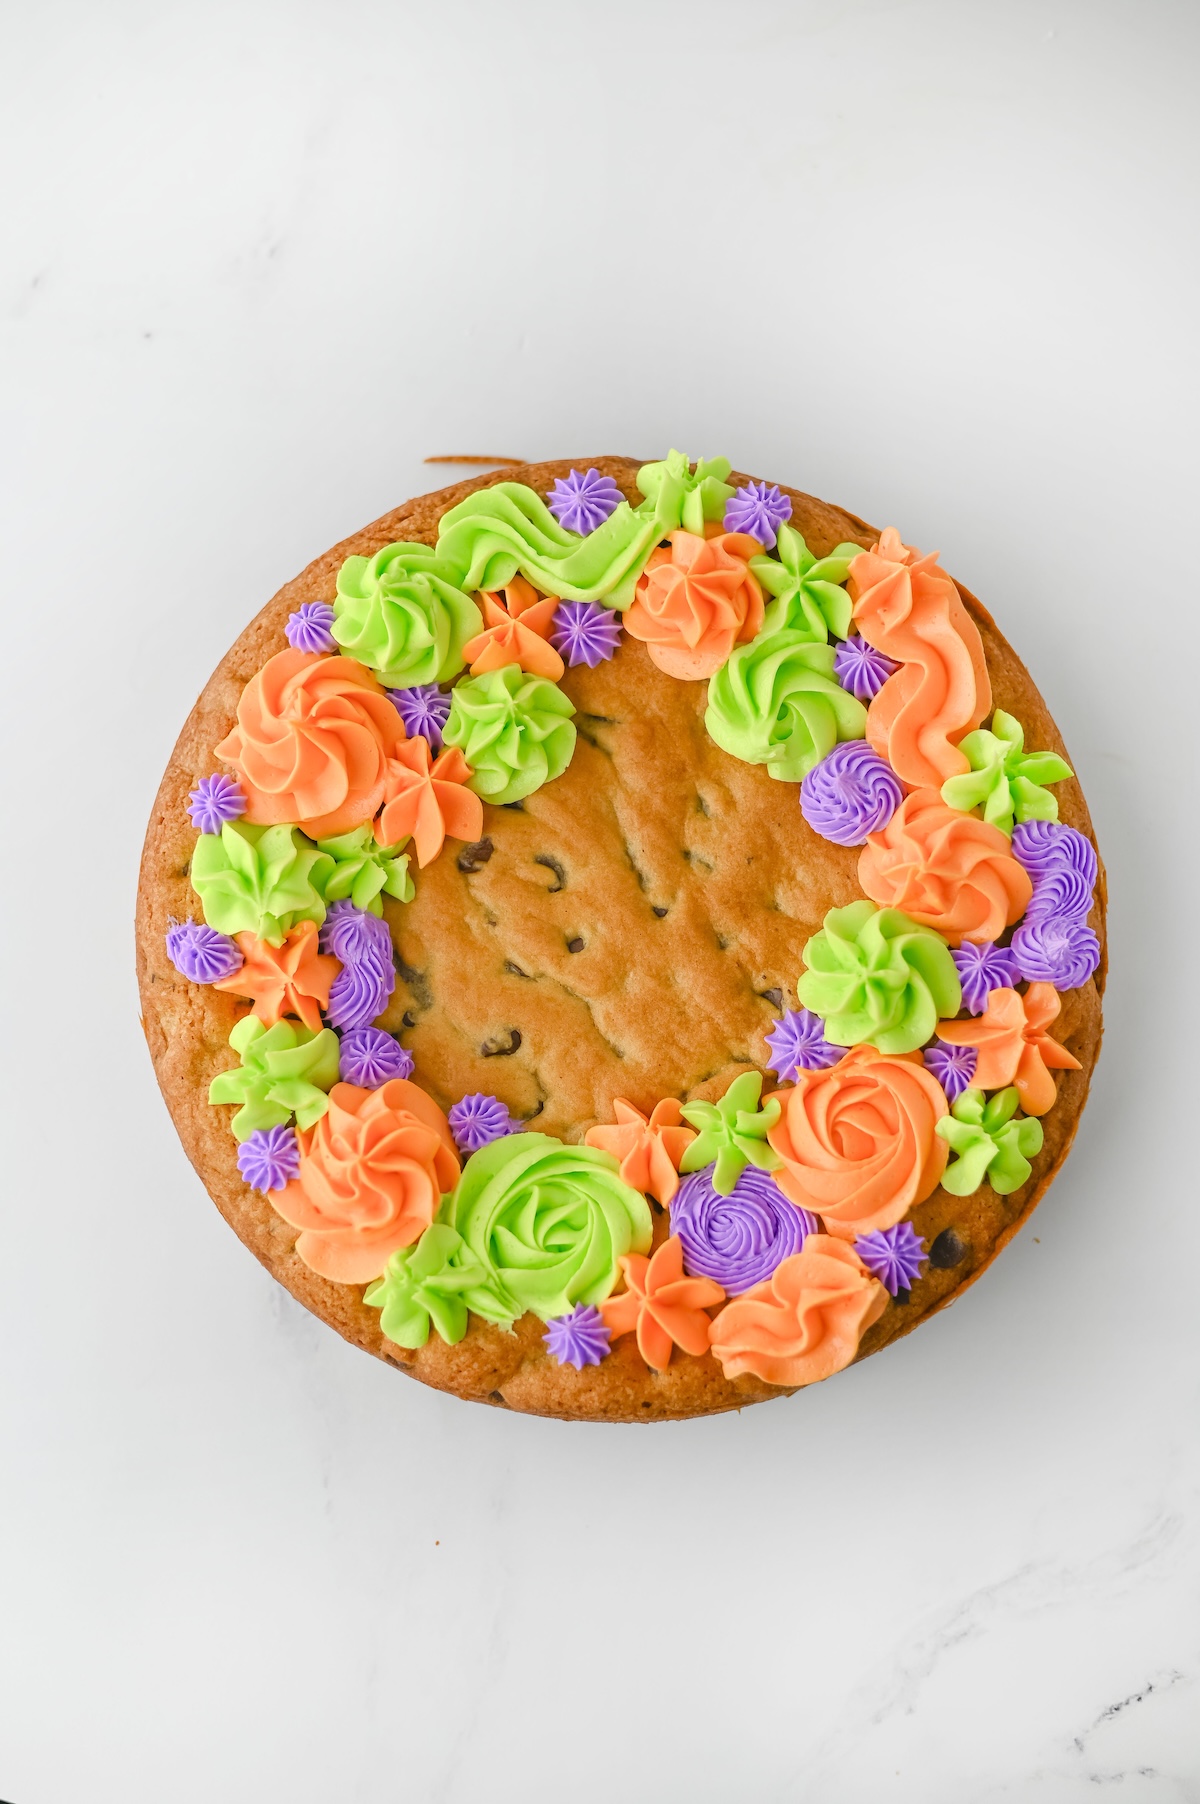
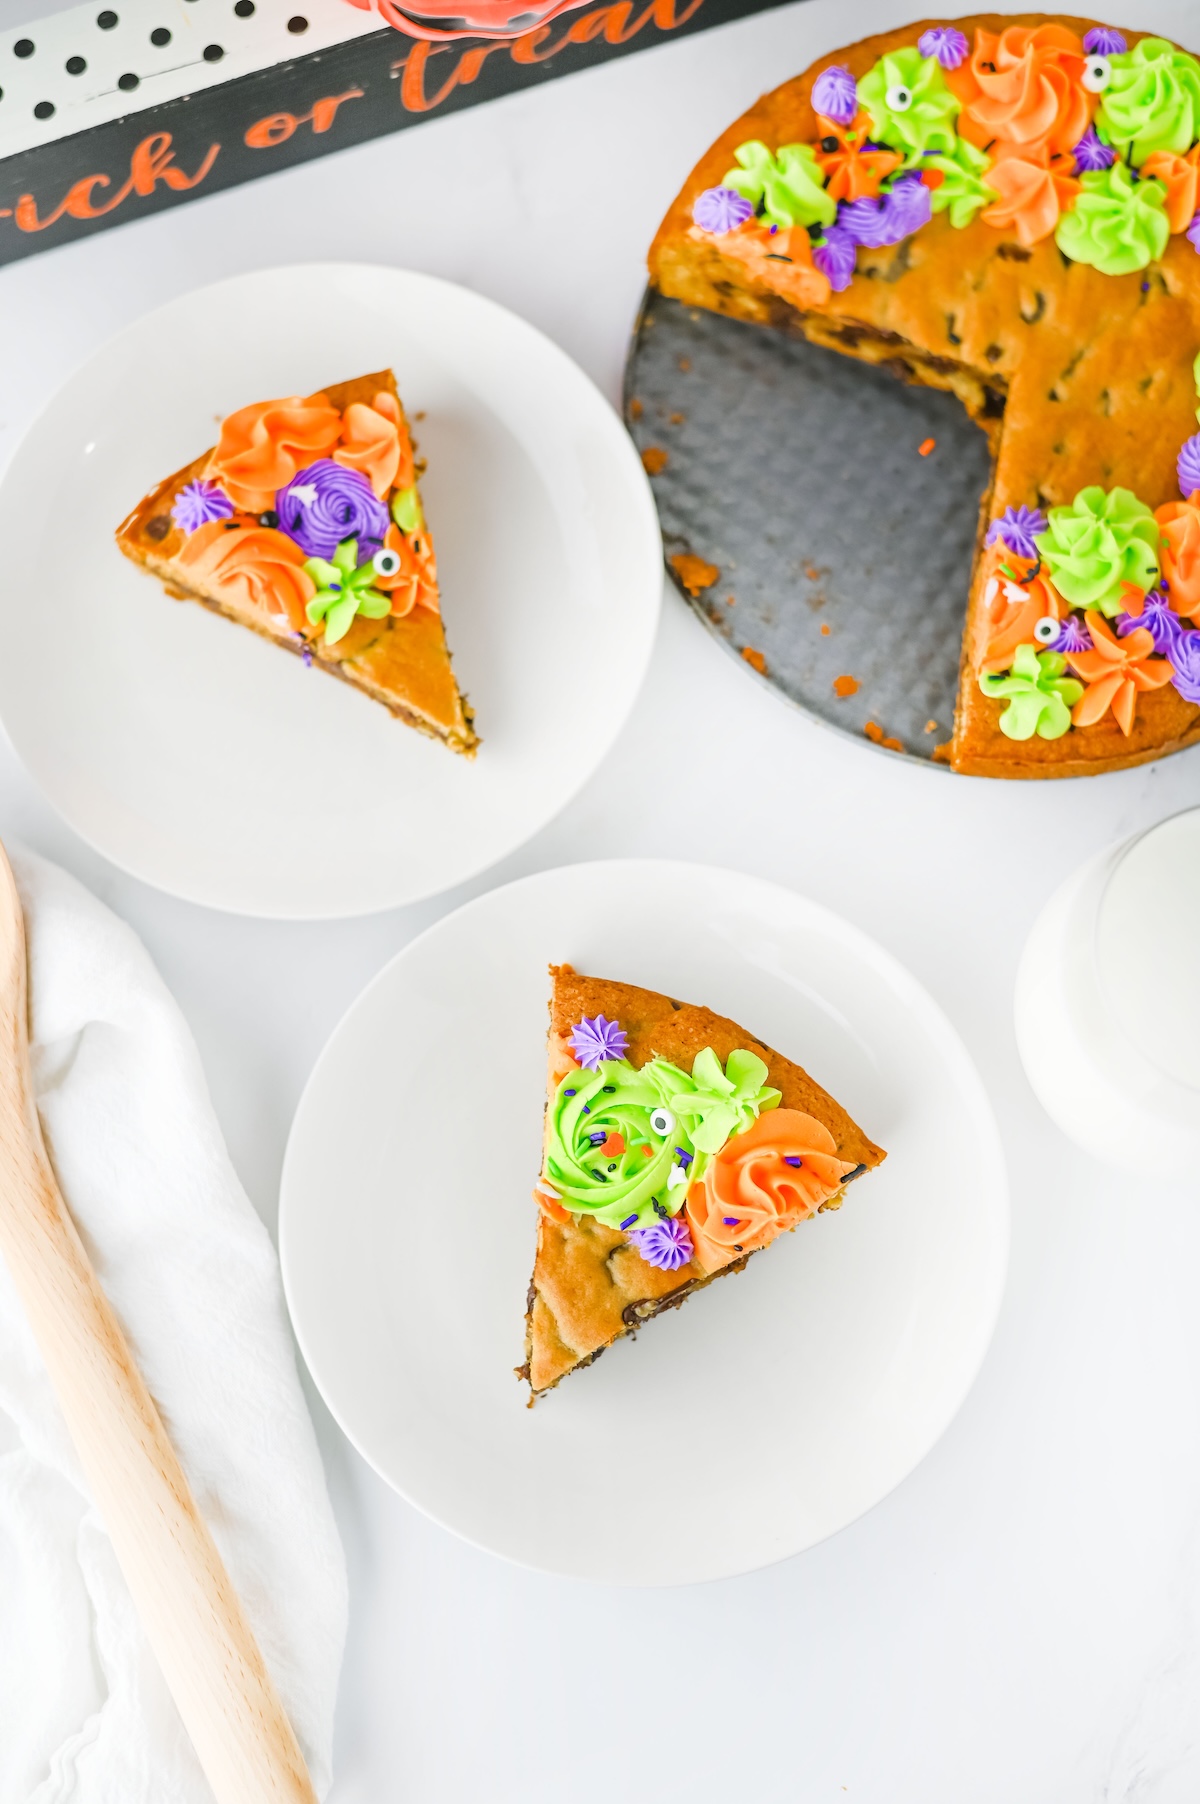
Pipe Your Design: Use the different colored frostings to create a fun and spooky design on your cooled cookie cake. You can create rosettes, stars, or simple lines. Alternate the colors to make a festive pattern around the border.
Get Creative: Don’t be afraid to experiment! You could pipe a jack-o’-lantern face in the center with the orange frosting or create a silly monster with all three colors.
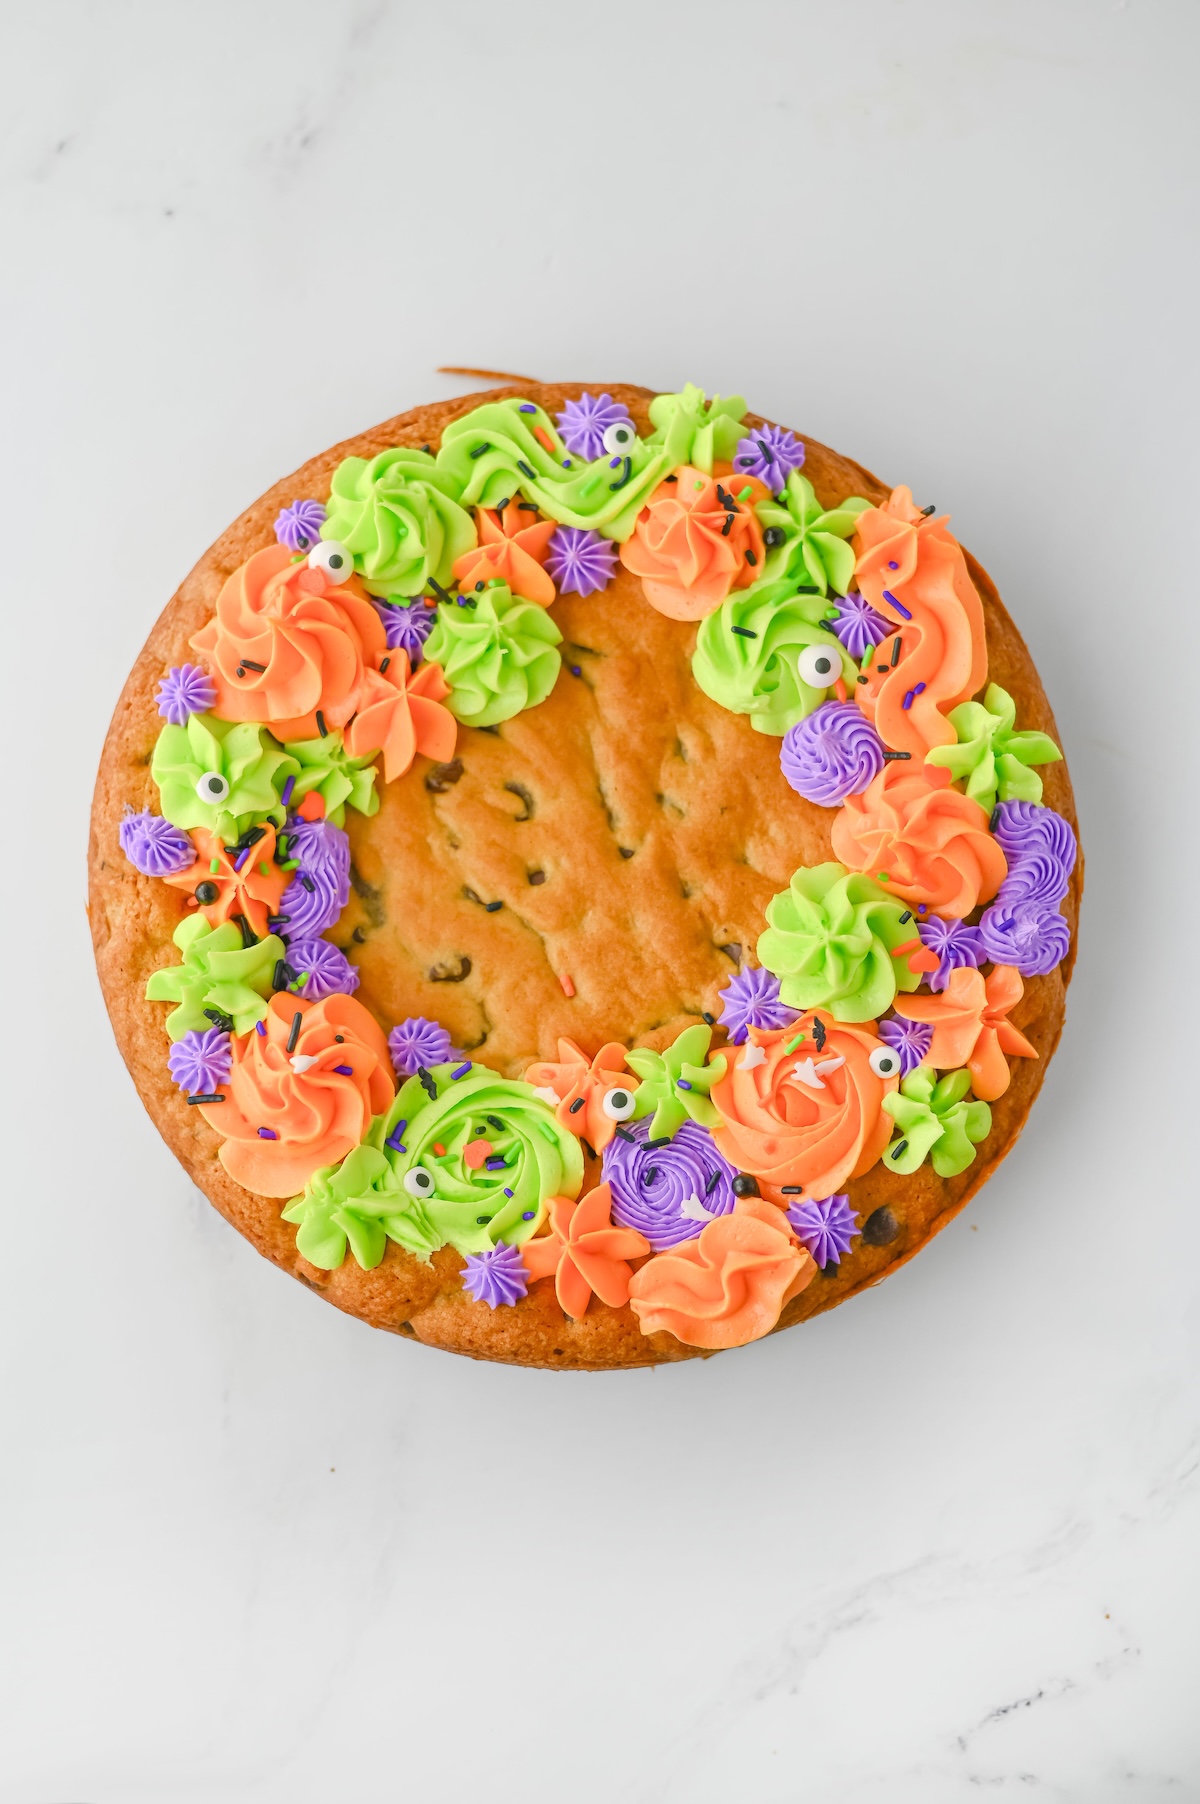
Add the Finishing Touches: Immediately after frosting, go wild with the Halloween sprinkles. Place the candy eyes strategically on your piped frosting to bring your monsters or ghouls to life.
Halloween Cookie Cake
Equipment
- 1 cake pan
- piping bags and tips
Ingredients
- 1 cup unsalted butter divided
- 2/3 cup brown sugar
- 1/3 cup granulated sugar
- 2 eggs
- 2 1/2 tsp vanilla extract
- 2 cups all purpose flour
- 1 tbsp milk
Frosting & Sprinkles
- 2 cups powdered sugar
- 1 tbsp milk
- green, orange, and purple gel food coloring
- Halloween sprinkles, plus eye candies
Time to Share and Enjoy!
And there you have it—a spooktacular Halloween Cookie Cake that’s as delicious as it is fun to look at. Slice it up like a pizza and serve it to your favorite ghosts and goblins.
We absolutely love seeing your culinary creations! If you give this recipe a try, don’t be shy. Snap a photo of your Halloween cookie cake and share it with us on social media. We can’t wait to see the spooky designs you come up with! Happy Halloween