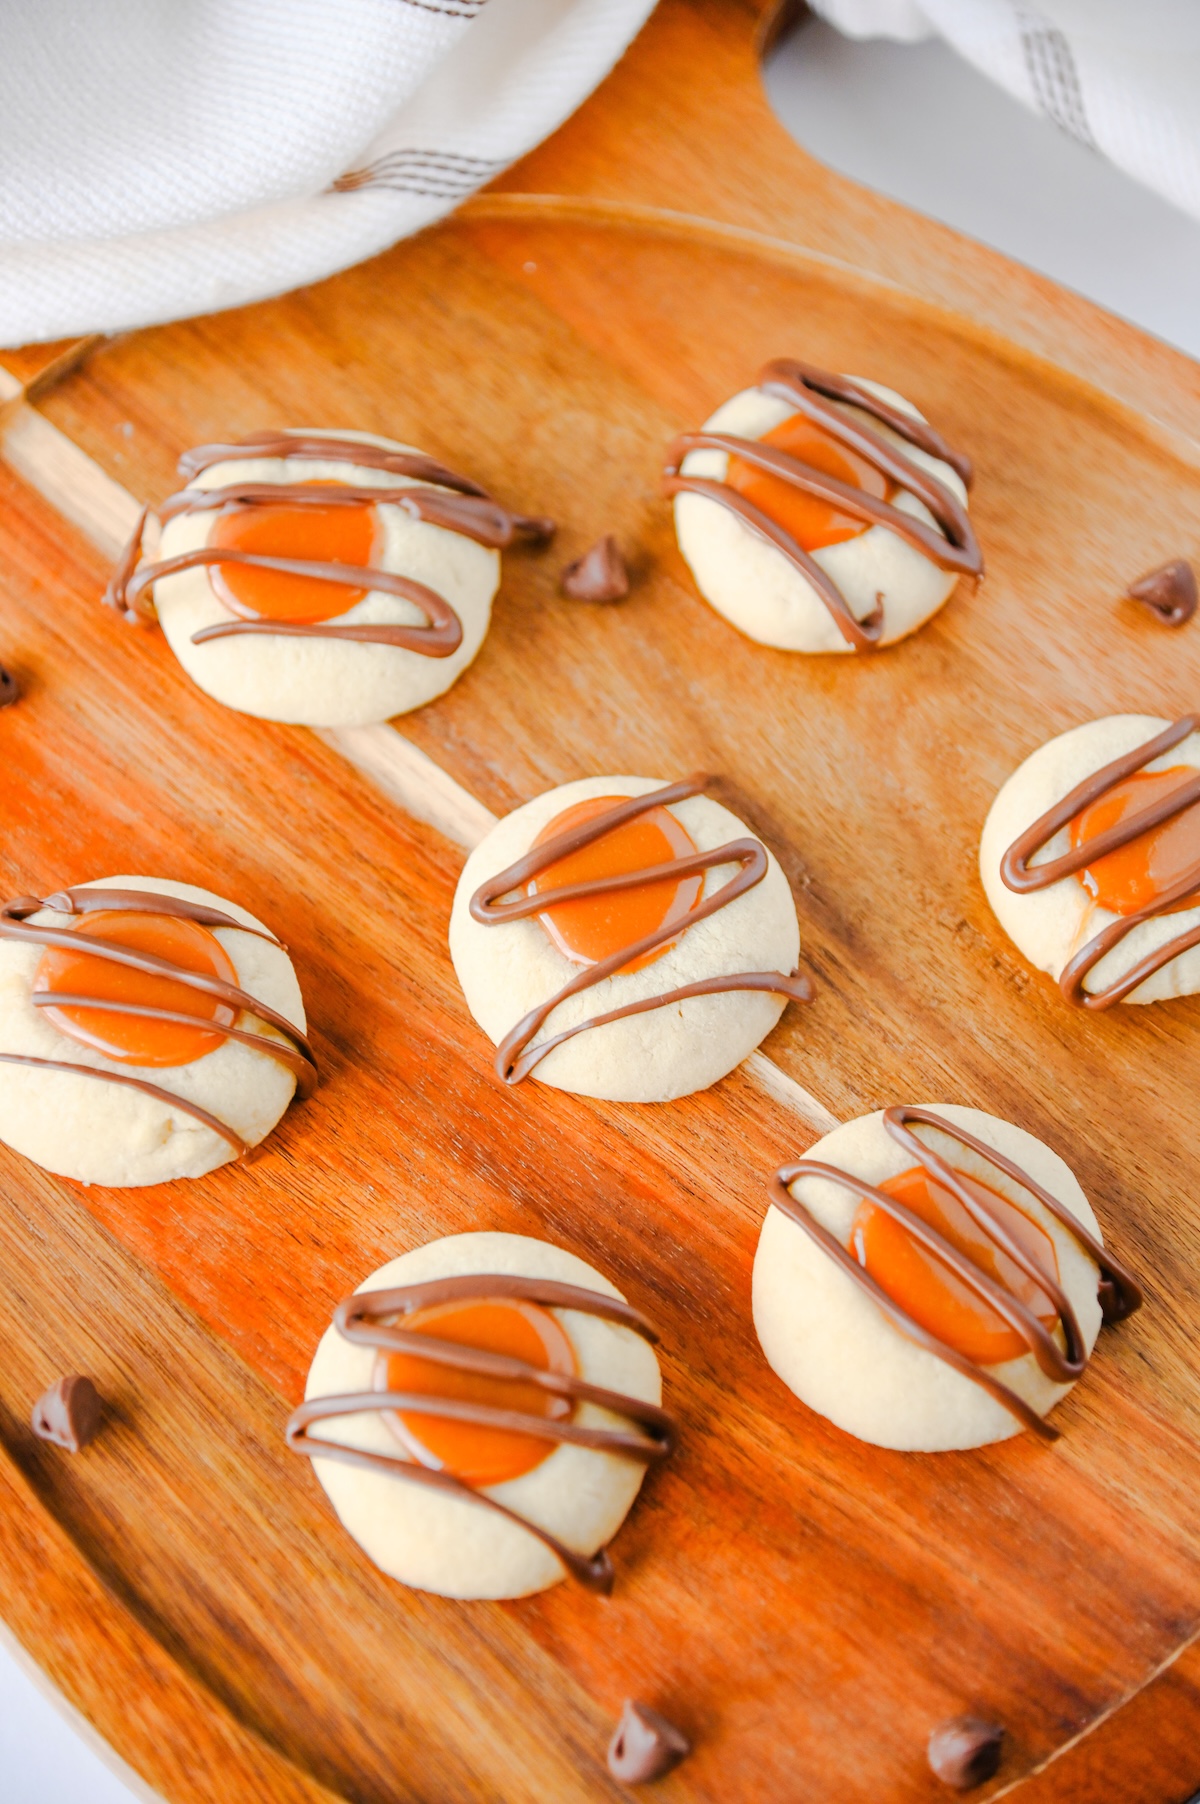
If you love the combo of buttery cookie, gooey caramel, and milk chocolate in a Twix bar, these Twix thumbprint cookies are about to become your new favorite cookie. They take everything that makes the candy bar so good and turn it into a bite-sized treat you can make right at home.
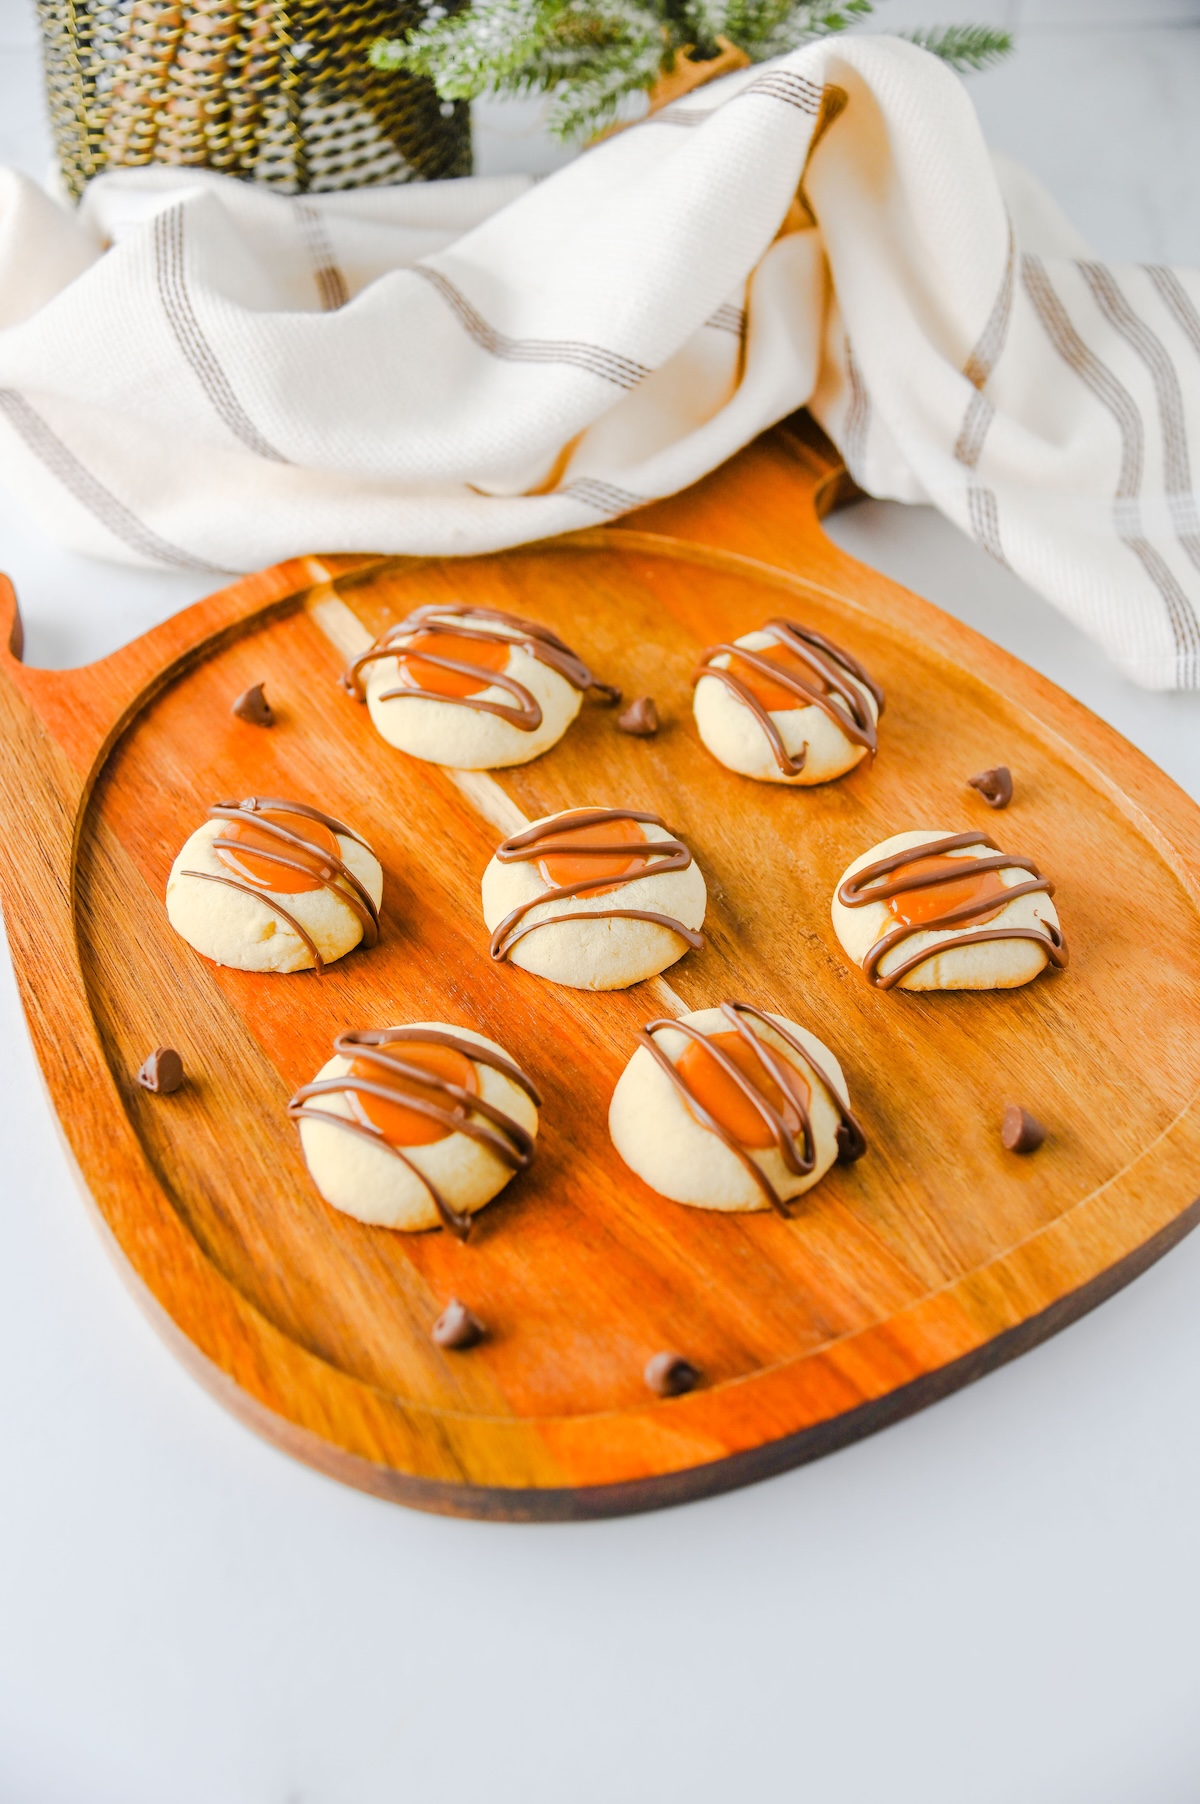
The base is a tender, buttery shortbread-style cookie with a little thumbprint in the center. Each one gets filled with smooth melted caramel and finished with a drizzle of milk chocolate. They look fancy on a cookie tray, but they’re surprisingly easy to make (and they disappear fast, so you may want to hide a few for yourself).
Why You’ll Love These
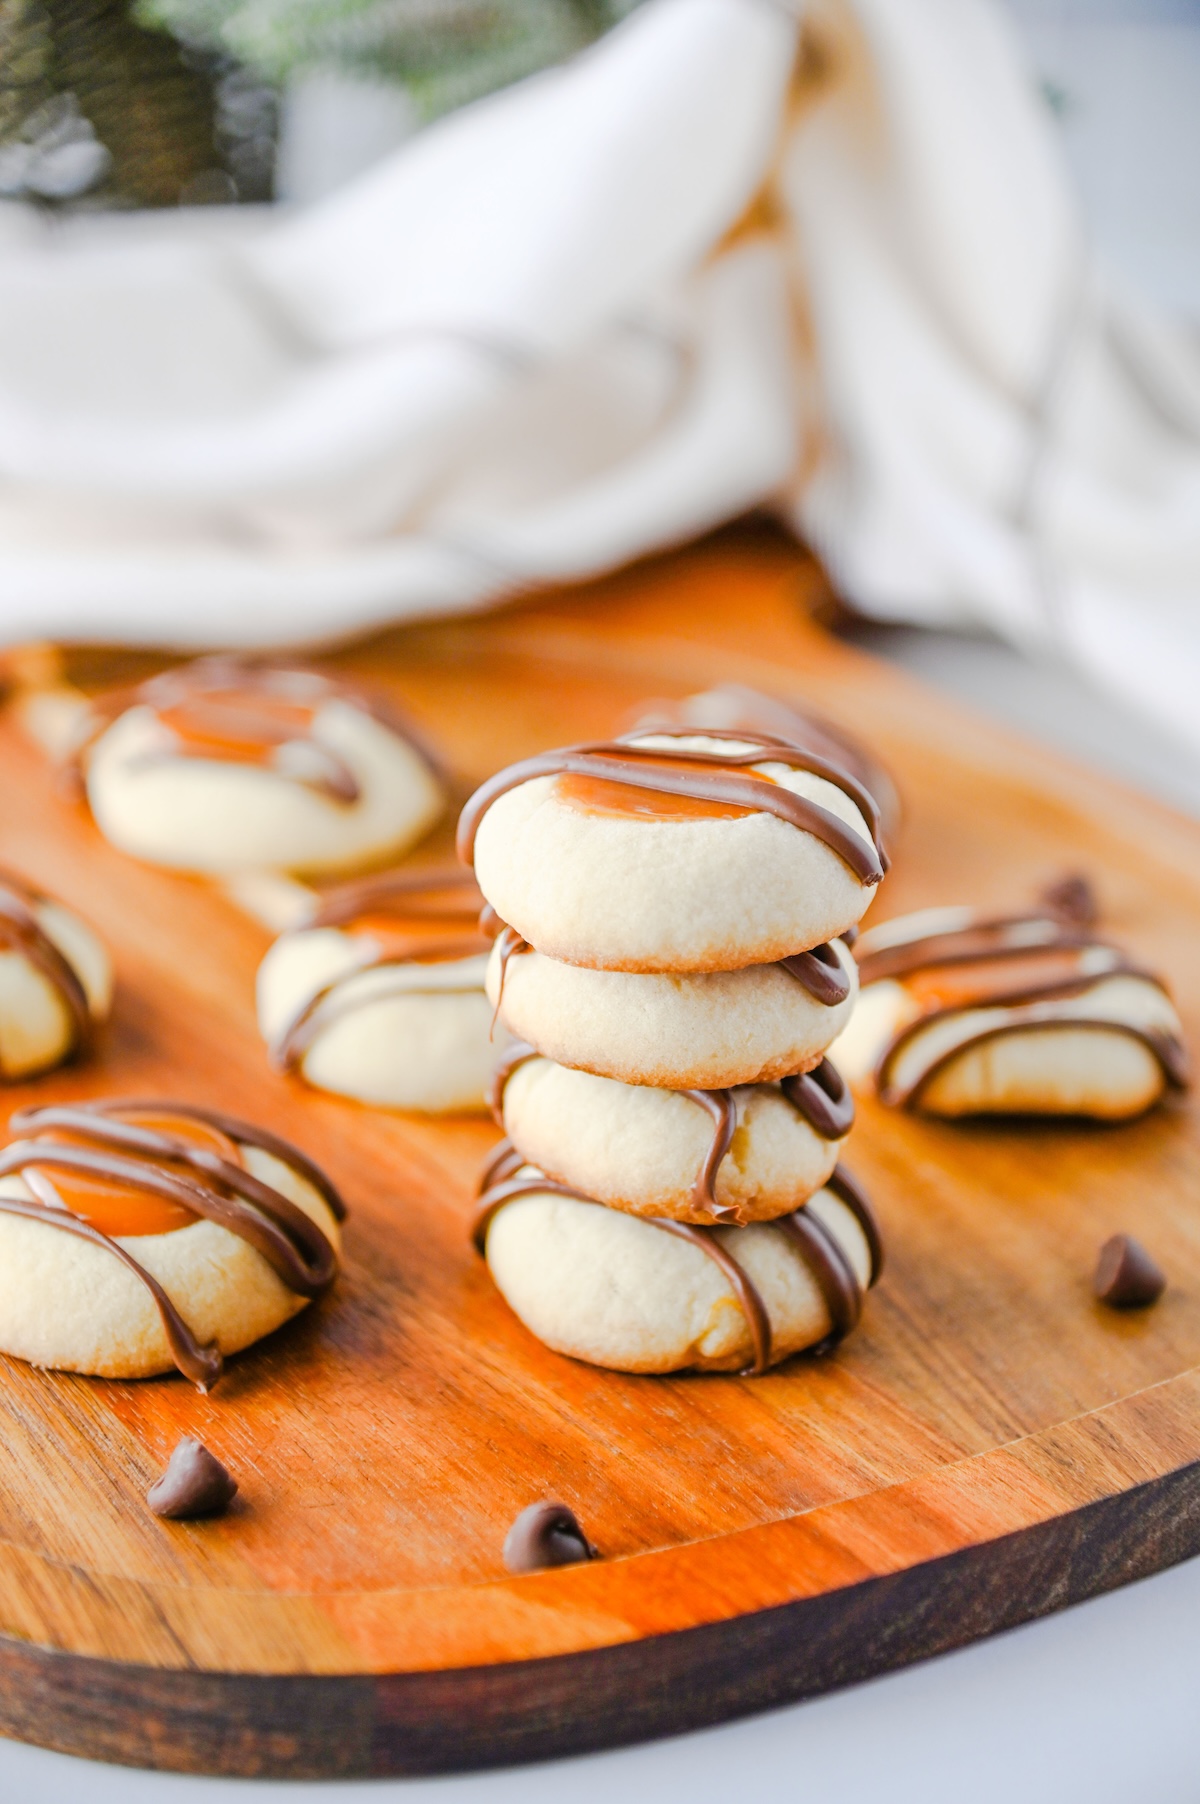
- They taste just like a Twix bar. Buttery cookie, chewy caramel, and milk chocolate in every bite.
- Simple ingredients. Just a few baking staples plus caramel bits and chocolate chips.
- No candy thermometer needed. The caramel and chocolate both melt right in the microwave.
- About 30 cookies per batch, so there’s plenty for sharing, gifting, or a holiday cookie exchange.
- Great for parties. They look bakery-worthy but come together with basic baking steps.
Ingredients You’ll Need
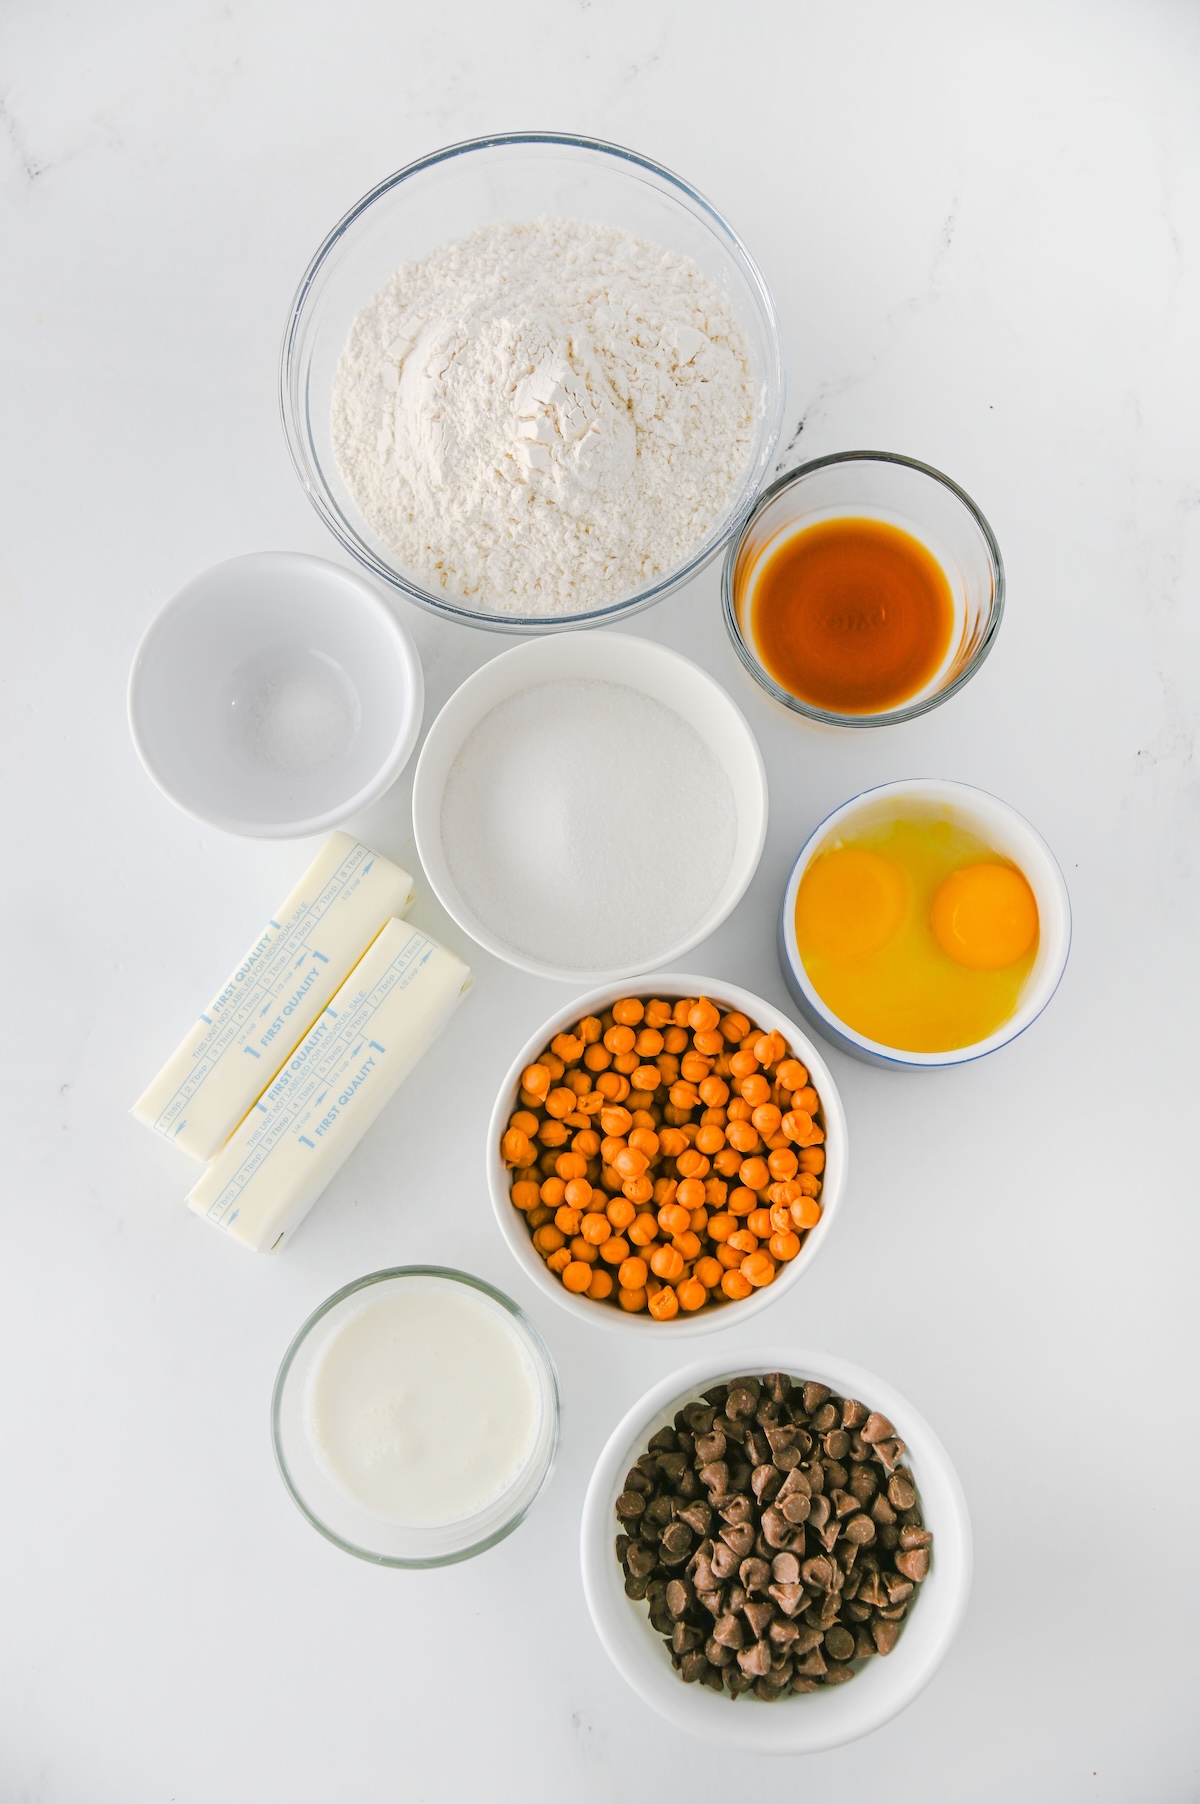
For the Cookies
- All-purpose flour – the base of the cookie dough
- Salt – balances the sweetness of the caramel and chocolate
- Unsalted butter – softened, for that rich, buttery shortbread flavor
- Granulated sugar – sweetens the dough and helps it get light and fluffy
- Egg yolks – add richness and keep the cookies tender
- Vanilla extract – adds warm, cozy flavor
For the Caramel and Chocolate
- Caramel bits – melt down quickly into a smooth caramel filling
- Heavy cream – keeps the caramel soft and silky
- Milk chocolate chips – for the classic Twix-style chocolate drizzle
You’ll find the full measurements in the recipe card below.
How to Make Twix Thumbprint Cookies
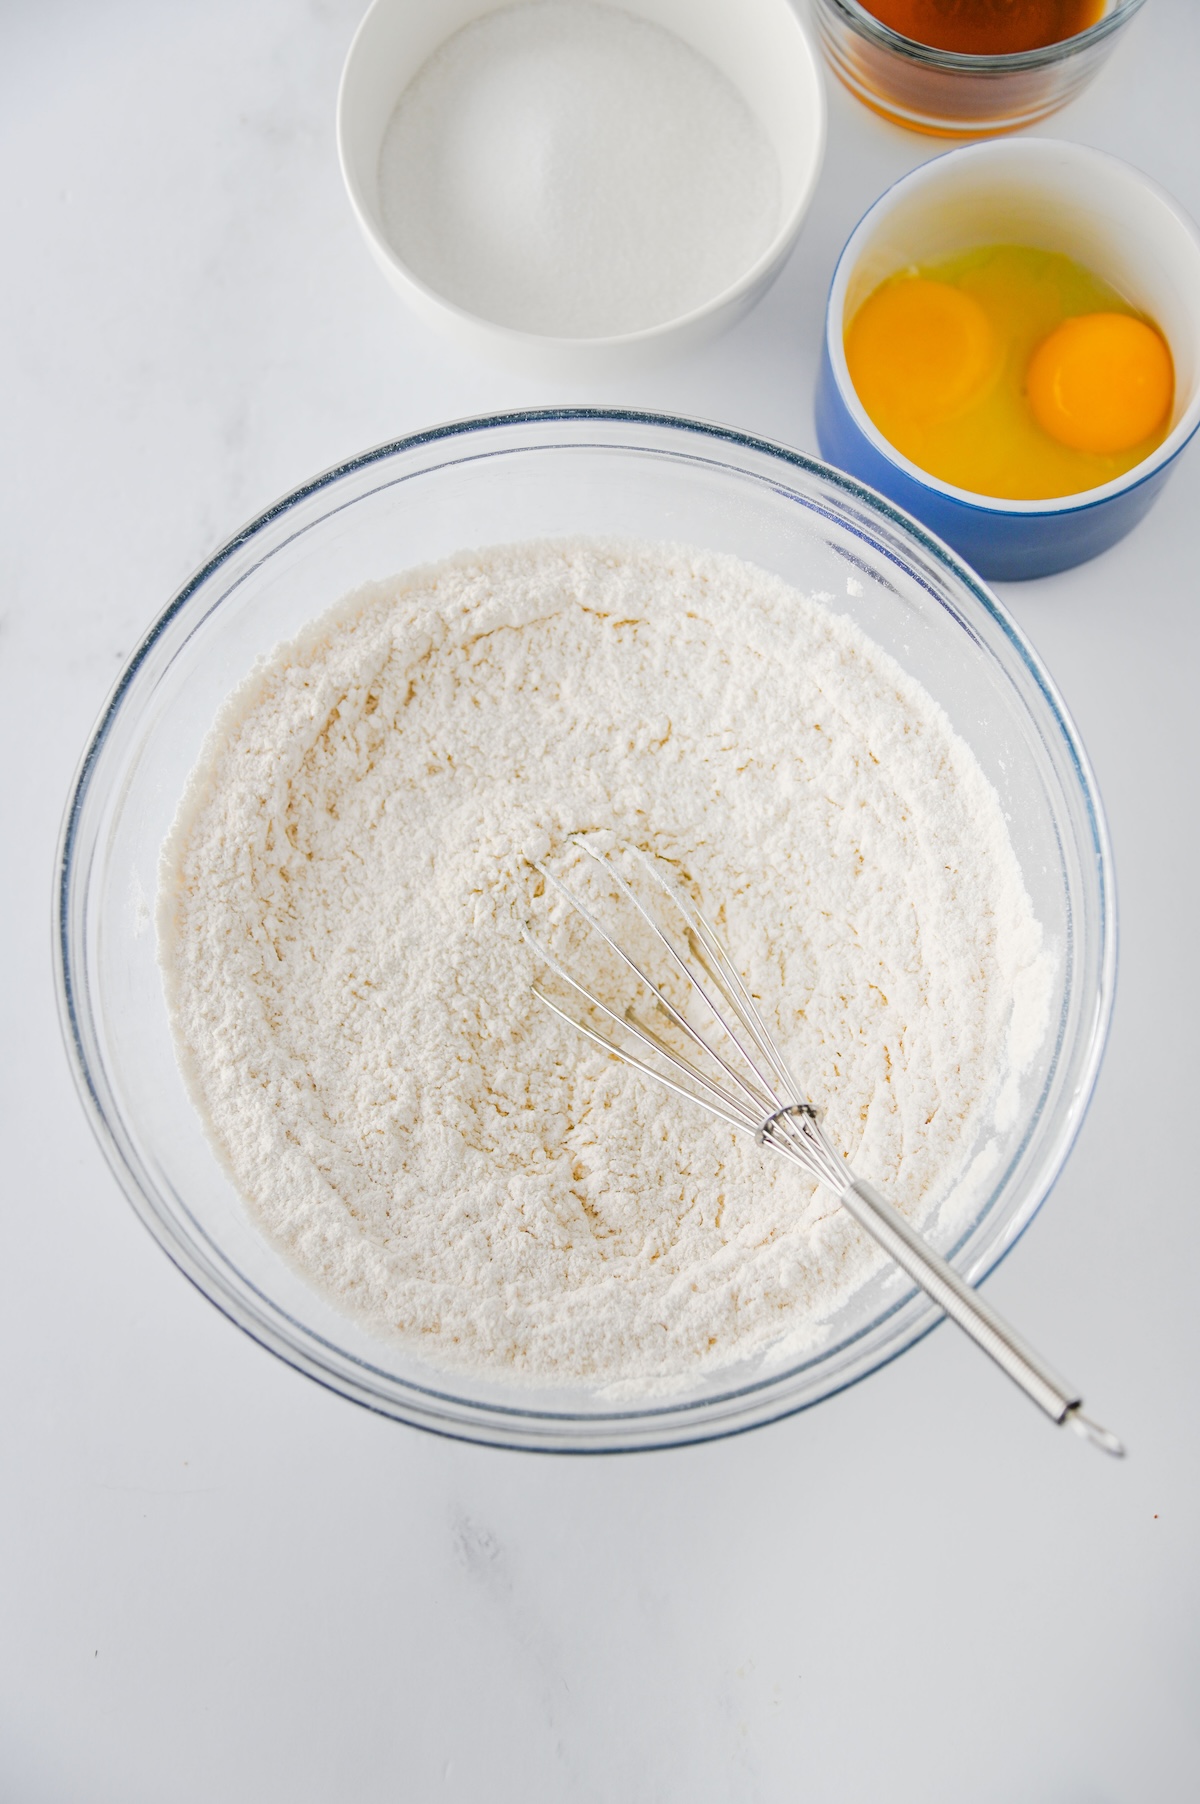
1. Whisk the dry ingredients. In a large mixing bowl, whisk together the flour and salt. Set aside.
2. Cream the butter and sugar. In a separate bowl, mix the softened butter and granulated sugar for 1 to 2 minutes, until light and fluffy.
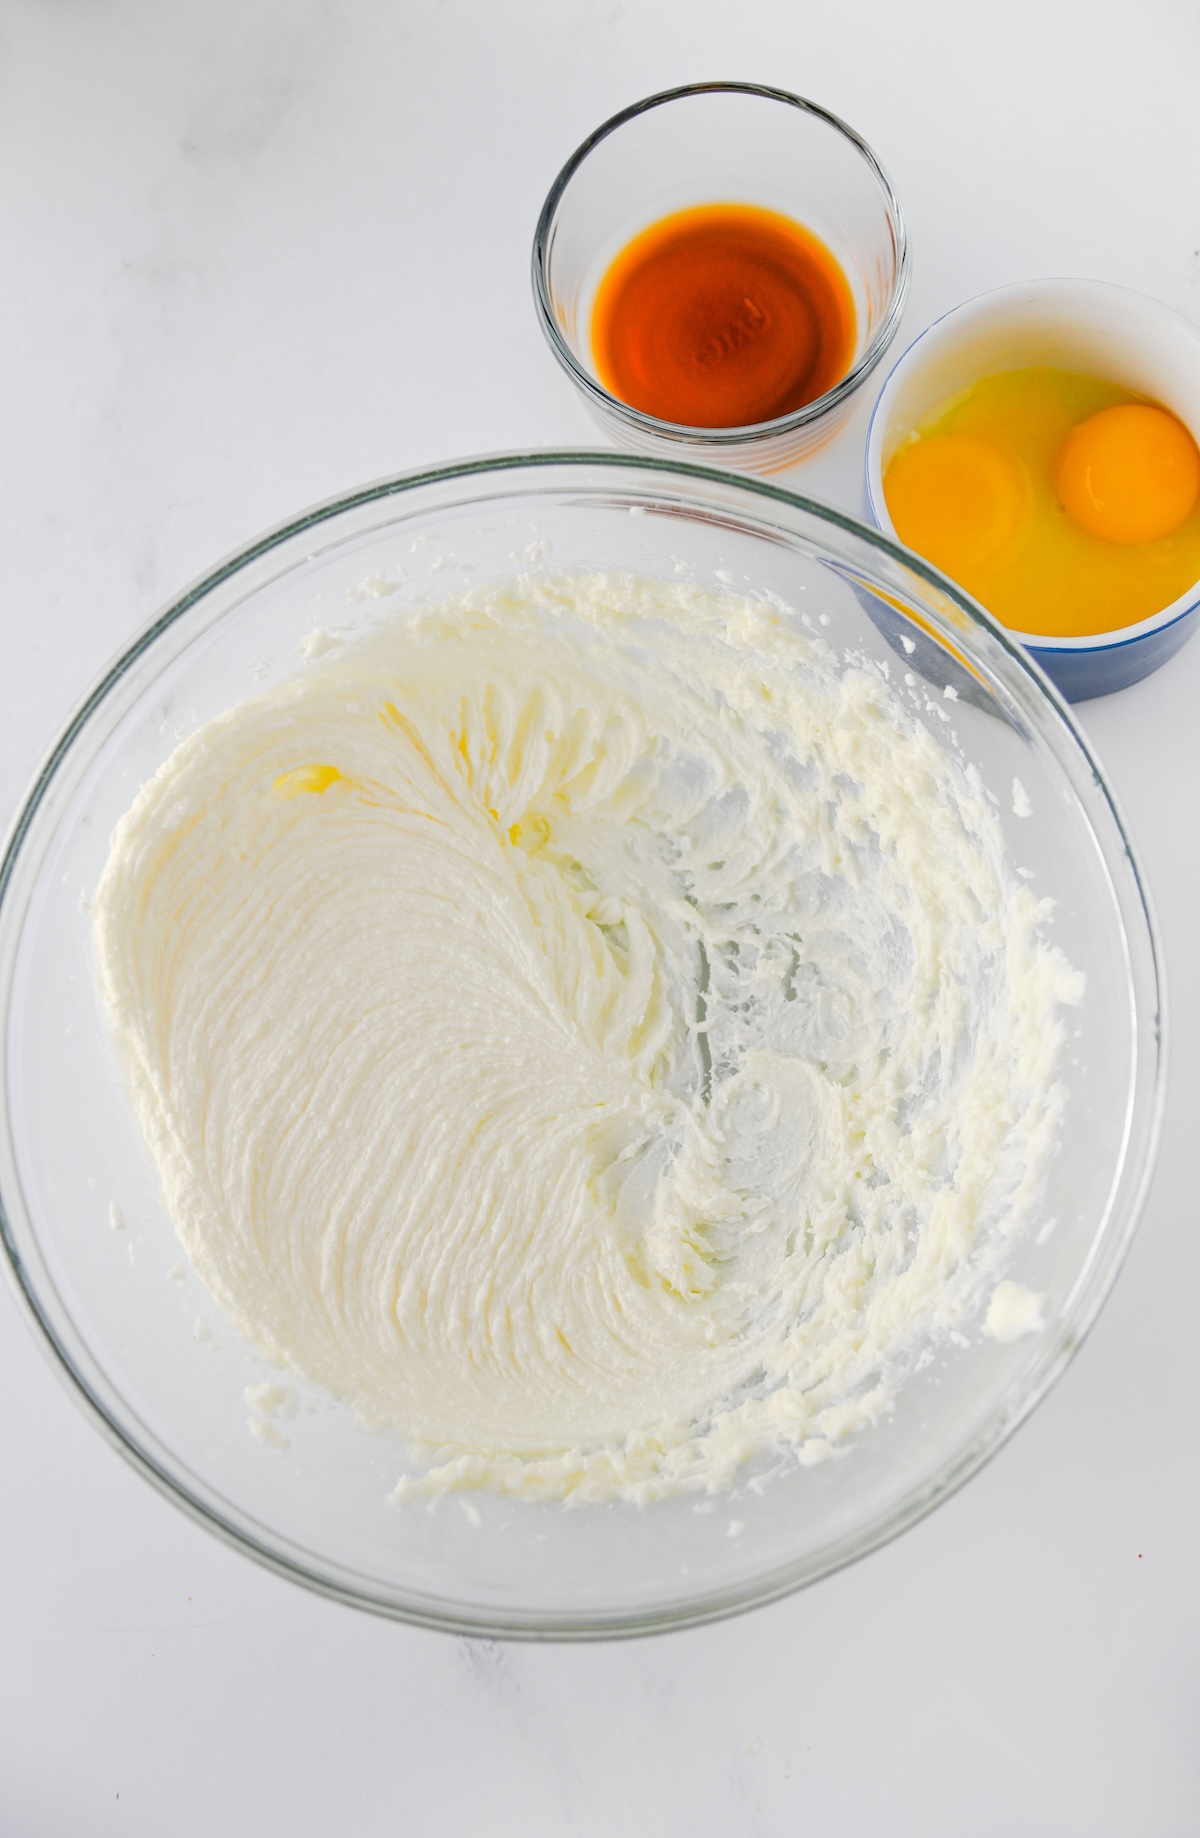
3. Add the egg yolks and vanilla. Mix until everything is combined.
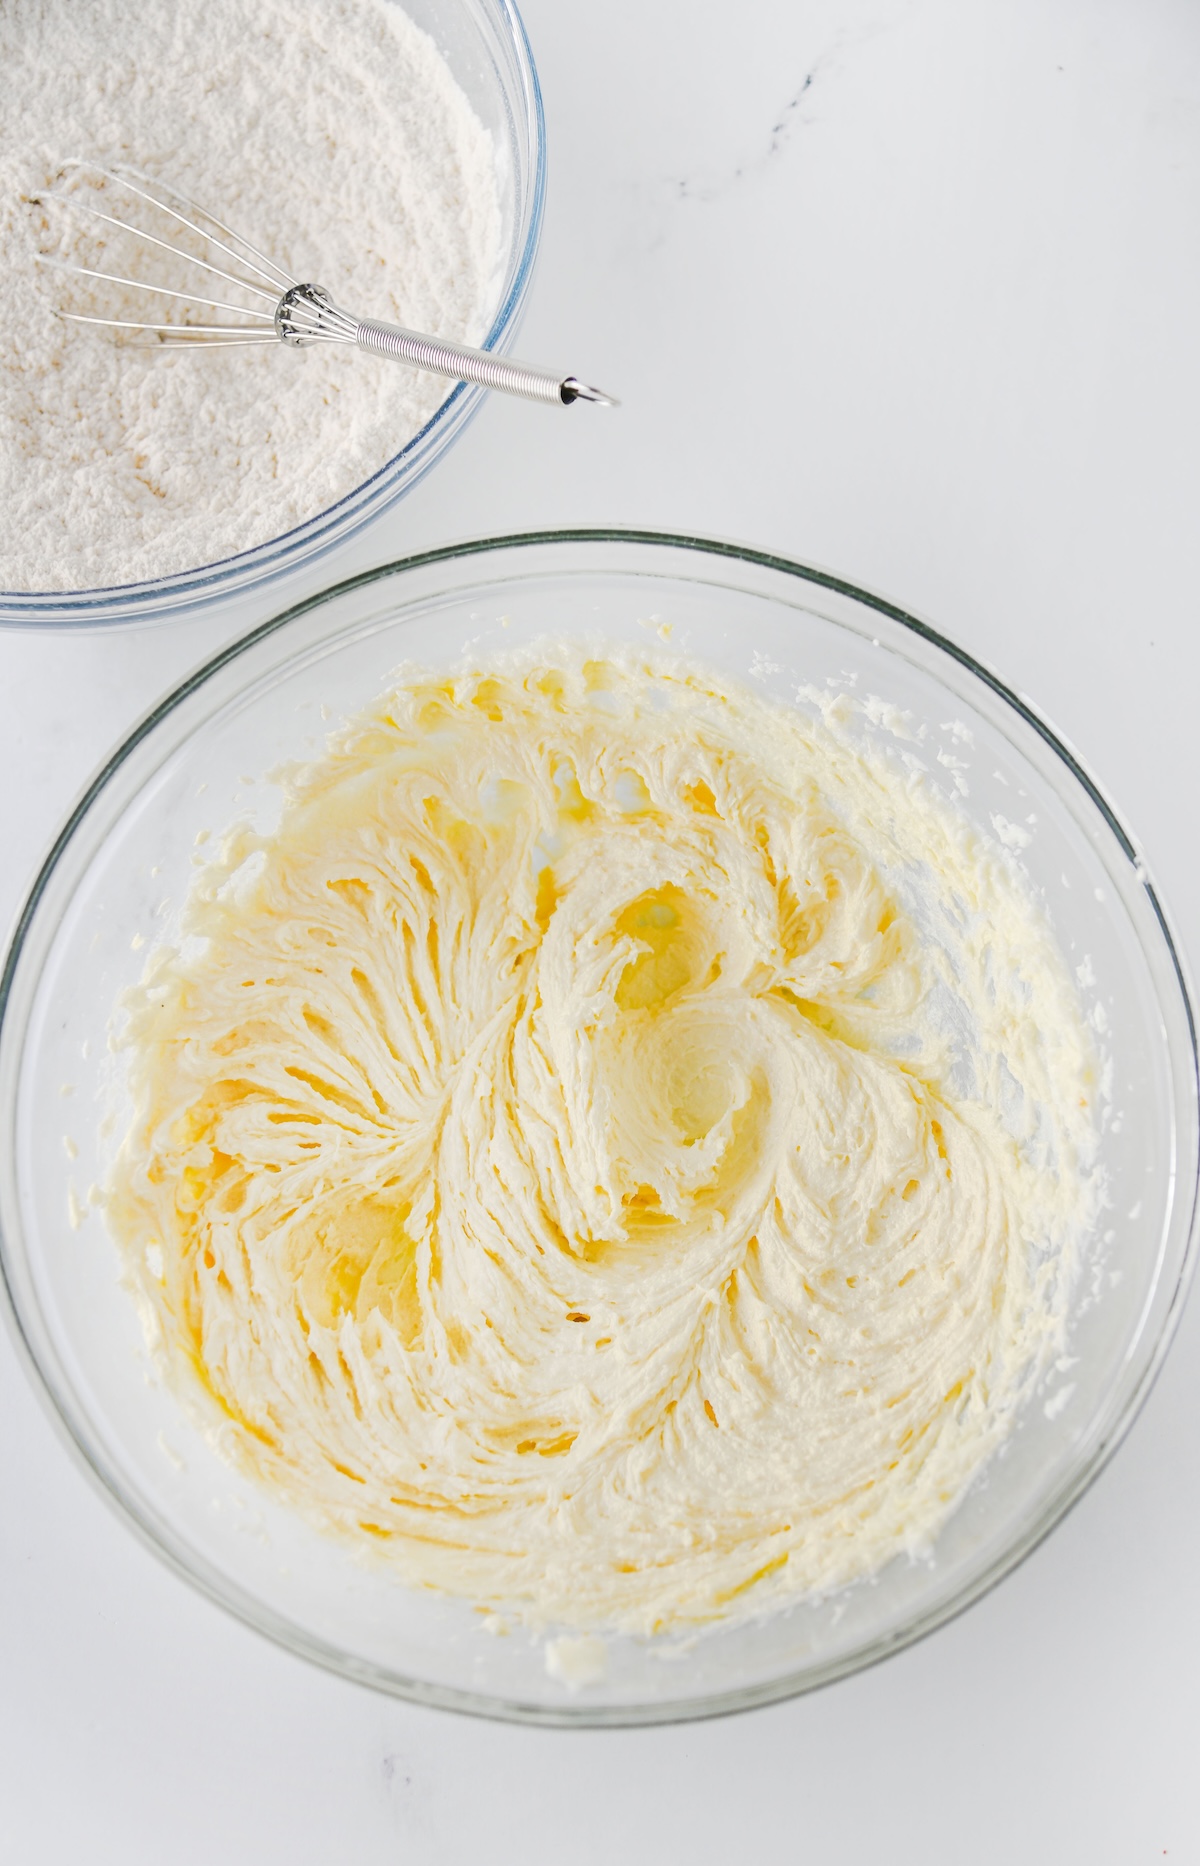
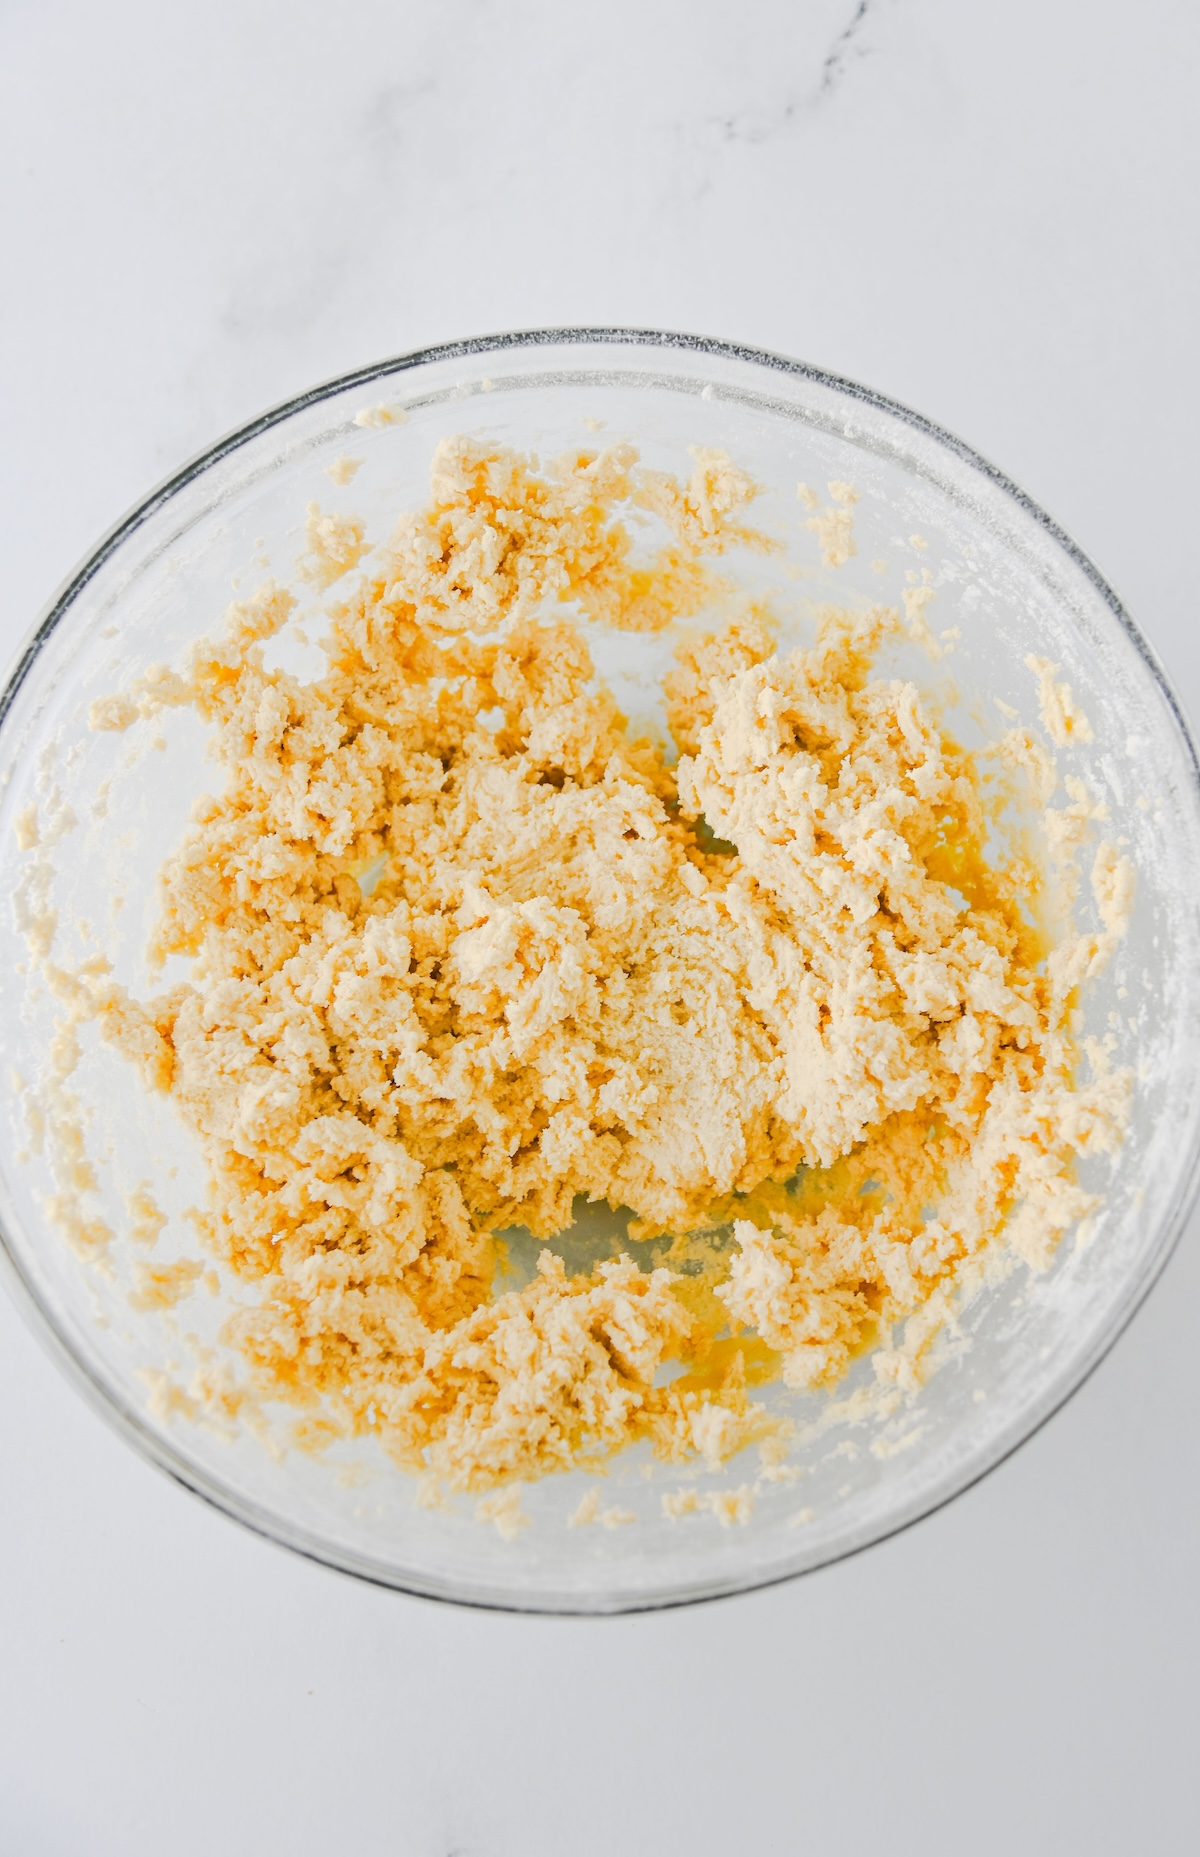
4. Add the dry ingredients. Gradually mix in the flour mixture until a soft dough forms. It may look a little crumbly at first, but it should hold together when you press it.
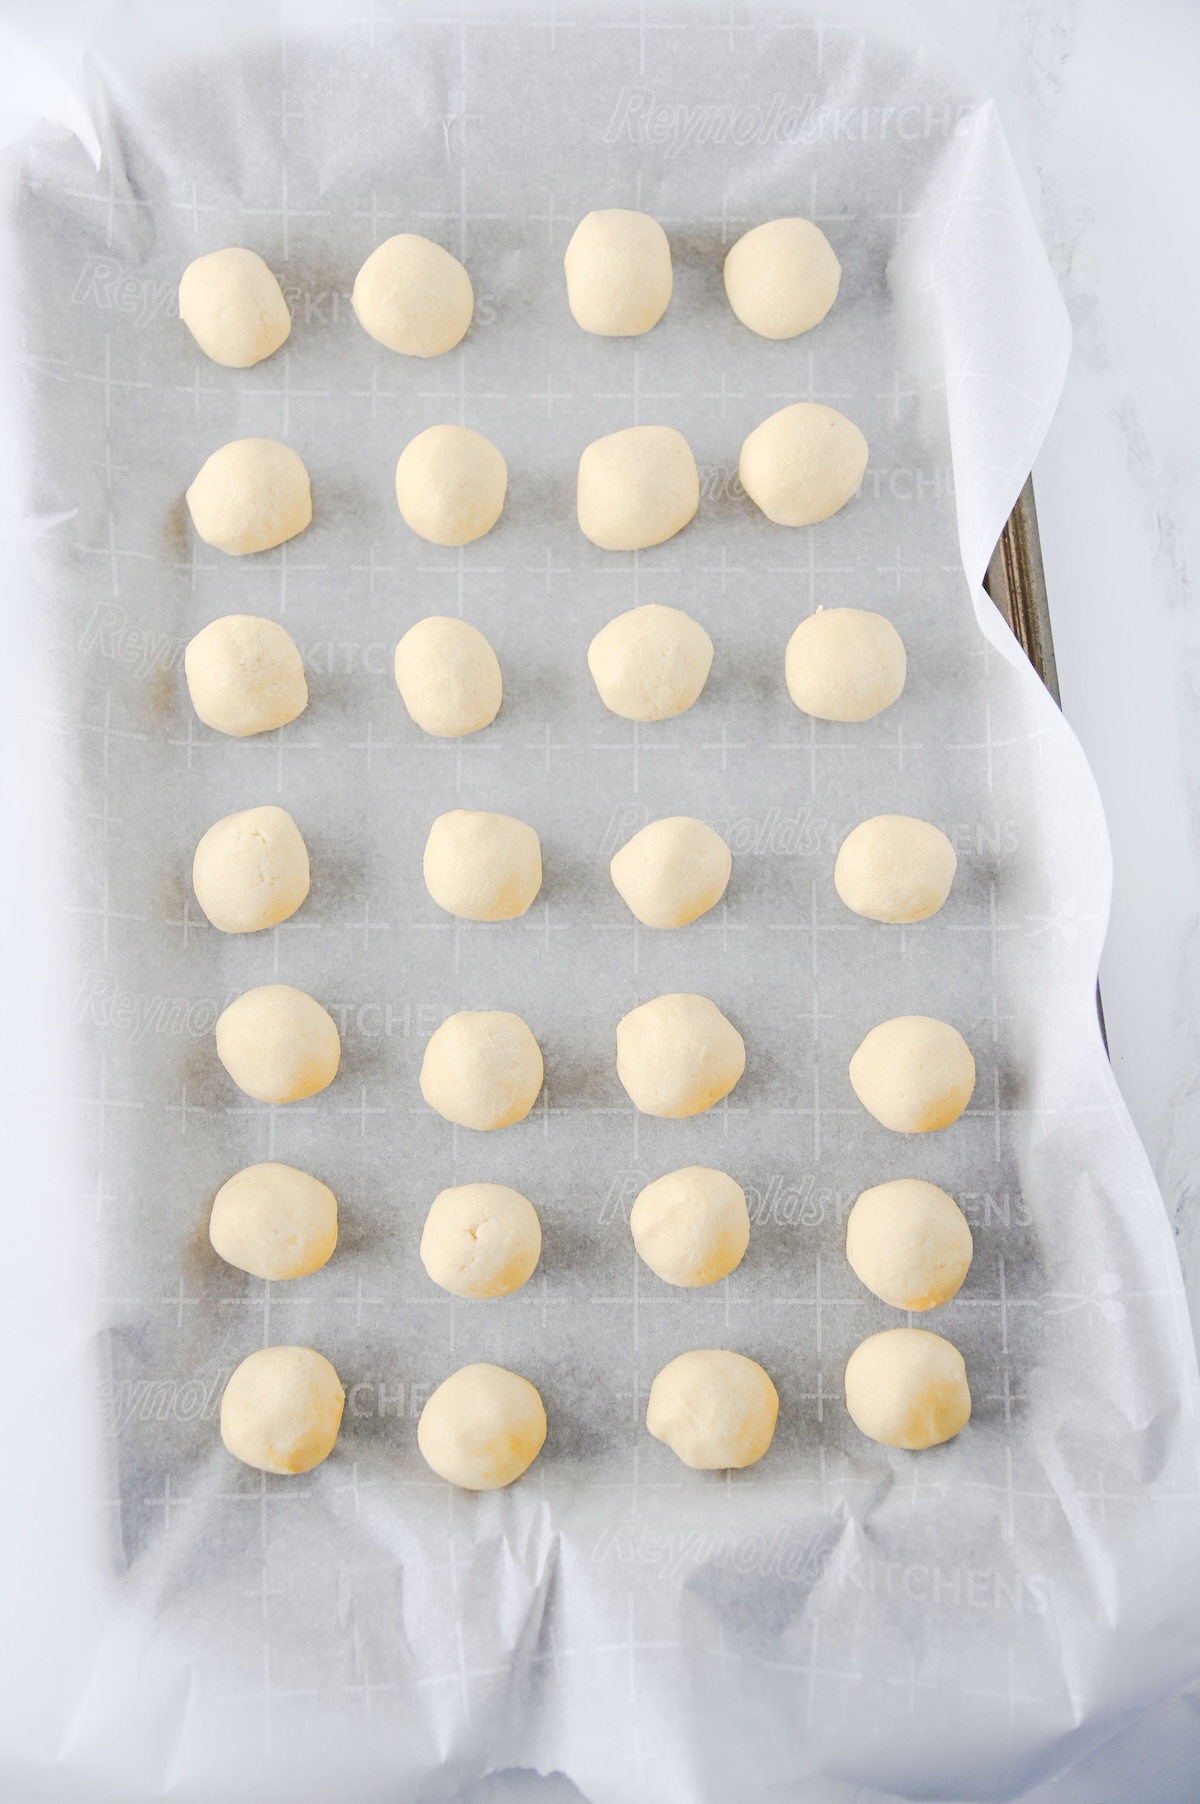
5. Roll the dough. Line a baking sheet with parchment paper and roll the dough into about 1-inch balls.
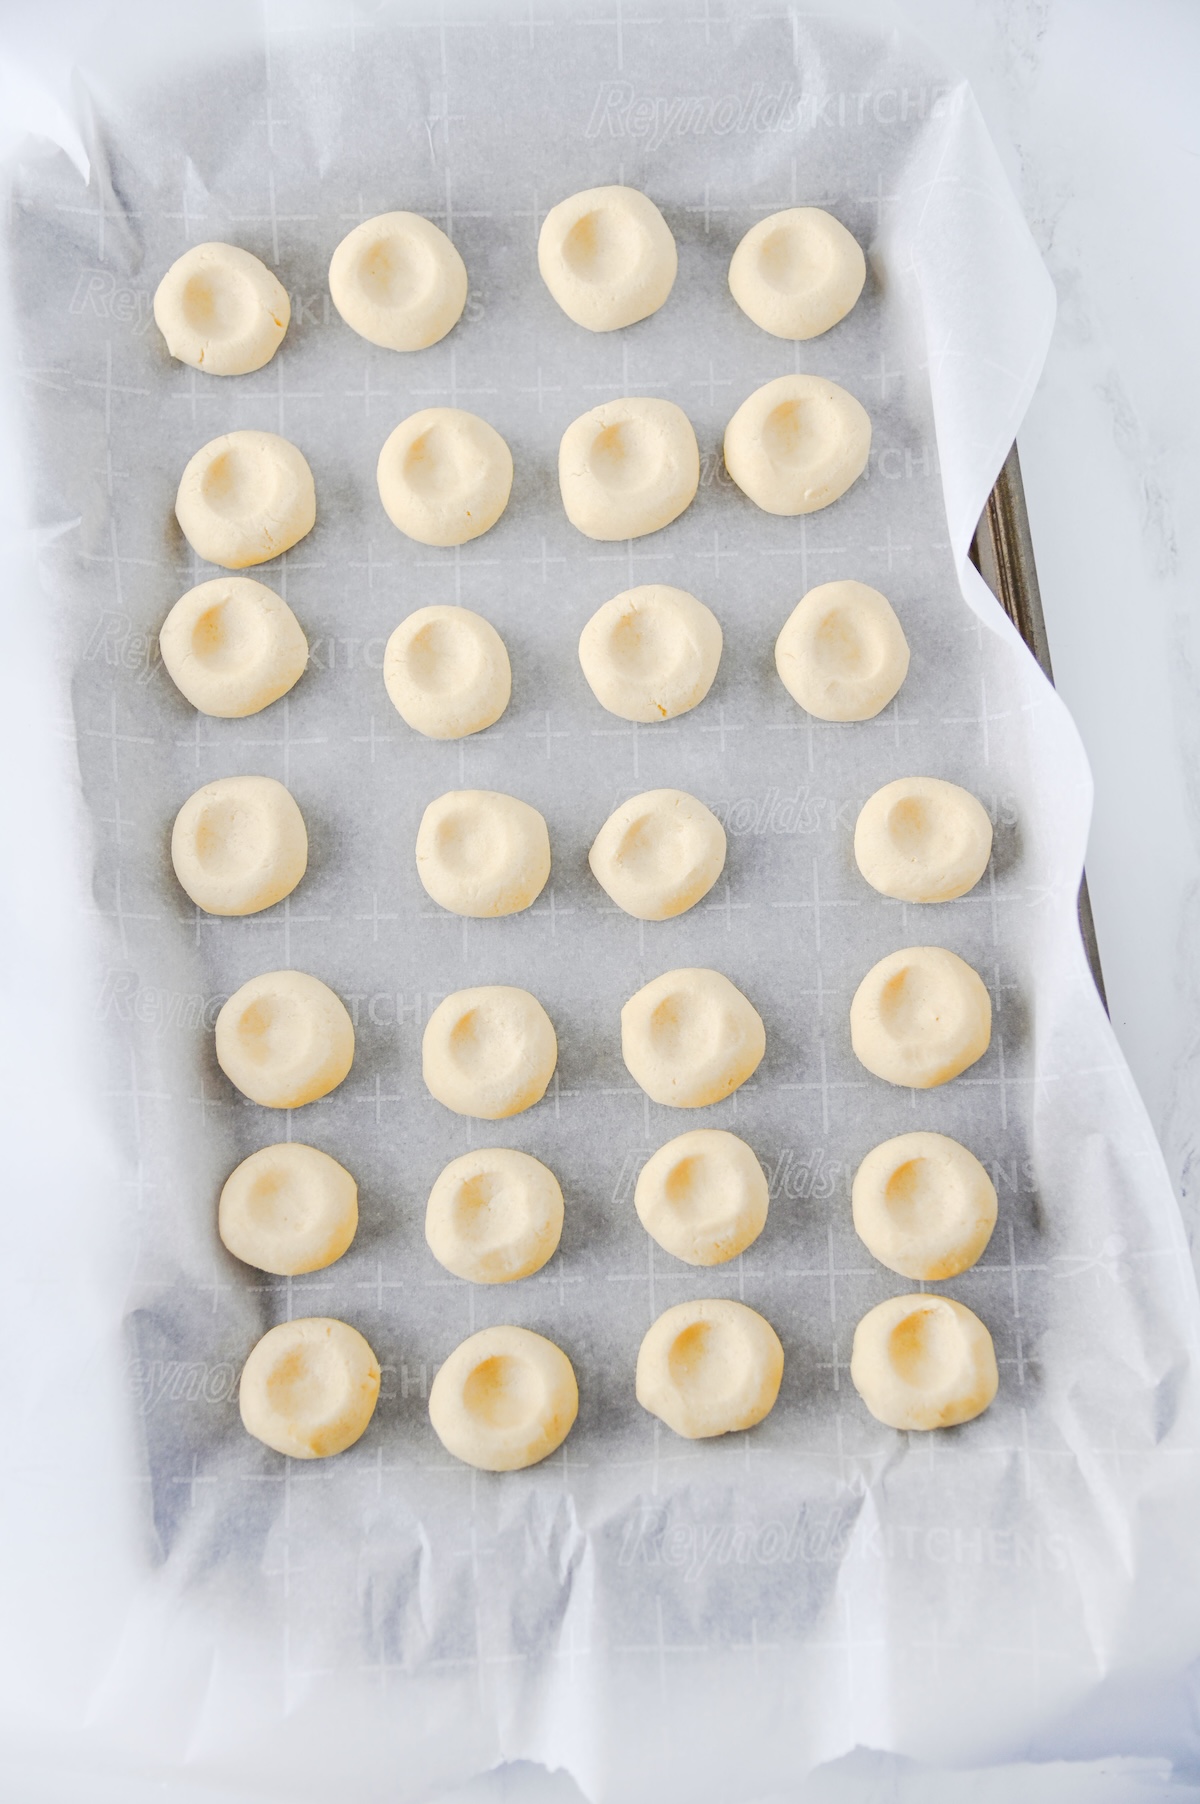
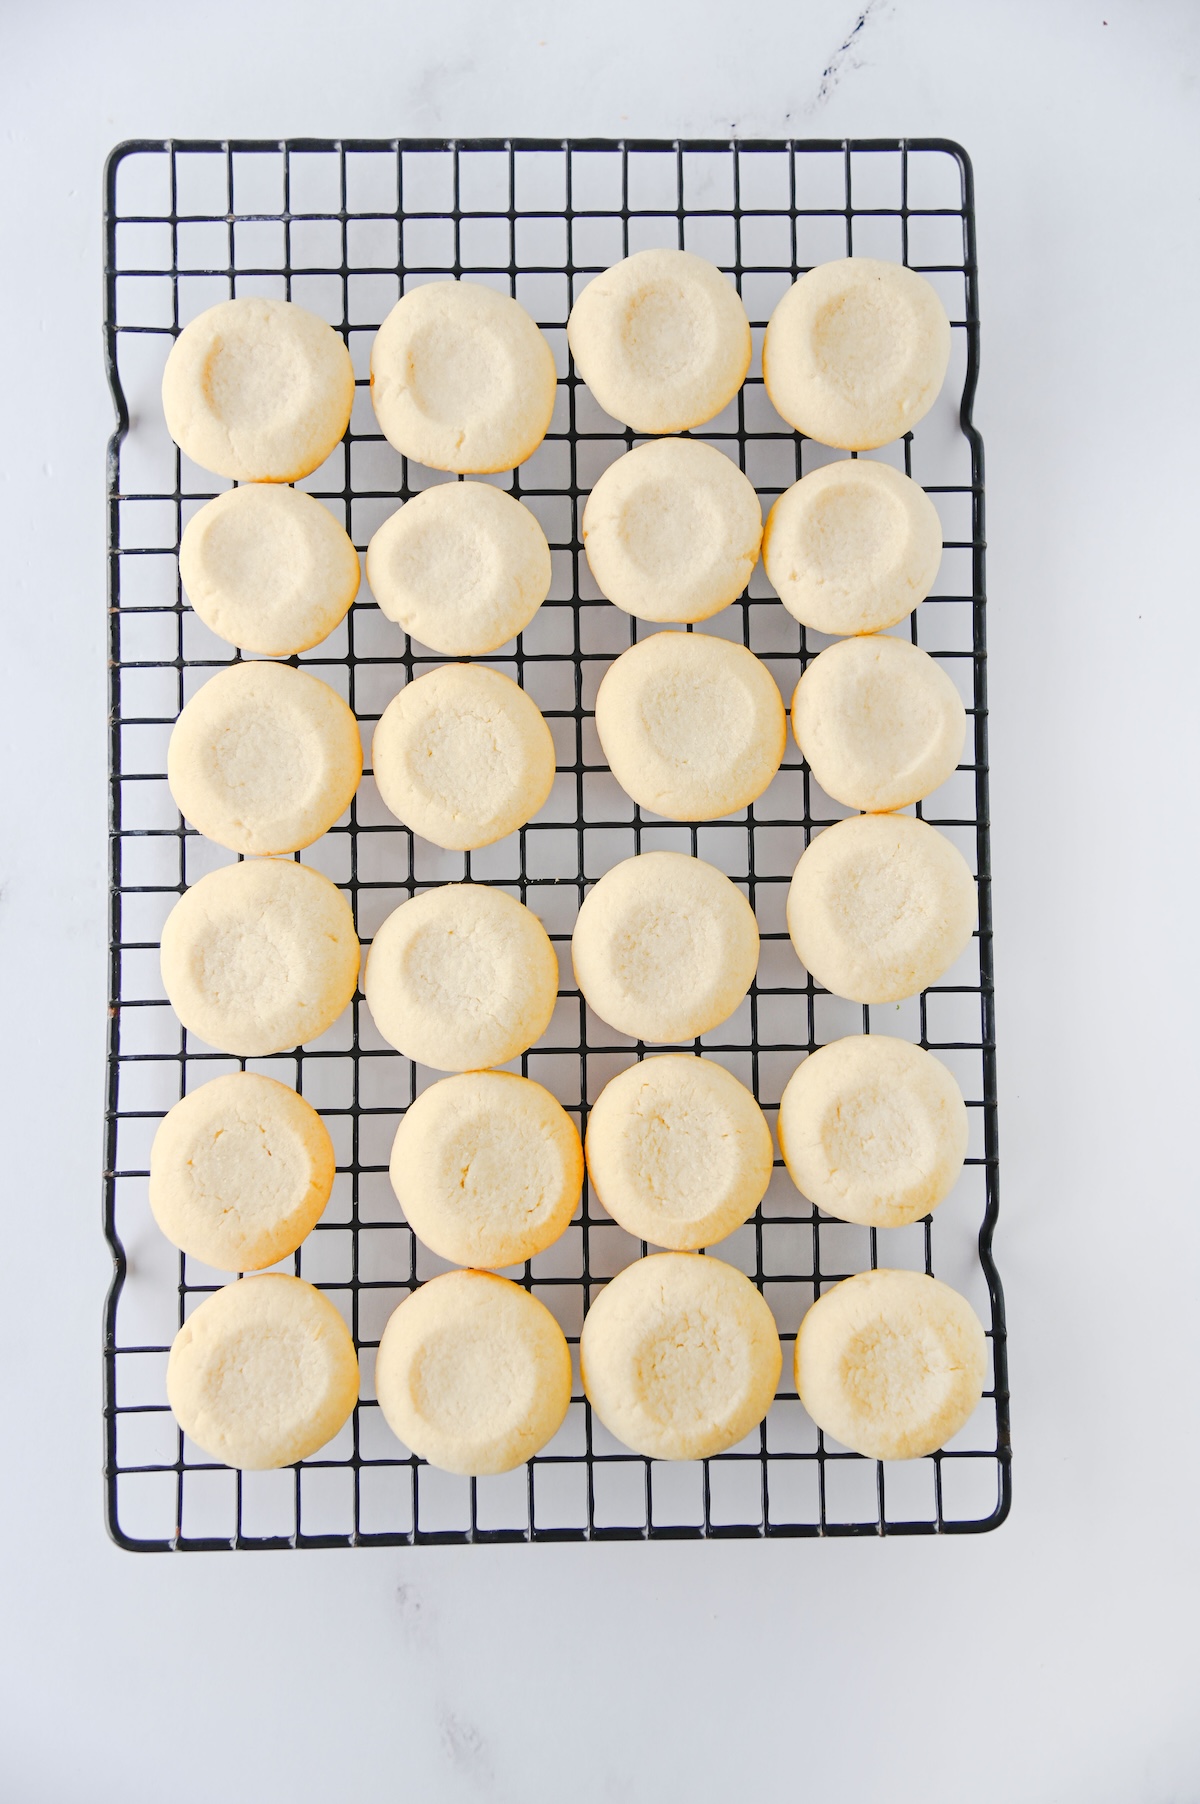
6. Make the thumbprints. Use the back of a 1/4 or 1/2 teaspoon measuring spoon to press an indent into the center of each cookie.
7. Chill and bake. Chill the cookies in the refrigerator for 1 hour. When you’re ready to bake, preheat your oven to 350°F and bake the cookies about 2 inches apart for 14 to 15 minutes. Let them cool completely.
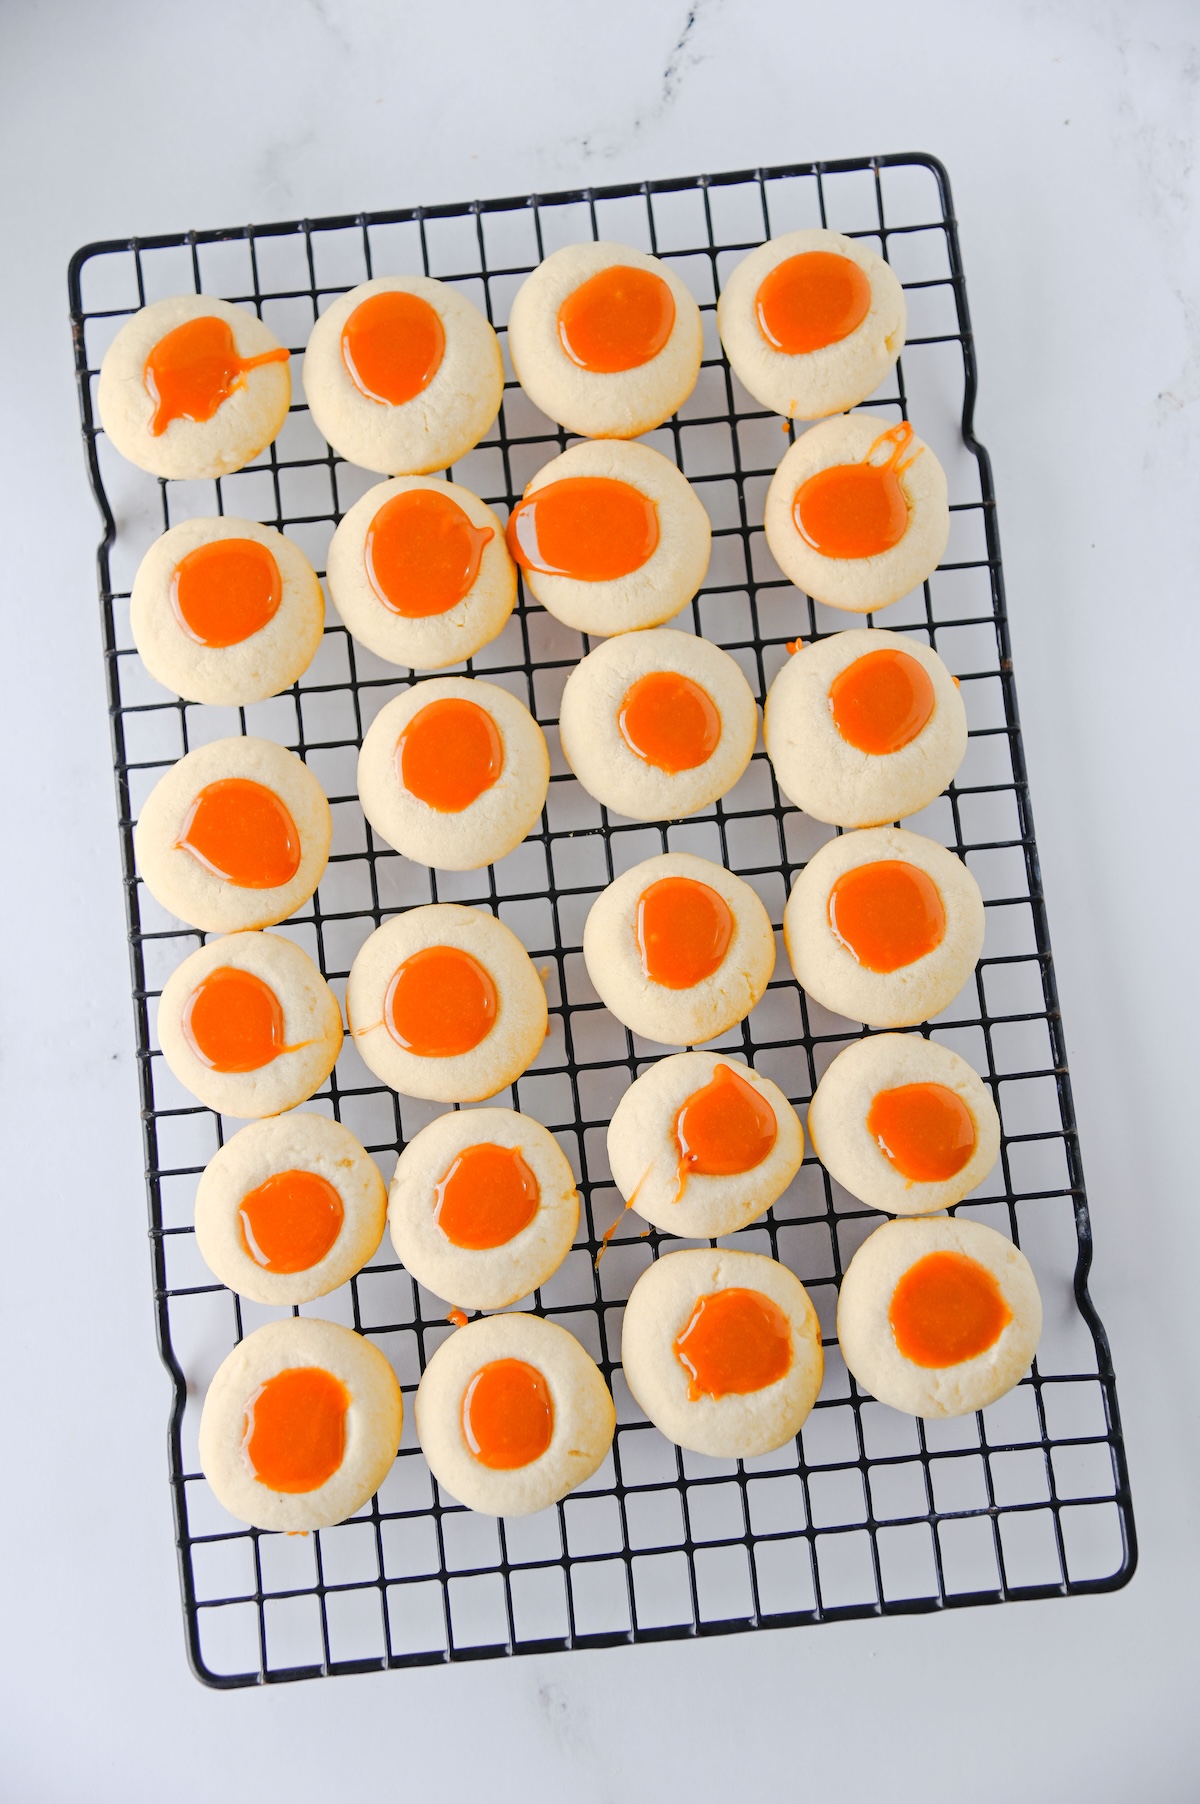
8. Melt the caramel. Microwave the caramel bits and heavy cream for 1 minute, then stir. Keep microwaving in 30-second increments, stirring between each, until the caramel is melted and smooth.

9. Fill the cookies. Carefully drizzle a little caramel into the indent of each cookie.
10. Drizzle with chocolate. Melt the chocolate chips in the microwave in 30-second increments, stirring well between each. Add the melted chocolate to a piping bag, snip off just the tip, and drizzle it over the cookies.
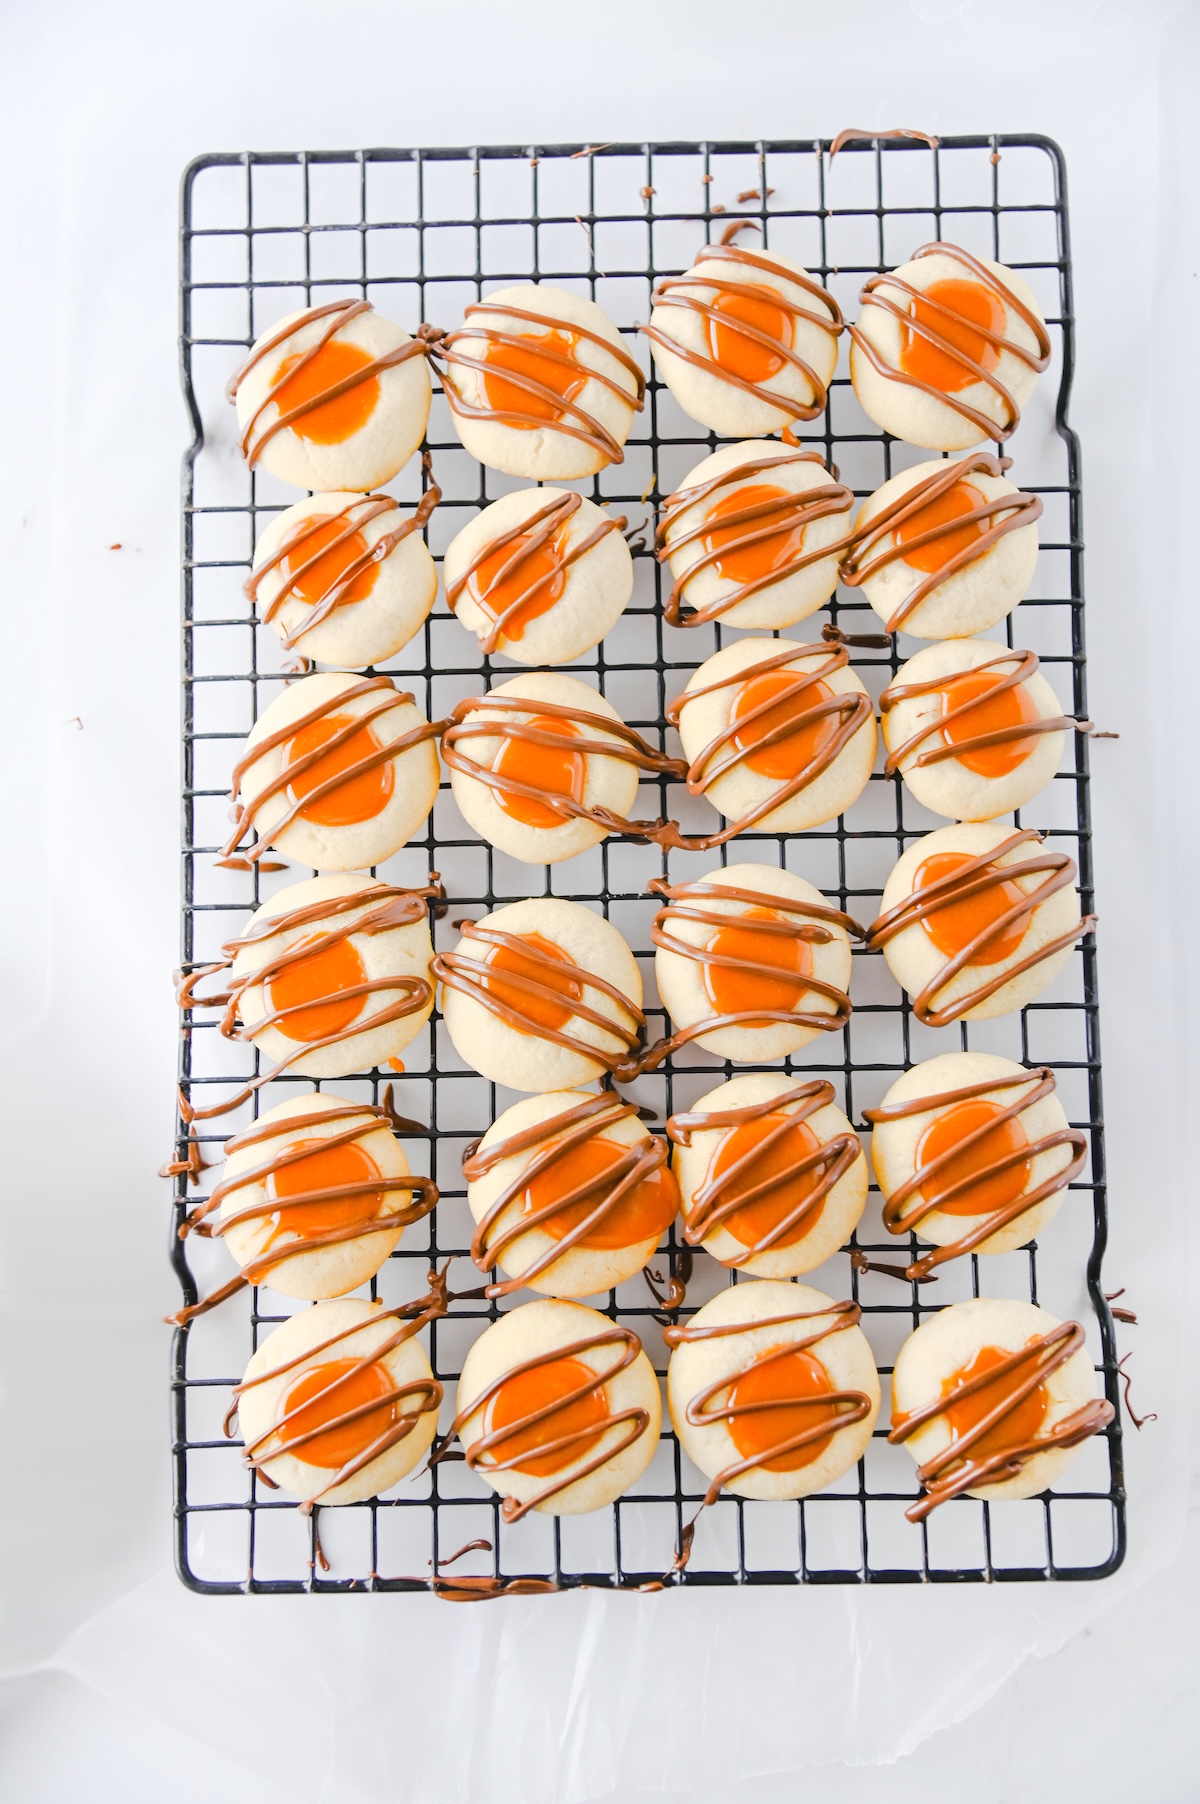
11. Let them set. Move the cookies to the refrigerator for about an hour so the caramel and chocolate can set. Then enjoy!
Tips for the Best Results

- Don’t skip the chill. An hour in the fridge helps the cookies hold their shape and keeps the thumbprints from puffing up in the oven.
- Re-press the centers if needed. If the indents puff up while baking, gently press them again with the measuring spoon while the cookies are still warm.
- Let the cookies cool completely before adding the caramel so it stays in the center instead of running over the sides.
- Stir the caramel between each round in the microwave so it melts smoothly without scorching.
- No piping bag? No problem. A zip-top bag with a tiny corner snipped off works just as well for the chocolate drizzle.
- Store leftovers in an airtight container for up to 5 days.

Twix Thumbprint Cookies
Ingredients
Cookies
- 2 1/4 cups all-purpose flour
- 1/2 tsp salt
- 1 cup unsalted butter softened
- 2/3 cup granulated sugar
- 2 egg yolks
- 1 tsp vanilla extract
Caramel and Chocolate
- 1 cup caramel bits
- 3 tbsp heavy cream
- 1 cup milk chocolate chips
Instructions
Make the Cookies
- In a large mixing bowl, whisk together the flour and salt. Set aside.
- In a separate bowl, mix together the softened butter and granulated sugar for 1 to 2 minutes, until light and fluffy.
- Add the egg yolks and vanilla, and mix until combined.
- Gradually add the flour mixture and mix until a soft dough forms.
- Line a baking sheet with parchment paper. Roll the dough into about 1-inch balls and place them on the parchment.
- Use the back of a 1/4 or 1/2 teaspoon measuring spoon to press an indent into the center of each cookie.
- Chill the cookies in the refrigerator for 1 hour.
- When ready to bake, preheat the oven to 350°F. Bake the cookies about 2 inches apart for 14 to 15 minutes. Let the cookies cool completely.
Add the Caramel and Chocolate
- Microwave the caramel bits and heavy cream for 1 minute, then stir. Continue microwaving in 30-second increments, stirring between each, until the caramel is melted and smooth.
- Carefully drizzle a little caramel into the indent of each cookie.
- Melt the chocolate chips in the microwave in 30-second increments, stirring well between each.
- Transfer the melted chocolate to a piping bag and snip off just the tip. Drizzle the chocolate over the cookies and caramel.
- Move the cookies to the refrigerator for about 1 hour so the caramel and chocolate can set. Enjoy!
Notes
- Chilling the dough balls for 1 hour helps the cookies hold their shape and keeps the thumbprints from puffing up.
- If the indents puff up during baking, gently press them again with the measuring spoon while the cookies are still warm.
- Let the cookies cool completely before adding the caramel.
- Store leftovers in an airtight container for up to 5 days.