When the first signs of spring appear, my mind immediately turns to one thing: fresh strawberries. There’s a special kind of magic when those bright red gems start popping up at the market. It signals warmer days, sunnier skies, and the official start of baking season. And for me, the ultimate celebration of spring is a classic, homemade Strawberry Shortcake.
Forget the dense, store-bought cakes. We’re talking about tender, flaky, biscuit-like shortcakes, still warm from the oven. These golden beauties are the perfect vessel for juicy, sweet strawberries and clouds of freshly whipped cream. It’s a simple dessert, but when made from scratch, it’s absolutely heavenly. This recipe is my go-to, and I’m so excited to share it with you. It’s easier than you think and so rewarding.
What Makes This Strawberry Shortcake Special?

This isn’t just any recipe; it’s about the experience. It’s about creating something truly wonderful with simple, beautiful ingredients. The star of the show is, of course, the berries. But the real secret lies in the shortcakes. They aren’t cake at all, but rather a slightly sweet, rich biscuit.
The key is using cold butter, just like you would for a pie crust. This creates little pockets of steam as the shortcakes bake, resulting in a light, flaky texture that is simply irresistible. They soak up the strawberry juices without becoming soggy, providing the perfect contrast to the soft fruit and cream.
Ingredients You’ll Need
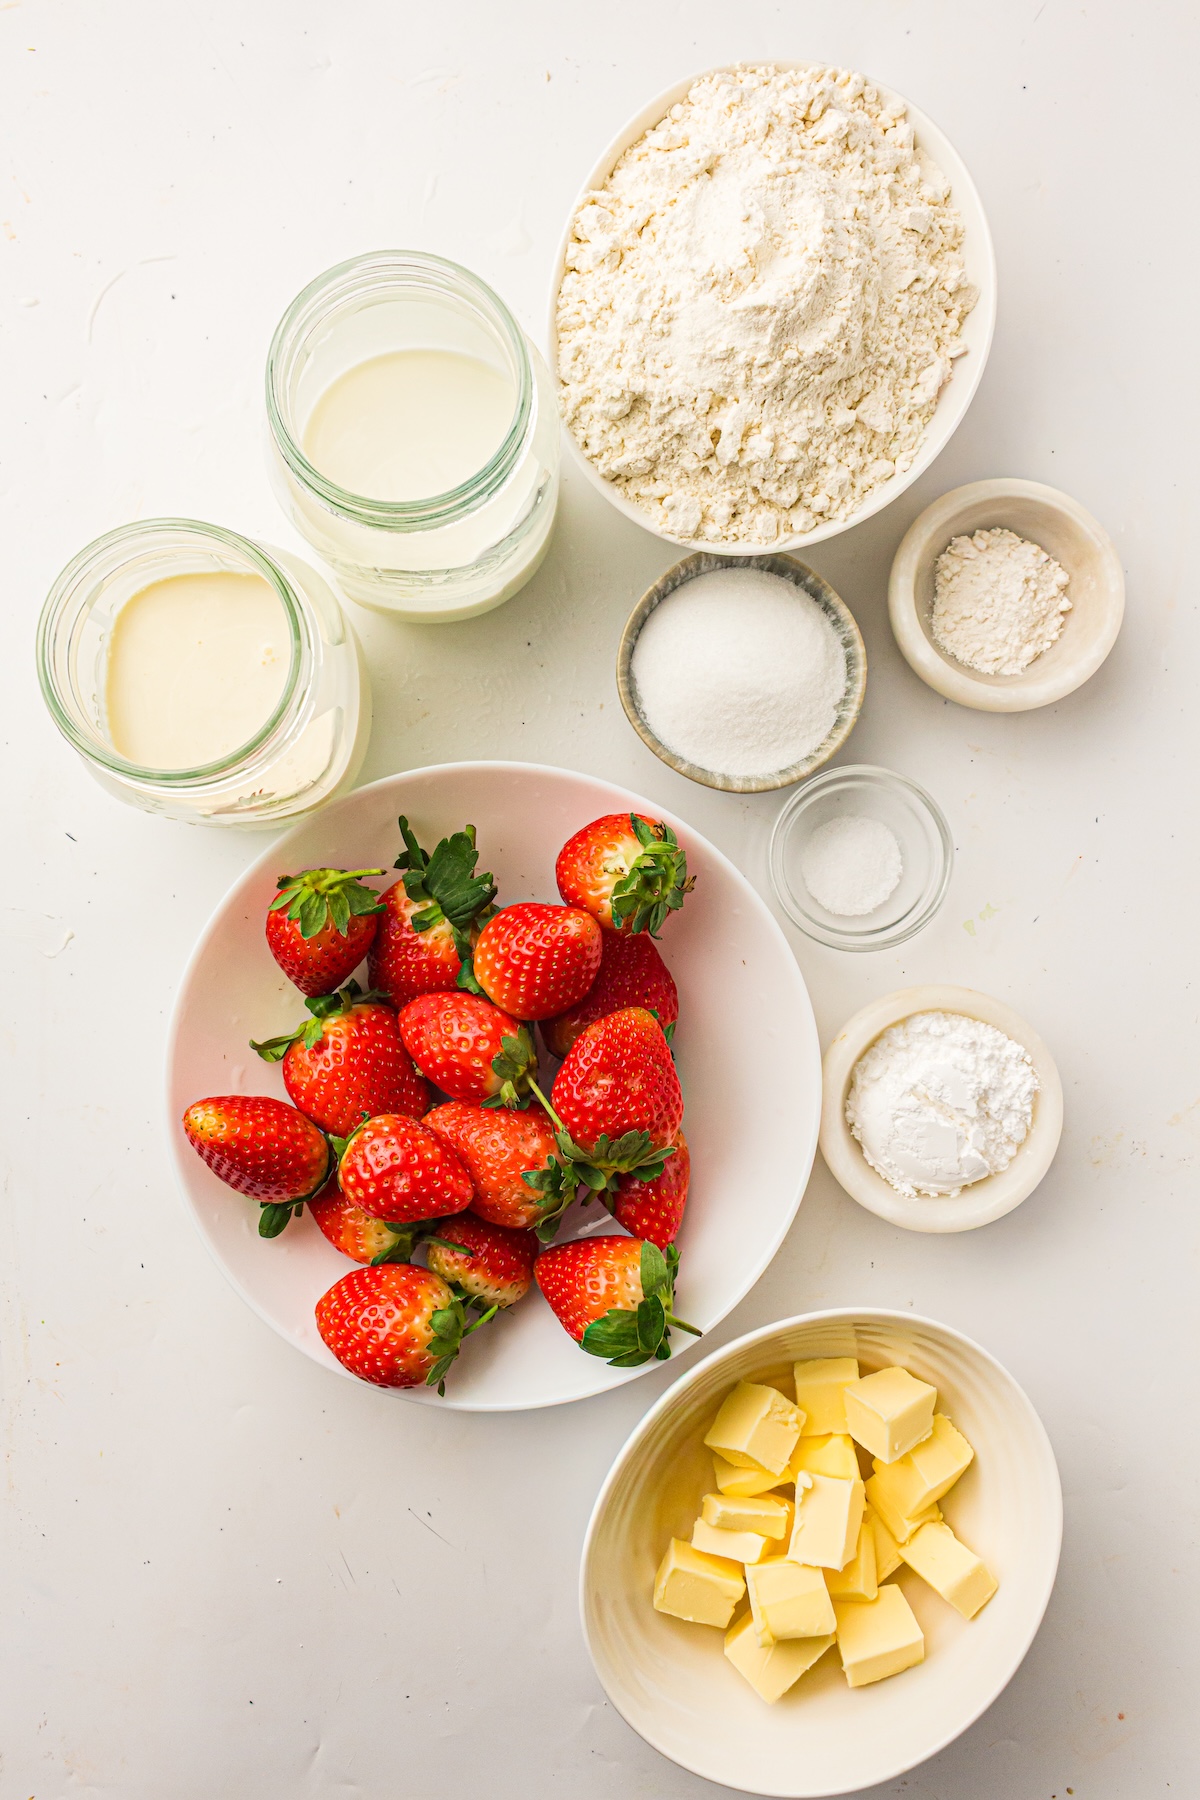
Let’s gather our ingredients. You’ll be surprised by how few things you need to create this showstopper.
For the Strawberries:
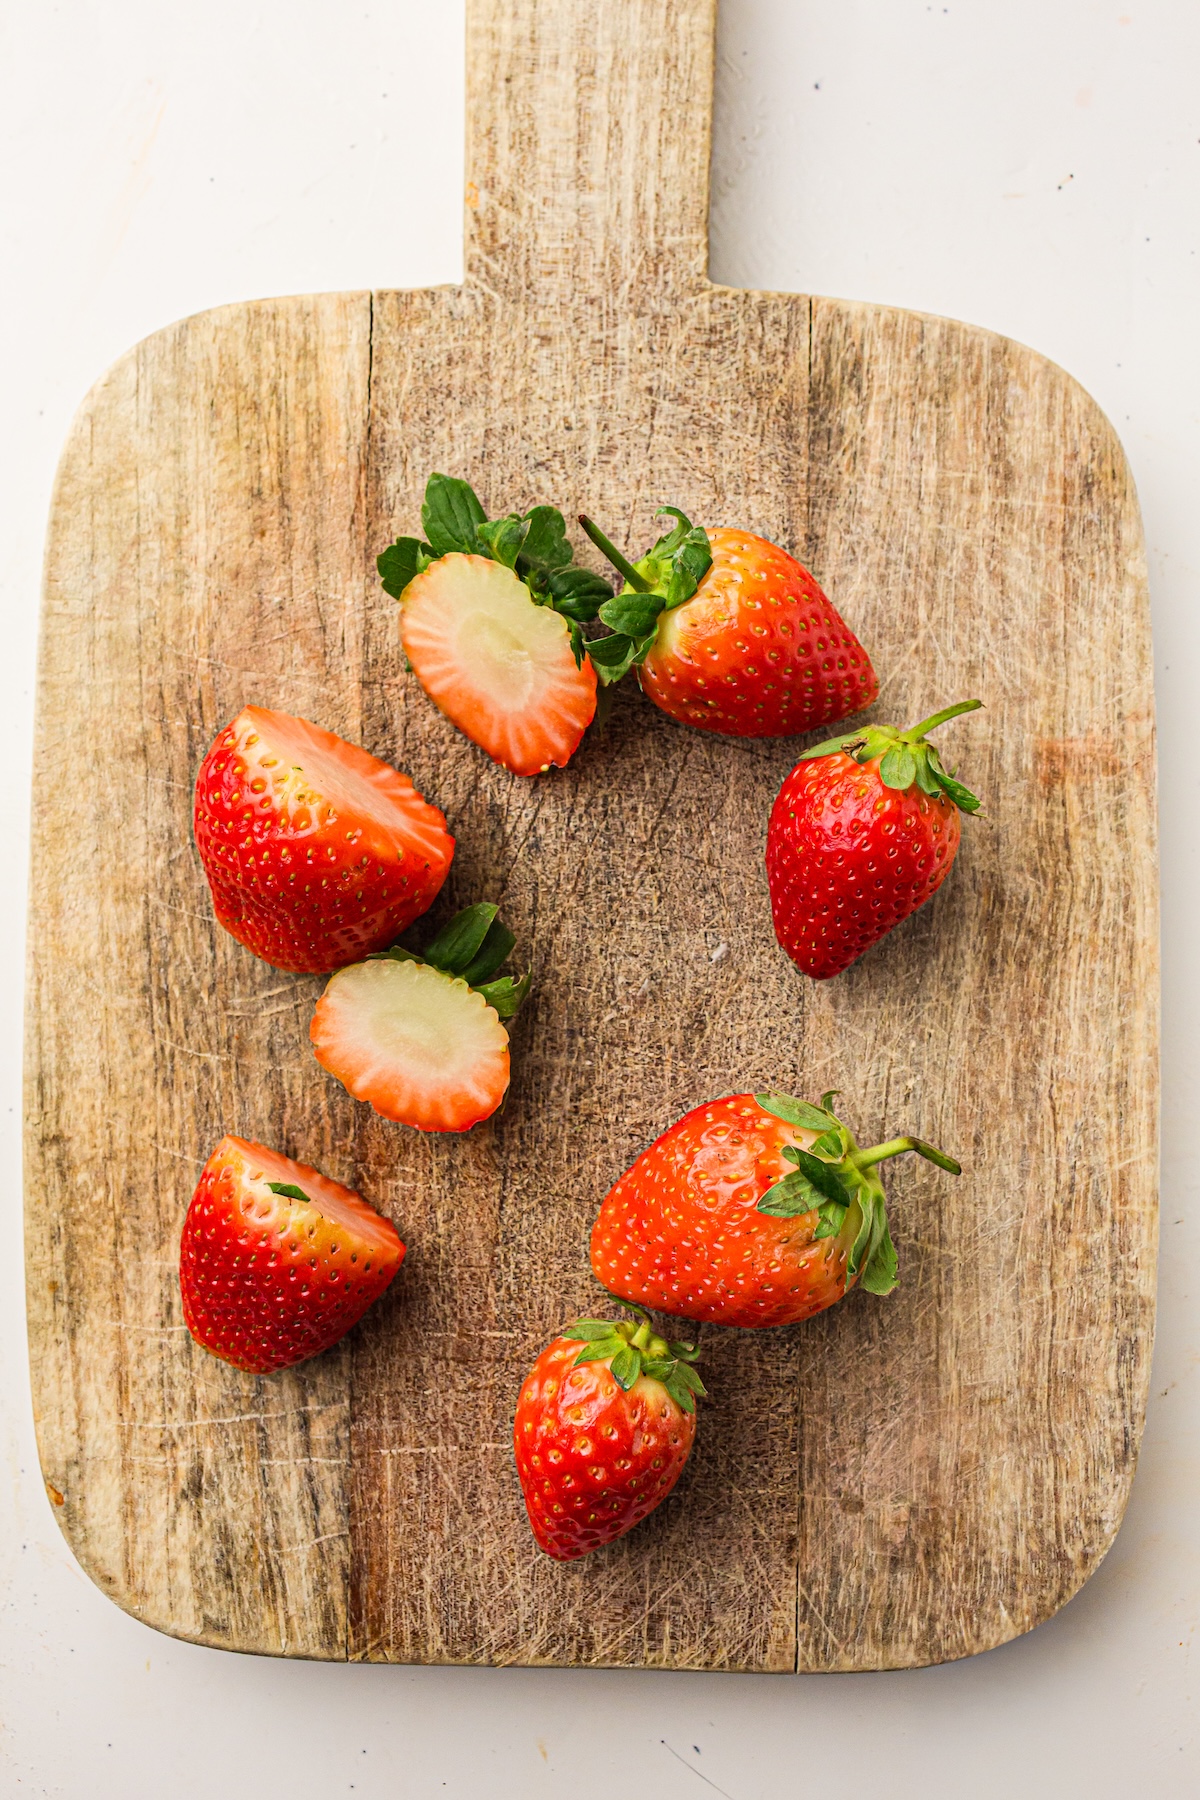
- 2 lb fresh strawberries, hulled and sliced
- ¼ cup granulated sugar
For the Shortcakes:
- 2 cups all-purpose flour
- 1 tablespoon baking powder
- ½ teaspoon salt
- ½ cup cold butter, cubed
- ¾ cup milk
For the Whipped Cream:
- 1 cup heavy cream, chilled
- 2 tablespoons powdered sugar
Step-by-Step Instructions
Making this dessert is a joy from start to finish. Let’s walk through it together.
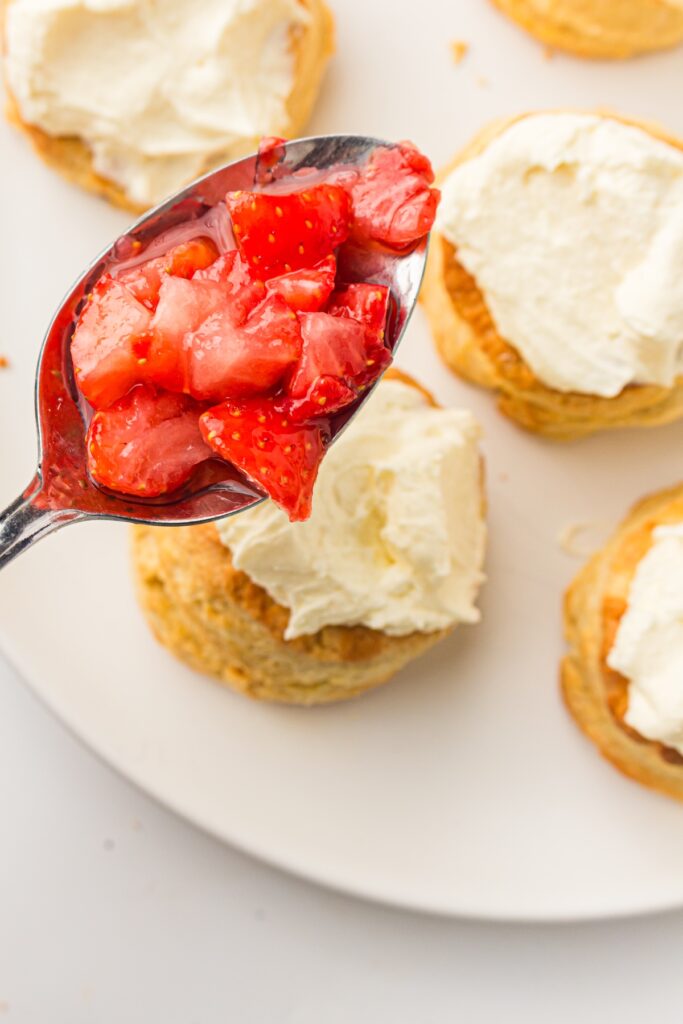
Step 1: Macerate the Strawberries
First, let’s get the strawberries ready. This simple step, called macerating, draws out the natural juices from the berries and creates a beautiful, sweet syrup.
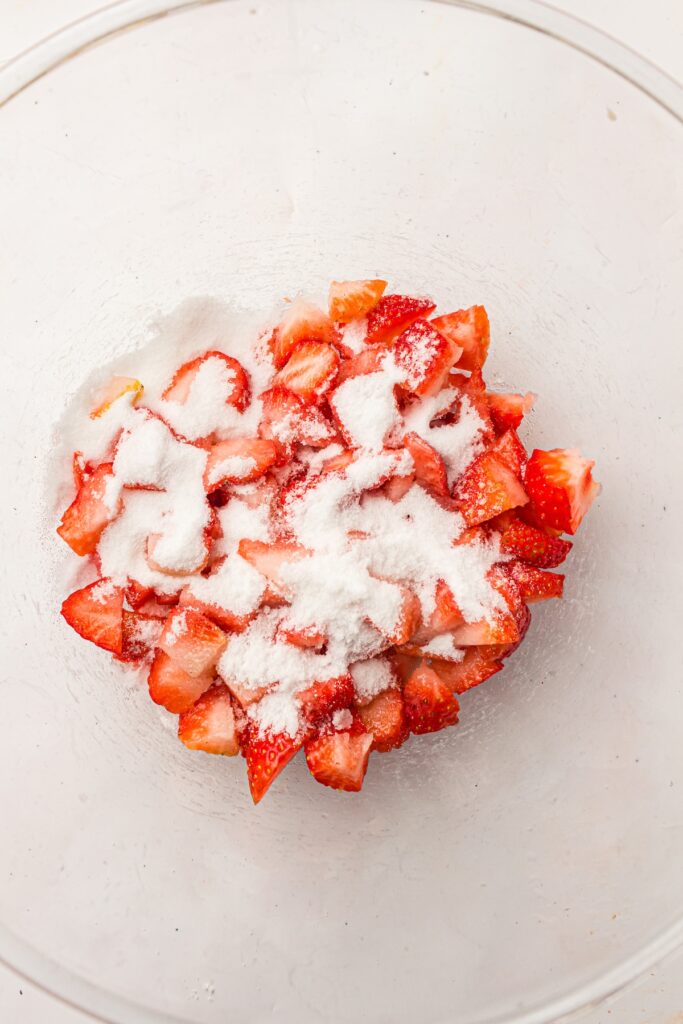
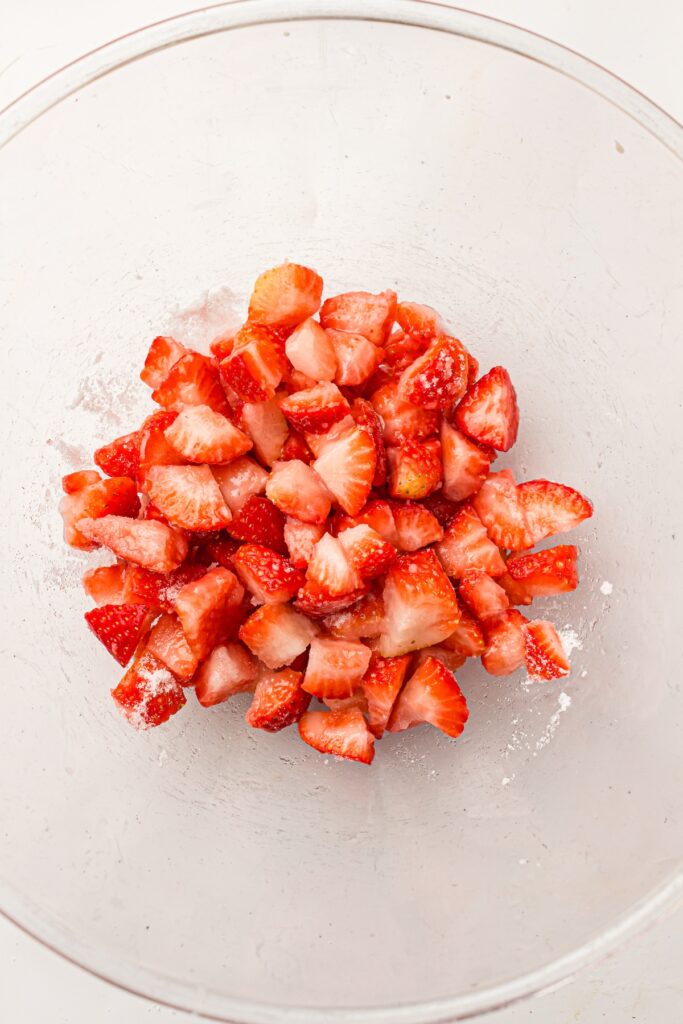
In a medium bowl, gently toss your sliced strawberries with the granulated sugar. Set them aside for at least 30 minutes while you prepare the shortcakes.
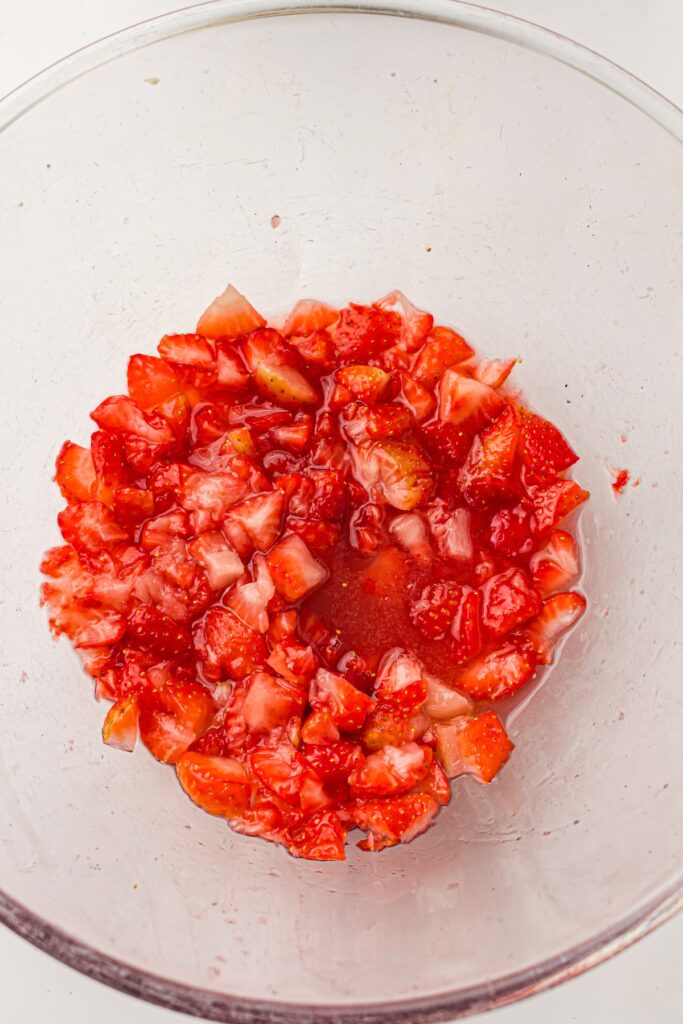
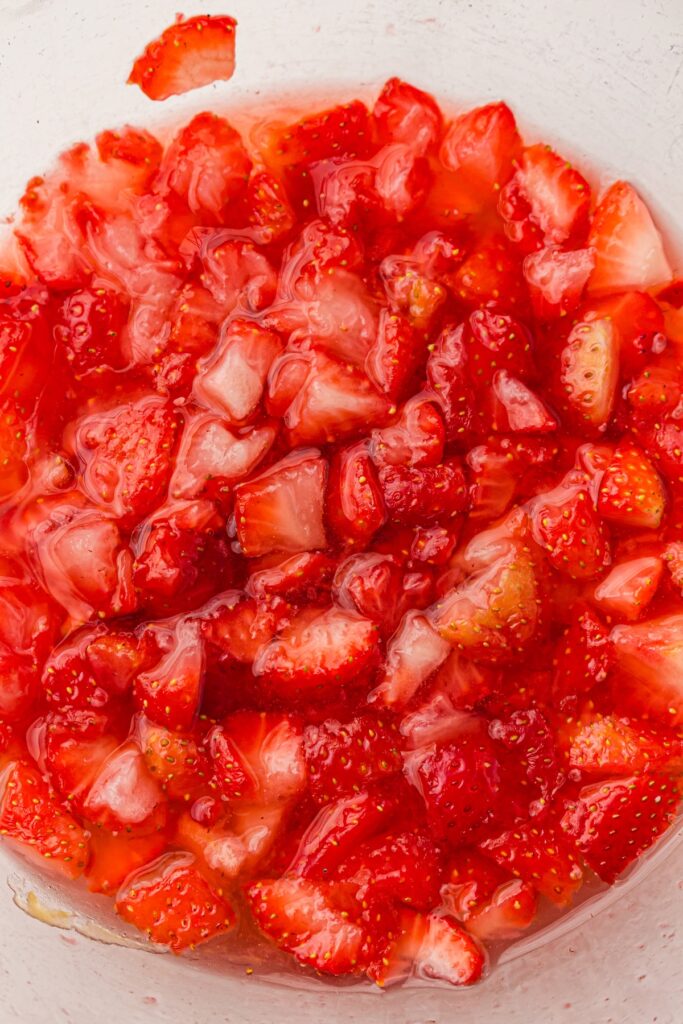
You’ll see a lovely pool of red syrup forming at the bottom of the bowl.
Step 2: Prepare the Shortcakes
Preheat your oven to 425°F (220°C) and line a baking sheet with parchment paper.
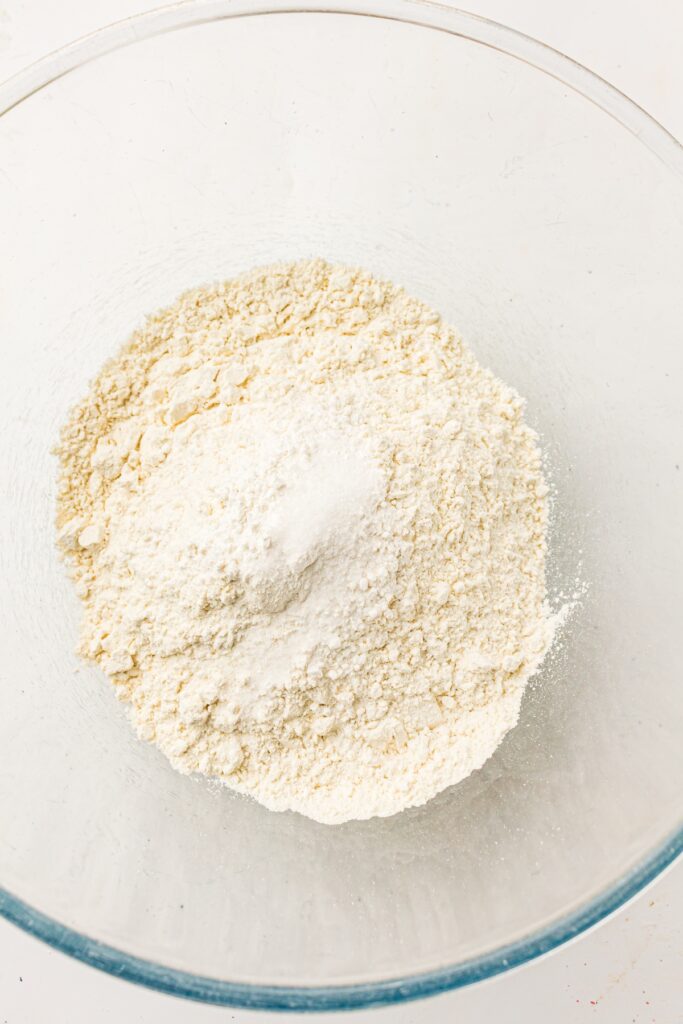
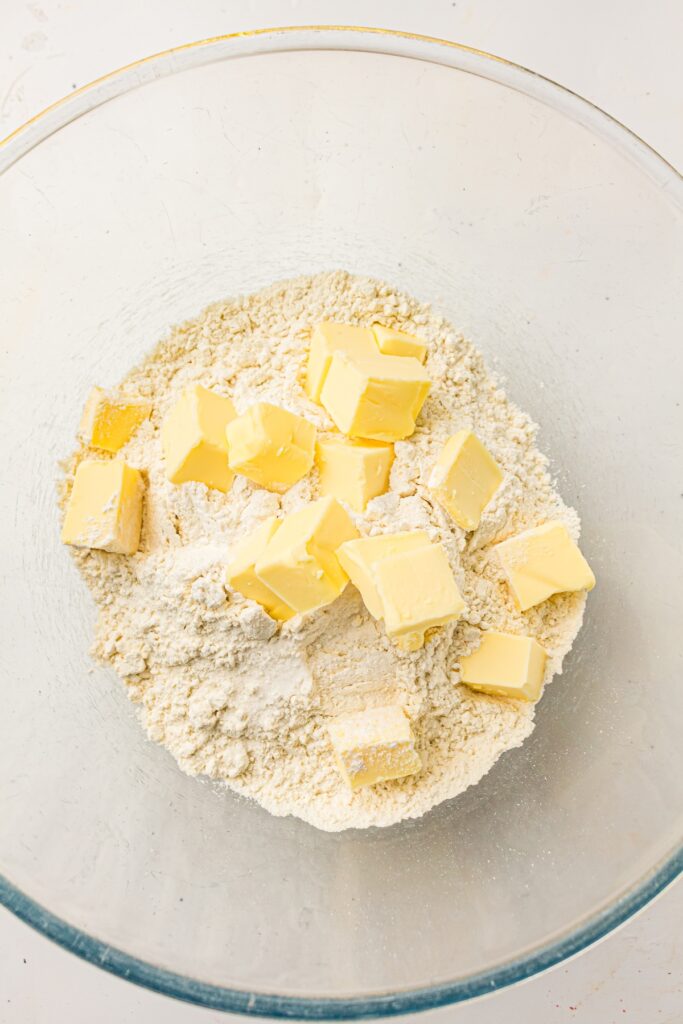
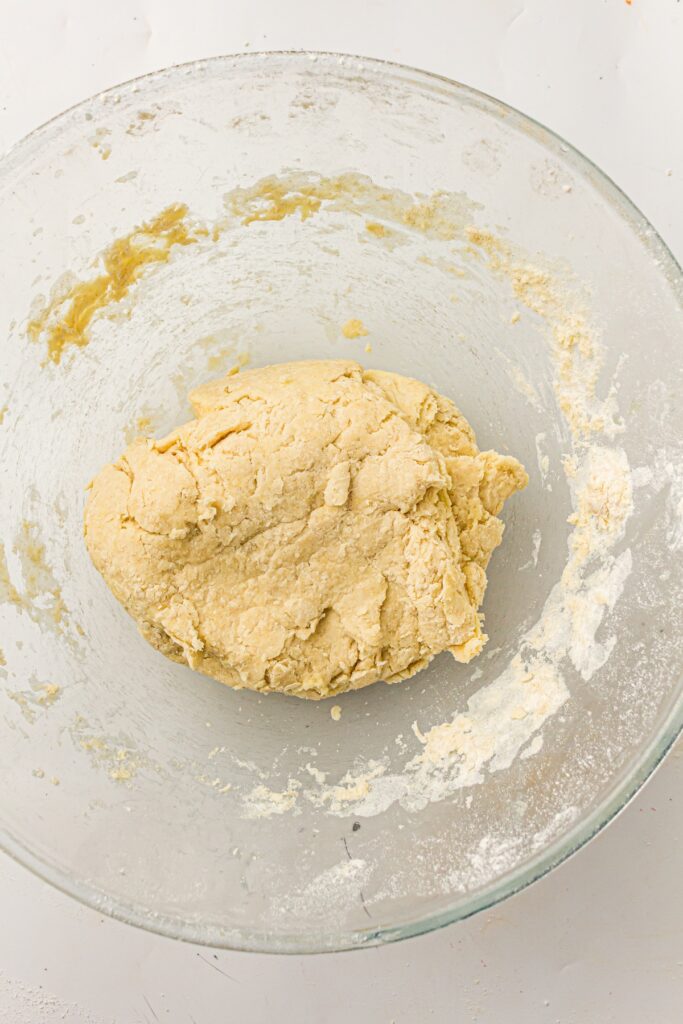
In a large bowl, whisk together the flour, baking powder, and salt. Add the cold, cubed butter. Using a pastry blender or your fingertips, cut the butter into the flour mixture until it resembles coarse crumbs with some pea-sized bits of butter remaining. This is crucial for that flaky texture!
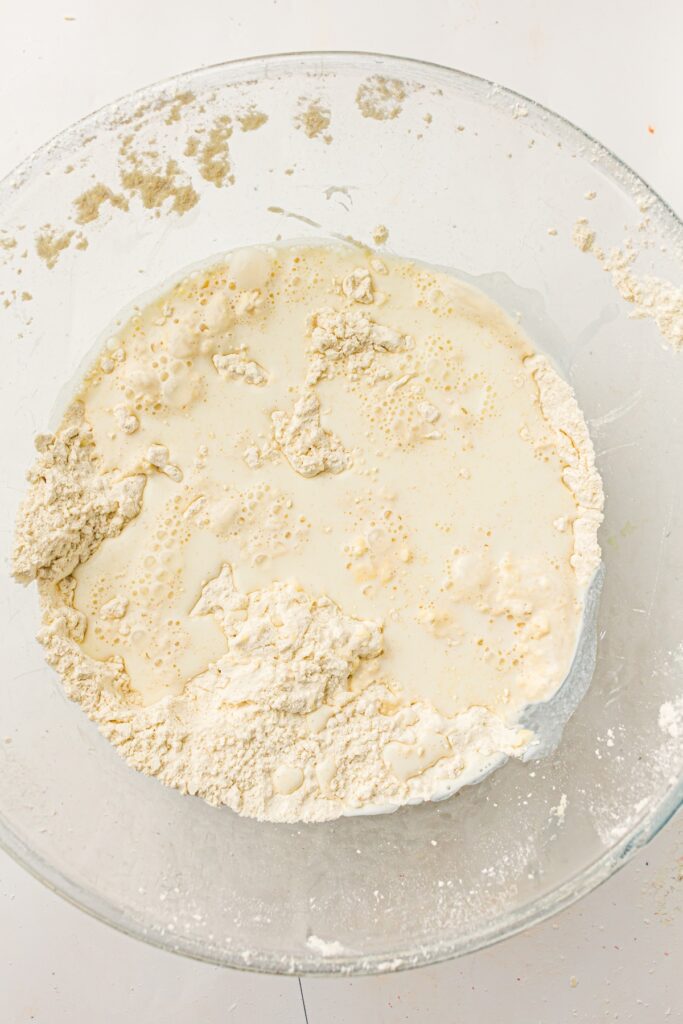
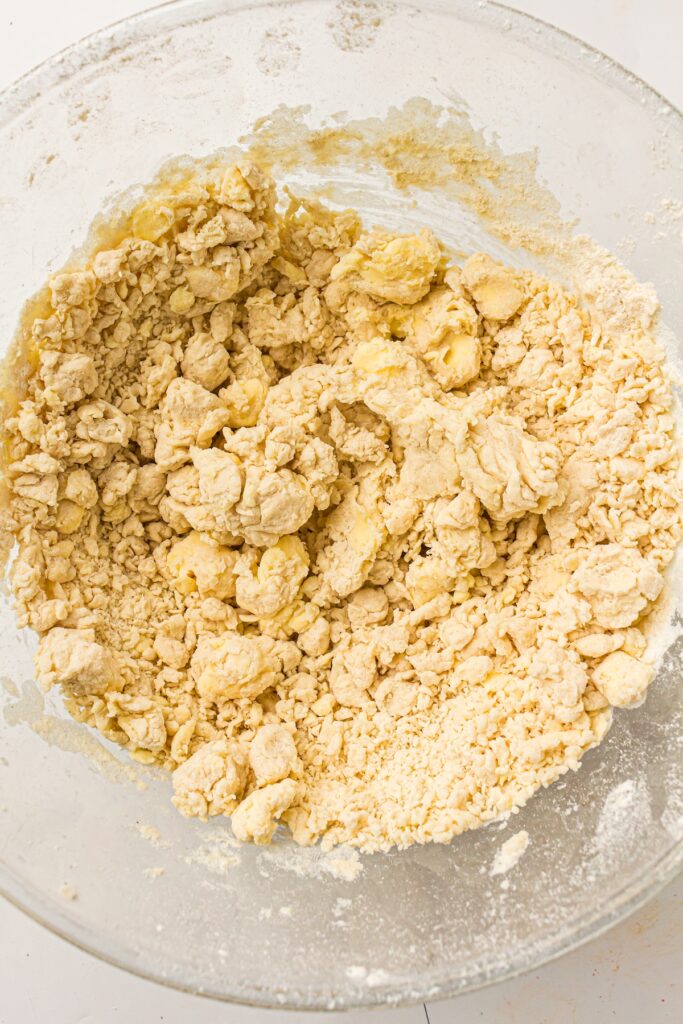
Pour in the milk and stir with a fork just until a soft, slightly shaggy dough forms. Be careful not to overmix; a few lumps are perfectly fine. Overworking the dough will make your shortcakes tough.
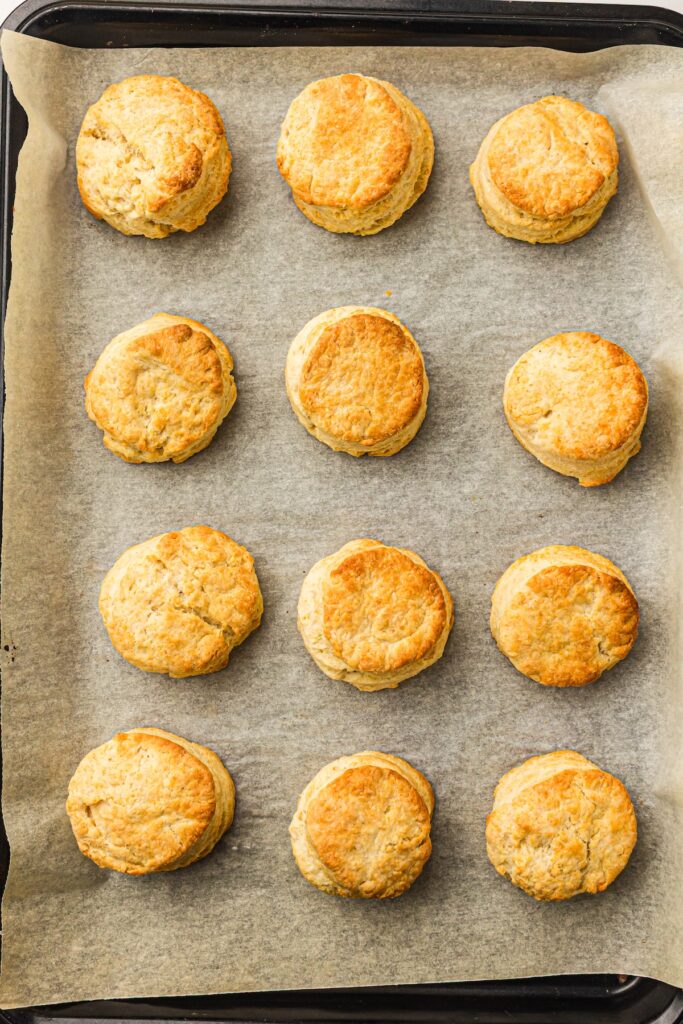
Step 3: Cut and Bake
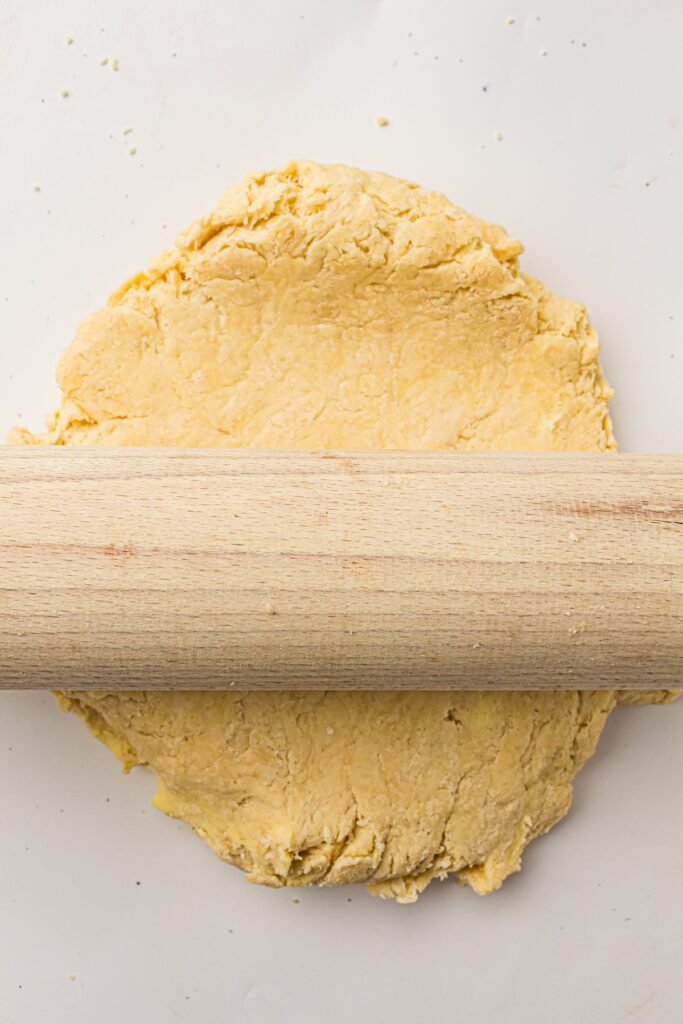
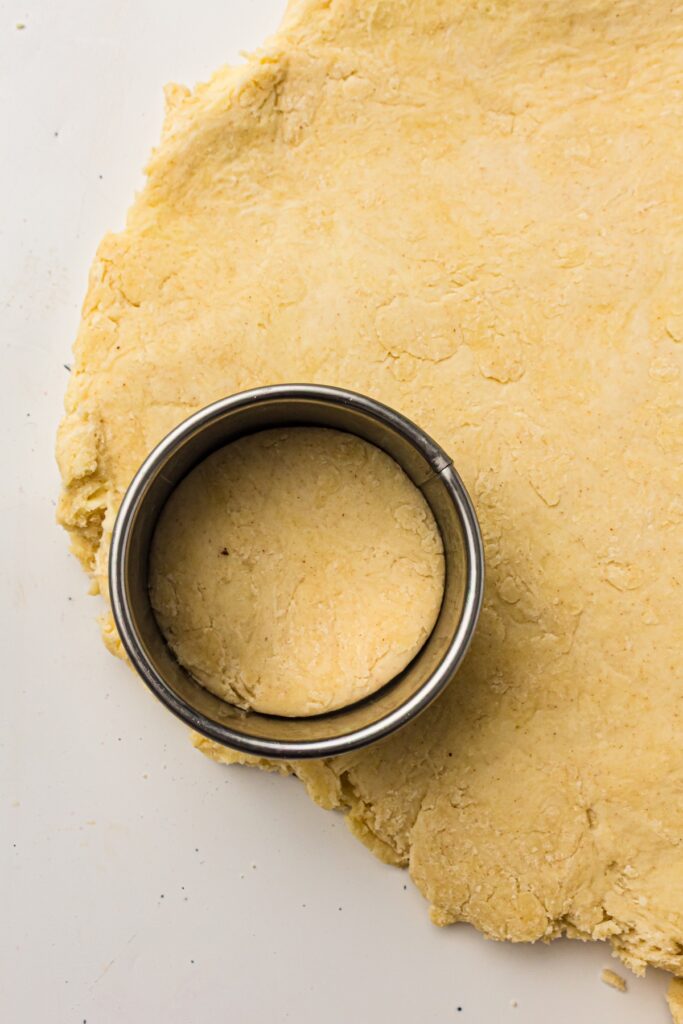
Turn the dough out onto a lightly floured surface. Gently pat it down until it’s about ¾-inch thick. Using a 3-inch round biscuit or cookie cutter, cut out your shortcakes. You can gently re-pat the scraps to cut out a few more.
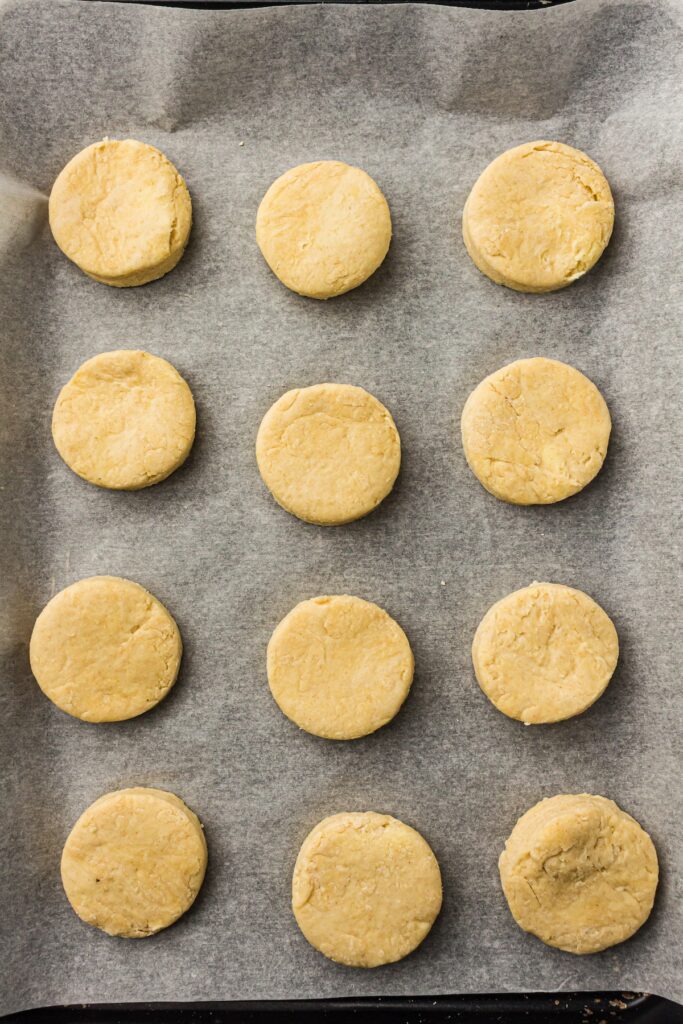
Place the rounds on your prepared baking sheet. Bake for 12–15 minutes, or until they are puffed up and beautifully golden on top. The smell that will fill your kitchen is pure happiness.
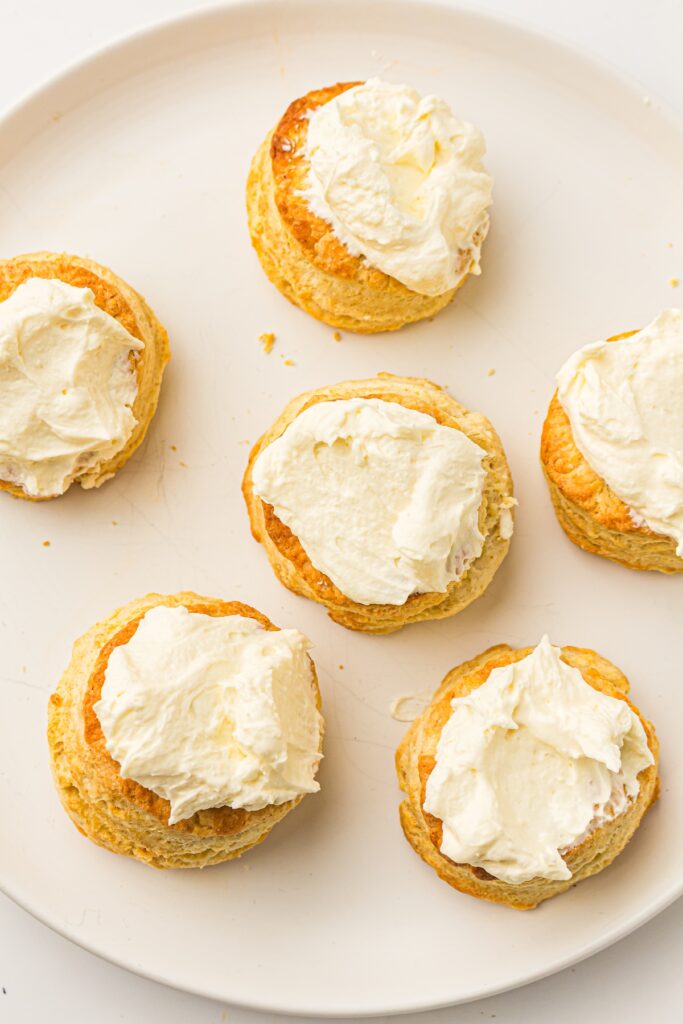
Step 4: Whip the Cream
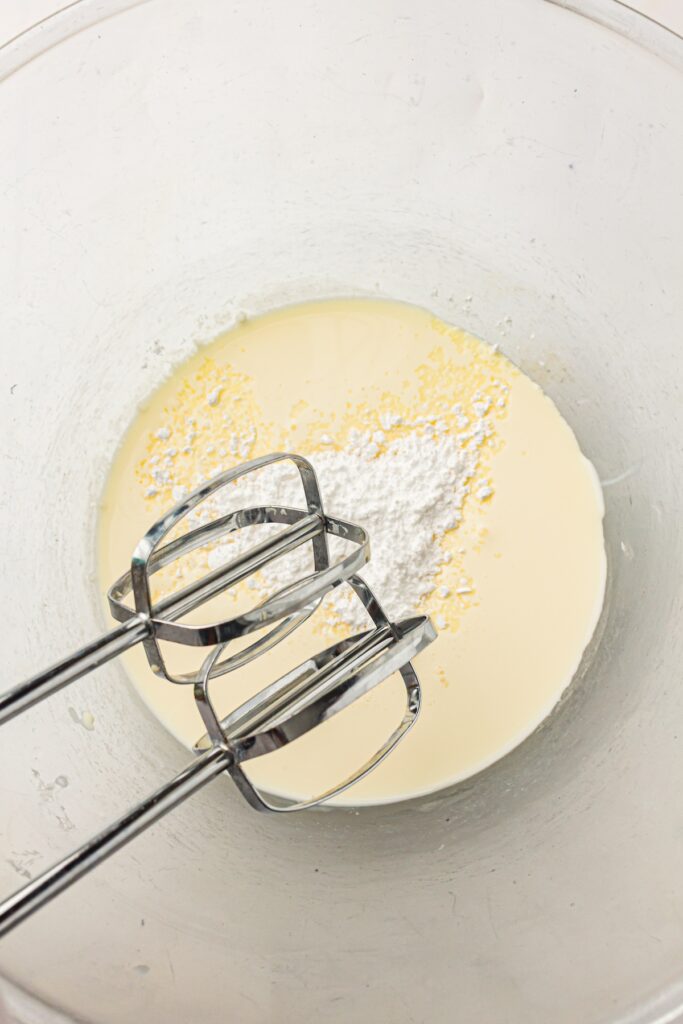
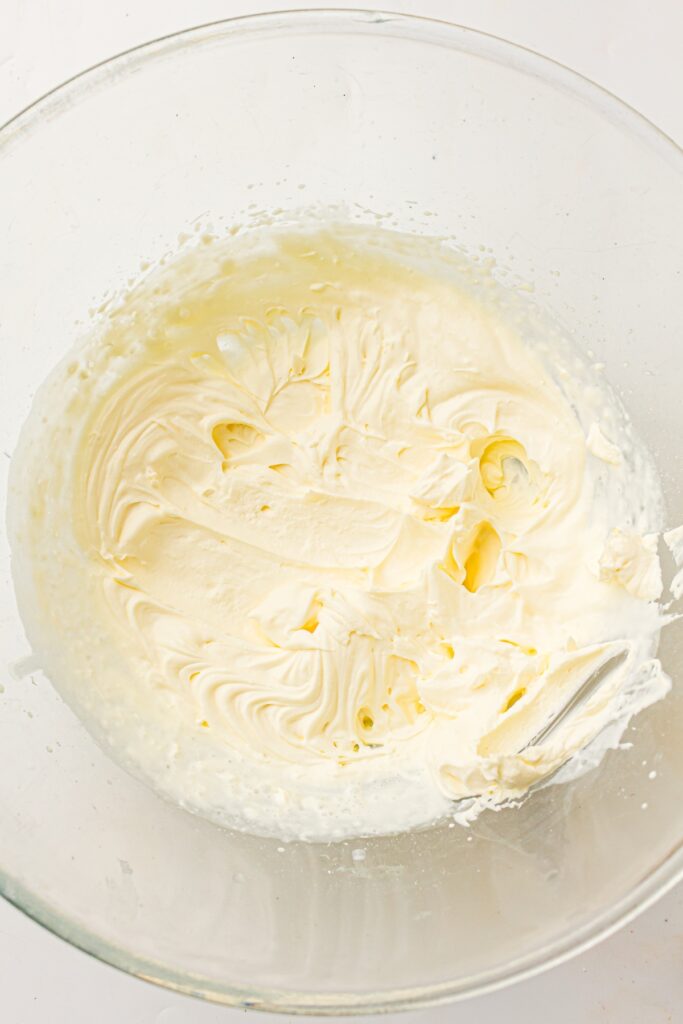
While the shortcakes are baking or cooling slightly, let’s make the whipped cream. In a chilled bowl, combine the cold heavy cream and powdered sugar. Using an electric mixer, whip the cream until soft, billowy peaks form. Try not to over-whip it; you want it to be light and airy, not stiff.
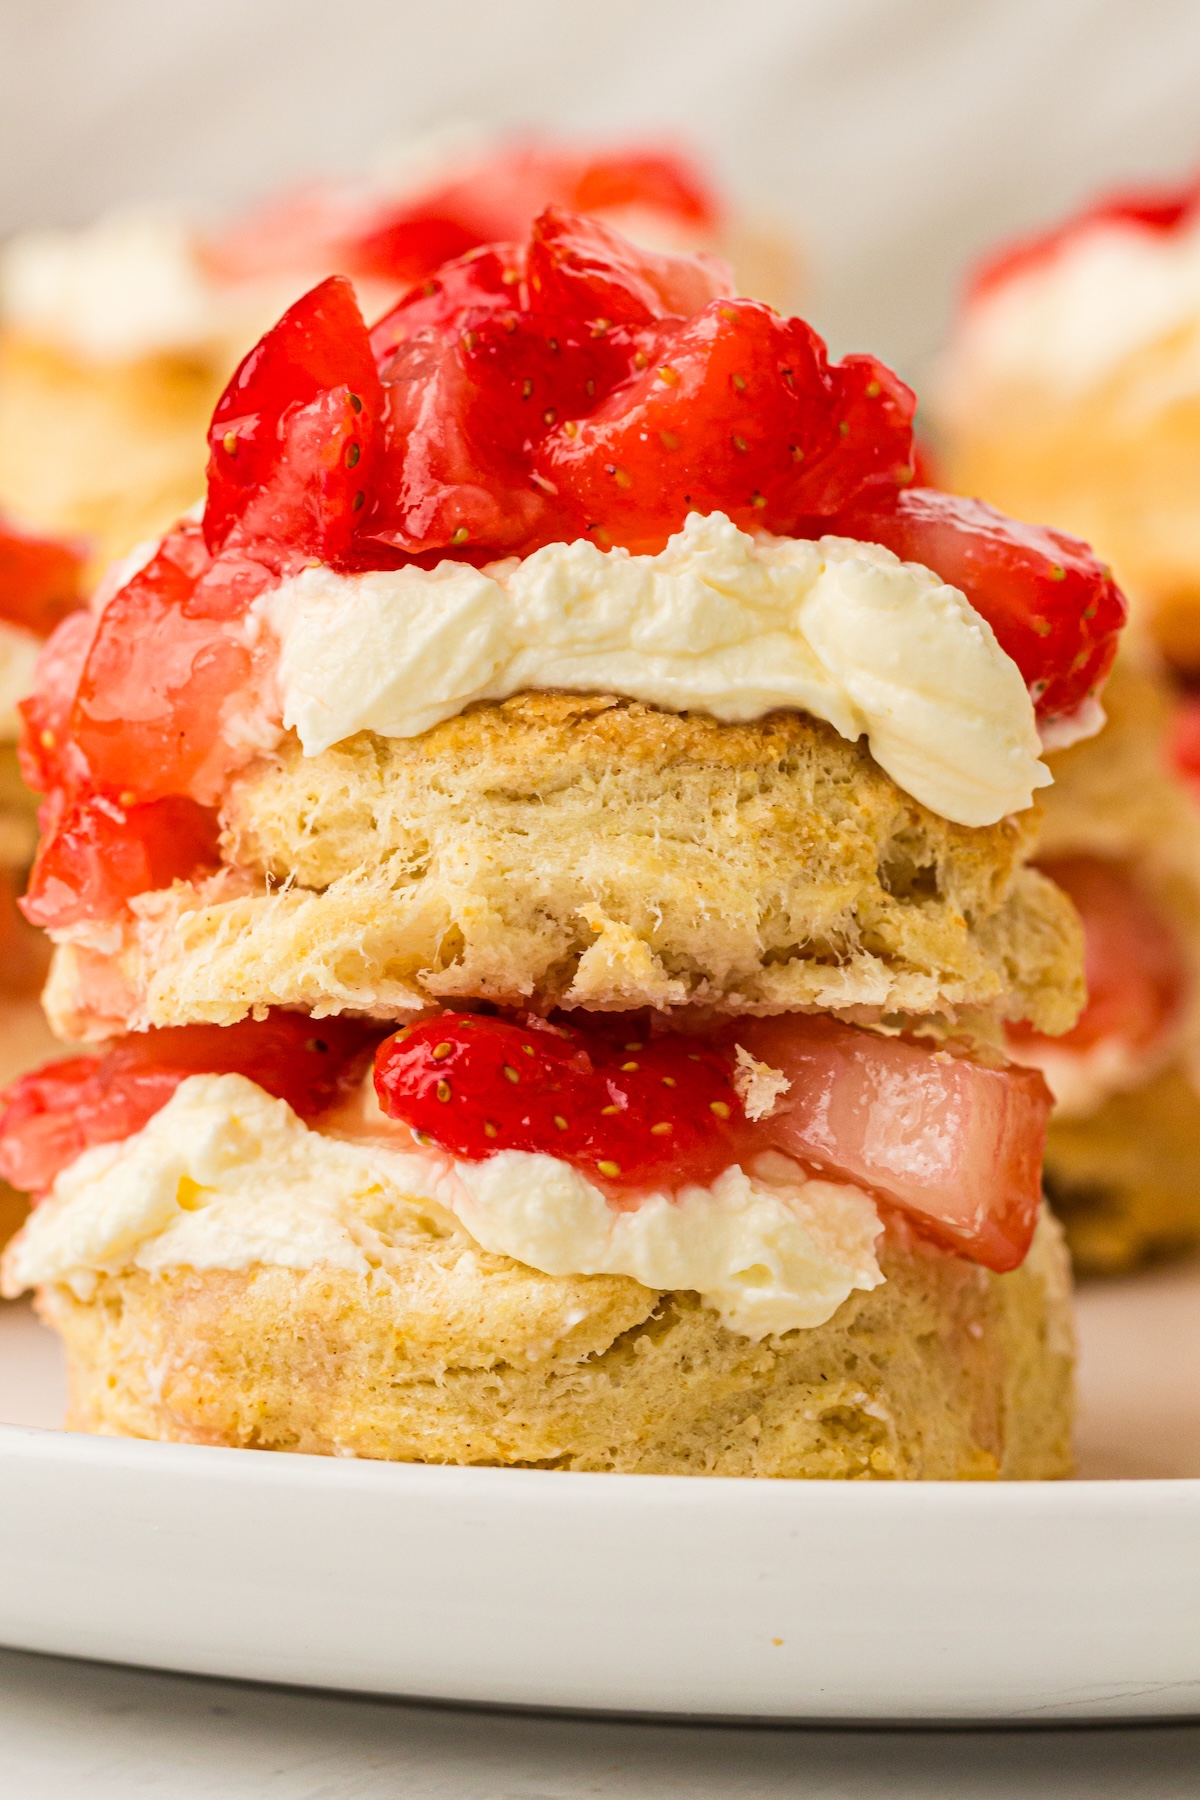
Step 5: Assemble and Serve
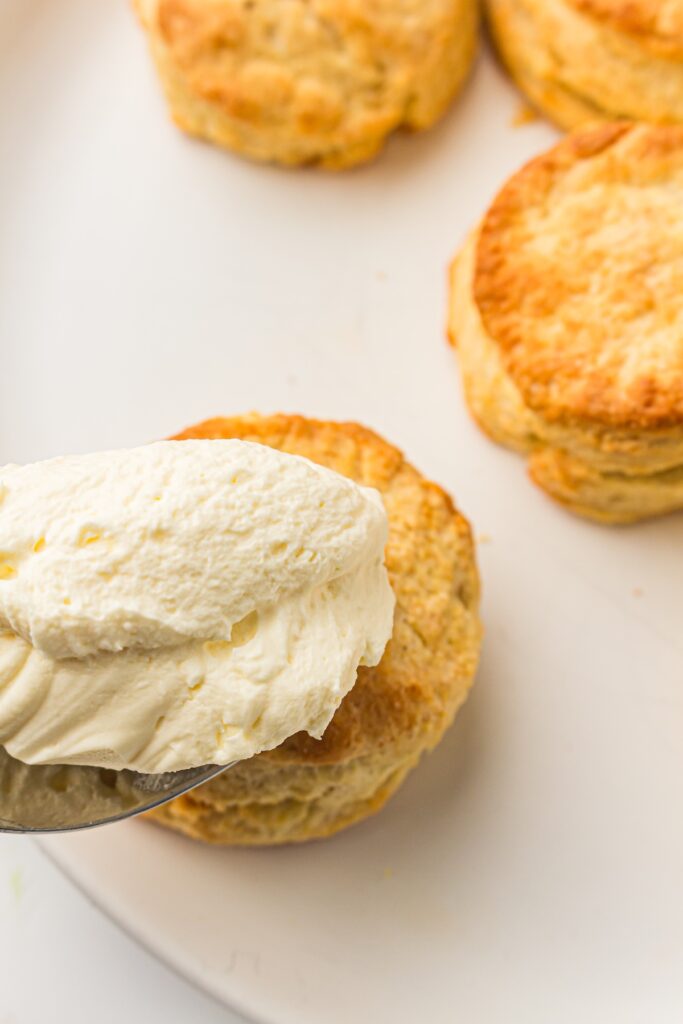
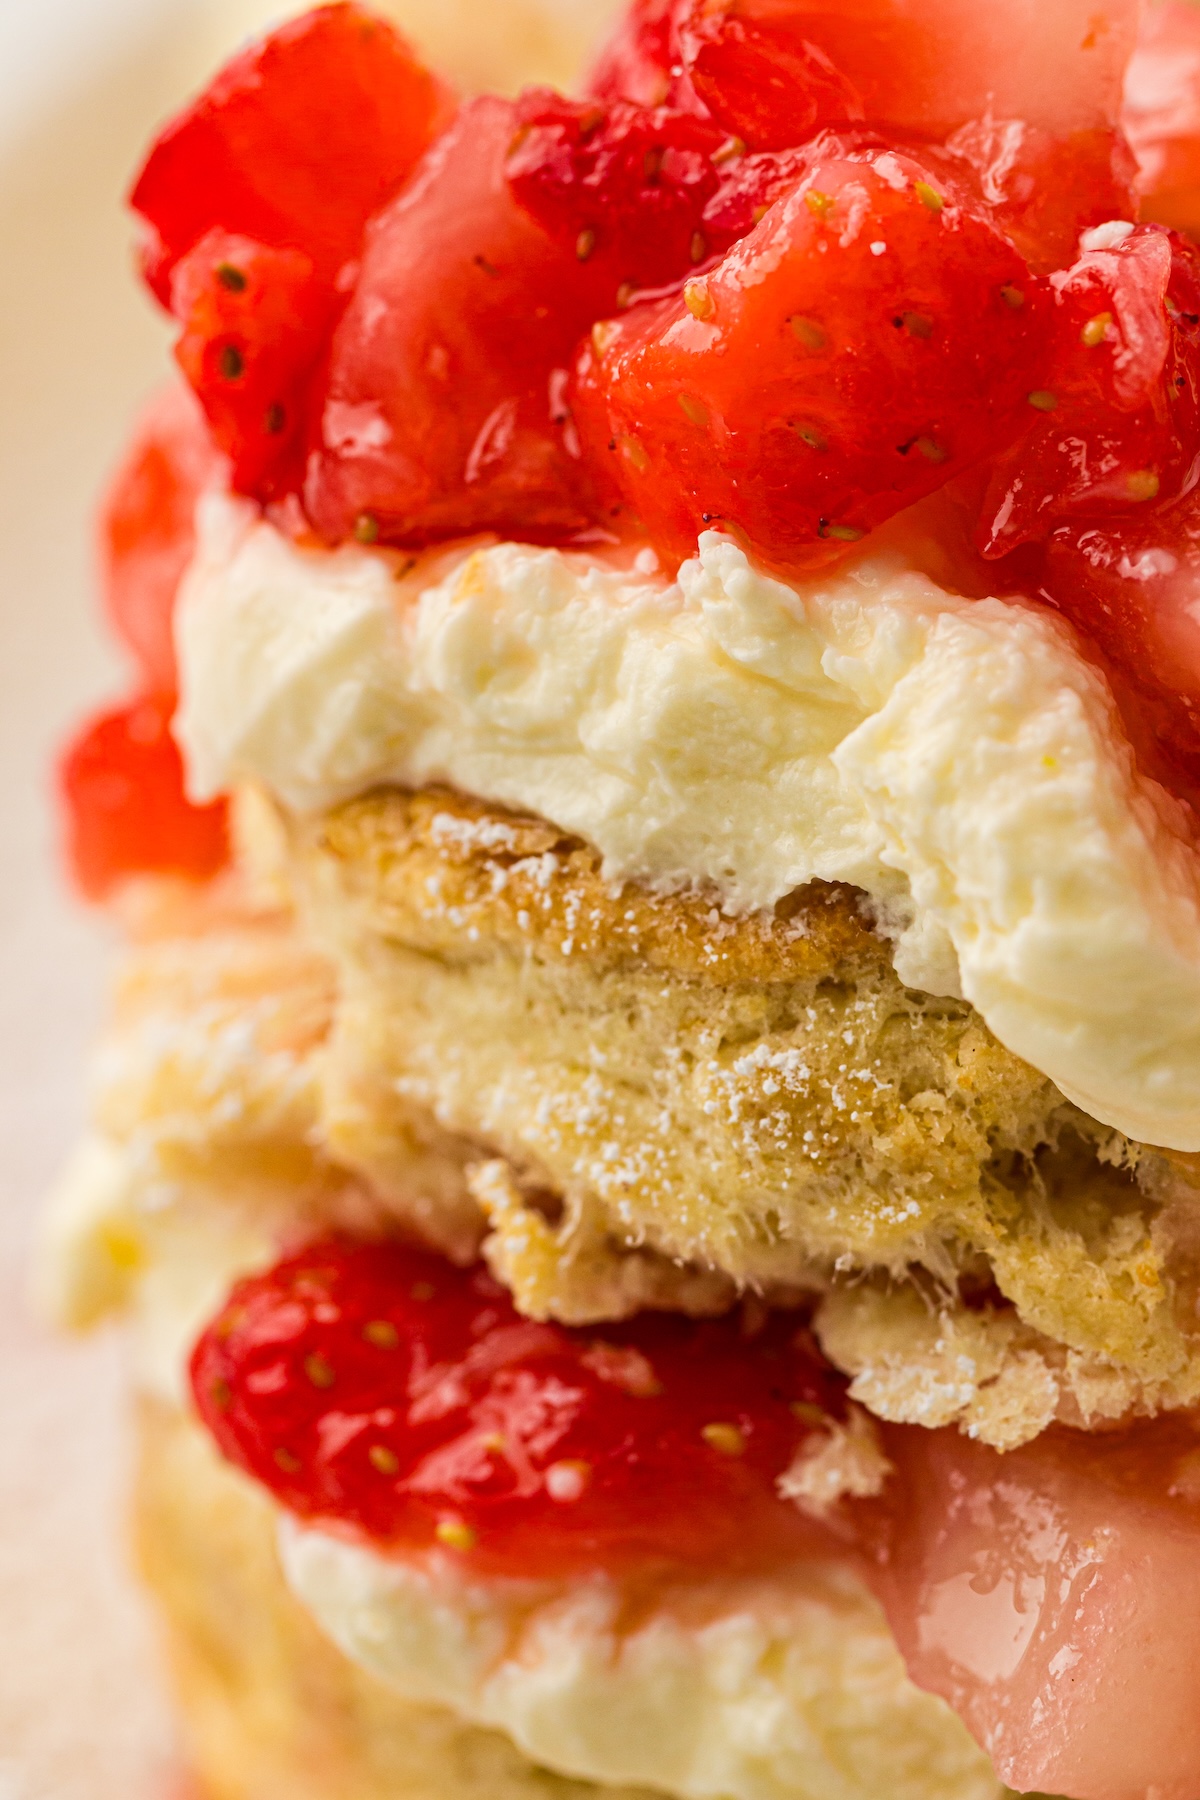
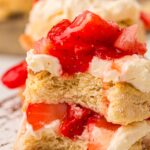
And now for the fun part! Place a warm shortcake on your serving plate. Spoon a generous amount of the juicy strawberries over the top, letting them cascade down the sides. Add a big dollop of whipped cream right in the center.
If you prefer, you can also split the shortcake in half and layer the strawberries and cream in the middle. Or you can layer up the shortcakes like I did!
Tips for Success
- Keep it Cold: For the flakiest shortcakes, make sure your butter and milk are very cold. You can even pop the cubed butter in the freezer for 10 minutes before using it.
- Don’t Overmix: When making the dough, mix just until the ingredients come together. A gentle hand is the secret to tender biscuits.
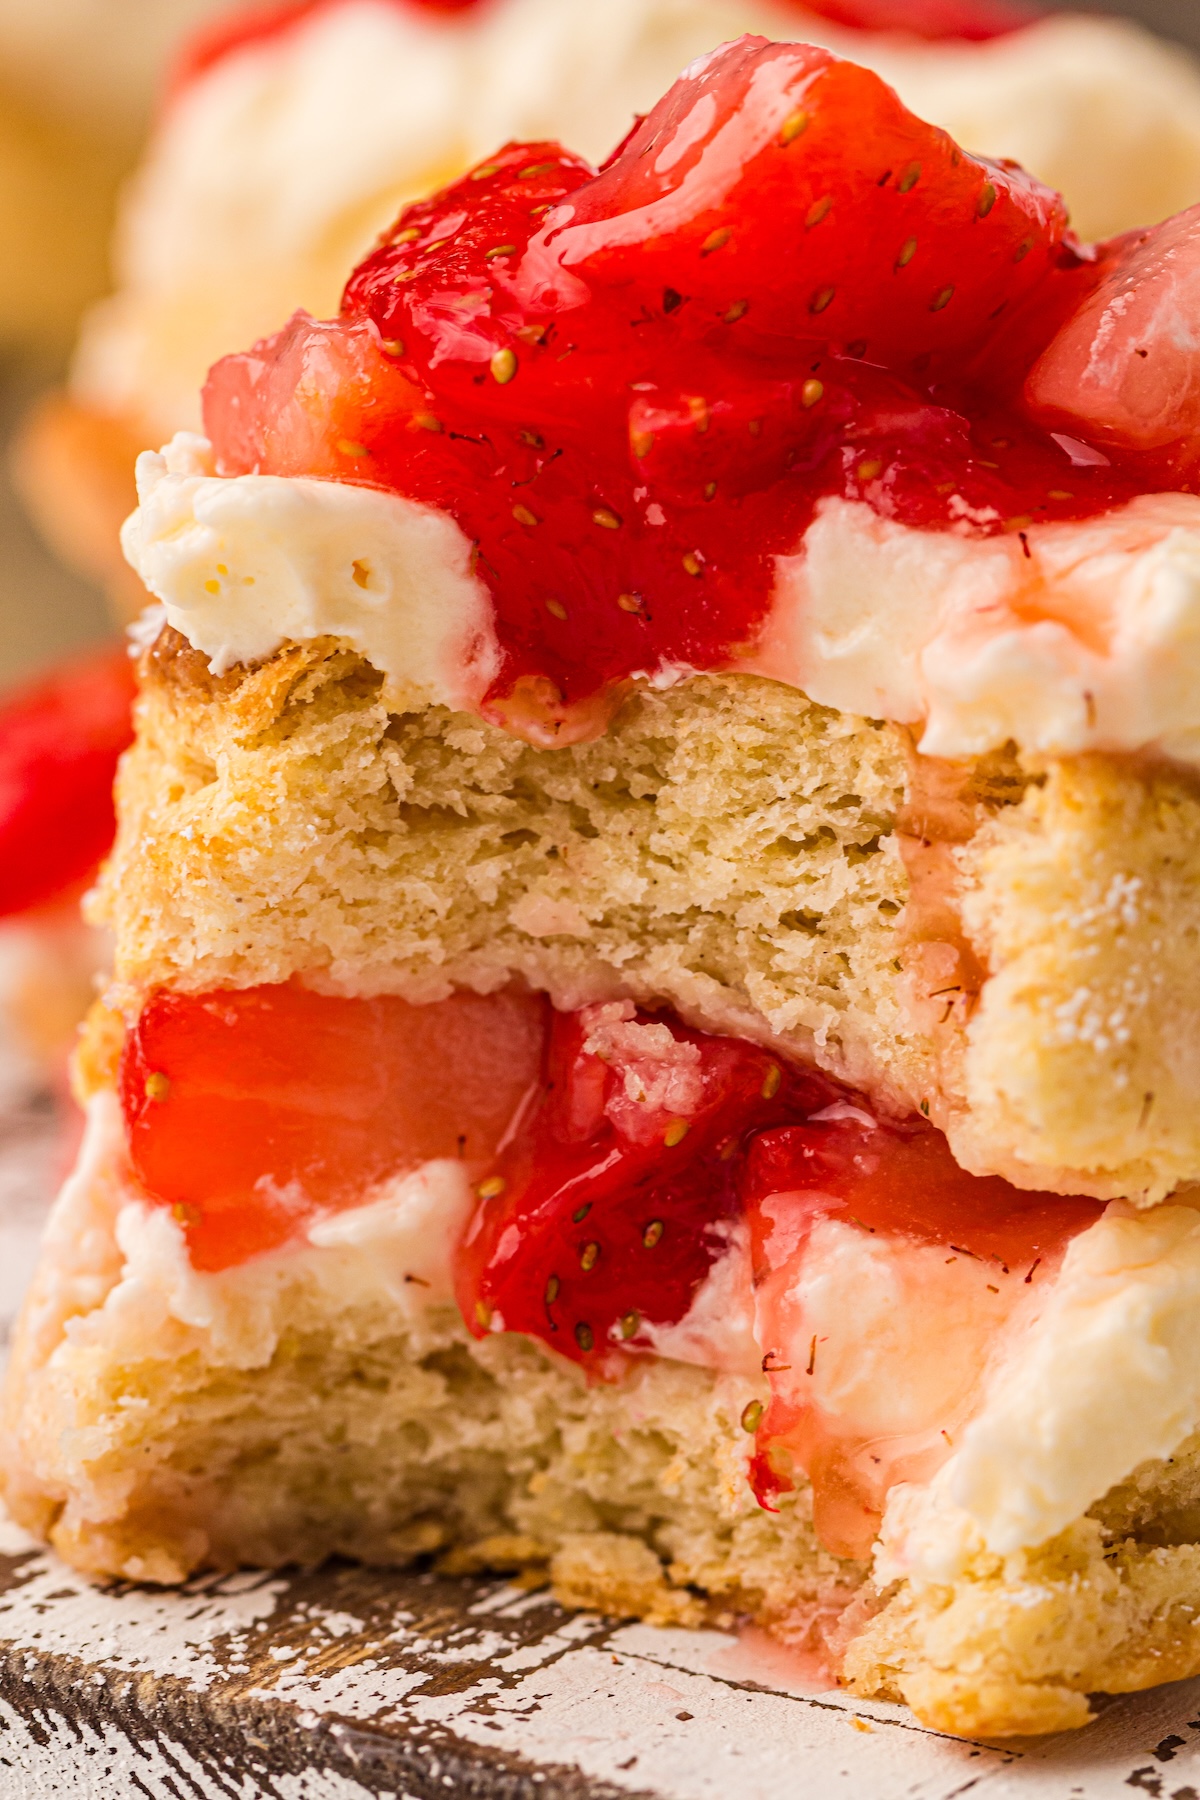
- Serve Warm: There is nothing better than assembling these shortcakes while they are still warm from the oven. The contrast between the warm biscuit, cool berries, and cold cream is divine.
Frequently Asked Questions
Can I make this ahead of time?
Absolutely. You can bake the shortcakes a day in advance and store them in an airtight container at room temperature. The strawberries and whipped cream are best made fresh, but you can slice the berries ahead of time. Just assemble everything right before you’re ready to serve.
Can I use frozen strawberries?
Fresh strawberries will give you the best flavor and texture. However, if they aren’t in season, you can use thawed frozen strawberries. Just make sure to drain them very well to avoid excess liquid, which could make your shortcakes soggy.
How should I store leftovers?
It’s best to store the components separately. The baked shortcakes can be kept at room temperature for a day or frozen for up to two months. The strawberries and whipped cream should be covered and refrigerated for up to 24 hours.
Classic Strawberry Shortcake (Made from Scratch)
Ingredients
Strawberries
- 2 lb fresh strawberries sliced
- ¼ cup sugar
Shortcakes
- 2 cups all-purpose flour
- 1 tablespoon baking powder
- ½ teaspoon salt
- ½ cup cold butter cubed
- ¾ cup milk
Whipped Cream
- 1 cup heavy cream
- 2 tablespoons powdered sugar
Instructions
- Macerate the berries: Toss the sliced strawberries with the sugar in a medium bowl. Set them aside for about 30 minutes. This pulls out those delicious natural juices and creates a sweet syrup.
- Prep your station: Preheat your oven to 425°F (220°C). Grab a baking sheet and line it with parchment paper so your shortcakes do not stick.
- Mix the dry ingredients: Whisk the flour, baking powder, and salt together in a large mixing bowl.
- Cut the butter: Add your cold, cubed butter to the flour mixture. Cut it in using a pastry blender or your fingers until the mixture looks like coarse crumbs. Pro tip: keeping the butter as cold as possible is our ultimate secret to super flaky shortcakes!
- Form the dough: Pour in the milk and stir gently just until a soft dough forms. Do your best to avoid overmixing, otherwise your shortcakes might turn out a bit tough.
- Cut the shortcakes: Turn the dough out onto a lightly floured surface. Pat it down gently to about ¾-inch thickness. Use a 3-inch round cookie cutter to cut out your shortcakes, then place them evenly on your prepared baking sheet.
- Bake: Pop the baking sheet in the oven for 12–15 minutes until the tops turn a gorgeous golden brown.
- Whip the cream: While the shortcakes cool slightly, use a hand mixer to whip the heavy cream and powdered sugar until soft, beautiful peaks form.
- Assemble: Place a warm shortcake on your plate. Top it with a generous scoop of juicy strawberries and a big dollop of whipped cream. Gently place another shortcake on top and repeat with another layer of strawberries and cream. Spoon some extra strawberry juice right over the top for the perfect finish.
Enjoy Your Taste of Spring
There you have it—a simple, classic Strawberry Shortcake that tastes like a warm spring day. It’s the perfect dessert for Easter, a family gathering, or just a quiet afternoon treat. I hope you love making and eating this as much as I do. Happy baking!
For more fun desserts, check out these ideas: