Let’s talk about two of the best desserts on the planet: strawberry cheesecake and ice cream. For years, they’ve lived separate, delicious lives. But what if we brought them together in one glorious, creamy creation? Thanks to the magic of the Ninja Creami, that dream is now a reality. Prepare yourself for an ice cream that’s about to become your new obsession.
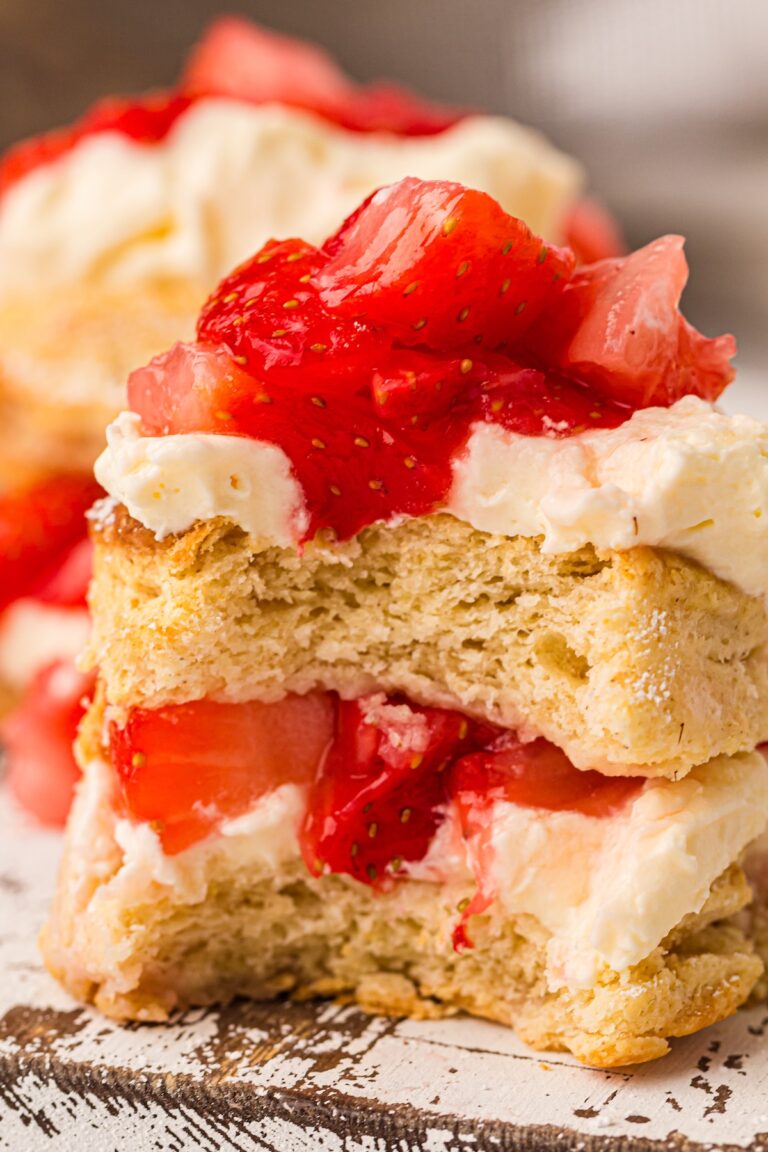
This Strawberry Cheesecake Ninja Creami recipe perfectly captures the tangy sweetness of cream cheese, the bright burst of fresh strawberries, and the satisfying crunch of a biscuit base. It tastes like a scoop of summer from your favorite dessert shop, but you get to make it right in your own kitchen. The best part? It’s surprisingly simple, and the Ninja Creami does most of the heavy lifting.
If you’re ready to turn a classic dessert into an unforgettable frozen treat, you’ve come to the right place. Let’s get spinning!
Why This Recipe is a Must-Try
There are plenty of ice cream recipes out there, but this one is special. Here’s why you’ll fall in love with it.
- Authentic Cheesecake Flavor: Using real cream cheese gives this ice cream that signature tangy flavor you know and love from a classic cheesecake.
- Fresh Strawberry Goodness: We’re using fresh, juicy strawberries blended right into the base and added as a mix-in for an extra pop of flavor and texture.
- Incredibly Creamy: The combination of double cream, whole milk, and cream cheese creates a rich, smooth base that the Ninja Creami transforms into pure luxury.
- Simple Yet Impressive: With just a few minutes of prep, you can create a dessert that looks and tastes like it came from a high-end creamery.
Ingredients You’ll Need
The ingredient list is simple, focusing on fresh, high-quality components to get that perfect cheesecake flavor.

- 1 cup Whole Milk: Creates the liquid foundation for our ice cream base.
- ¾ cup Heavy Cream: This is essential for achieving that ultra-rich and creamy texture.
- ⅓ cup Confectioners’ Sugar: Also known as icing sugar, it dissolves beautifully into the base, ensuring a smooth, sweet finish.
- ½ cup Full-Fat Cream Cheese, softened: The star of the show! Use full-fat for the best flavor and texture, and make sure it’s softened to avoid lumps.
- 1 cup Chopped Fresh Strawberries: You’ll use half for the base and half for the mix-in, giving you strawberry flavor in every bite.
- ½ tsp Vanilla Extract: A little vanilla enhances the cheesecake flavor and ties everything together.
- 1 Small Vanilla Biscuit, crushed: This mimics the cheesecake crust and adds a wonderful textural surprise. Think shortbread or a simple vanilla wafer.
Step-by-Step Instructions
Ready to make some magic? Follow these simple steps for the perfect pint.
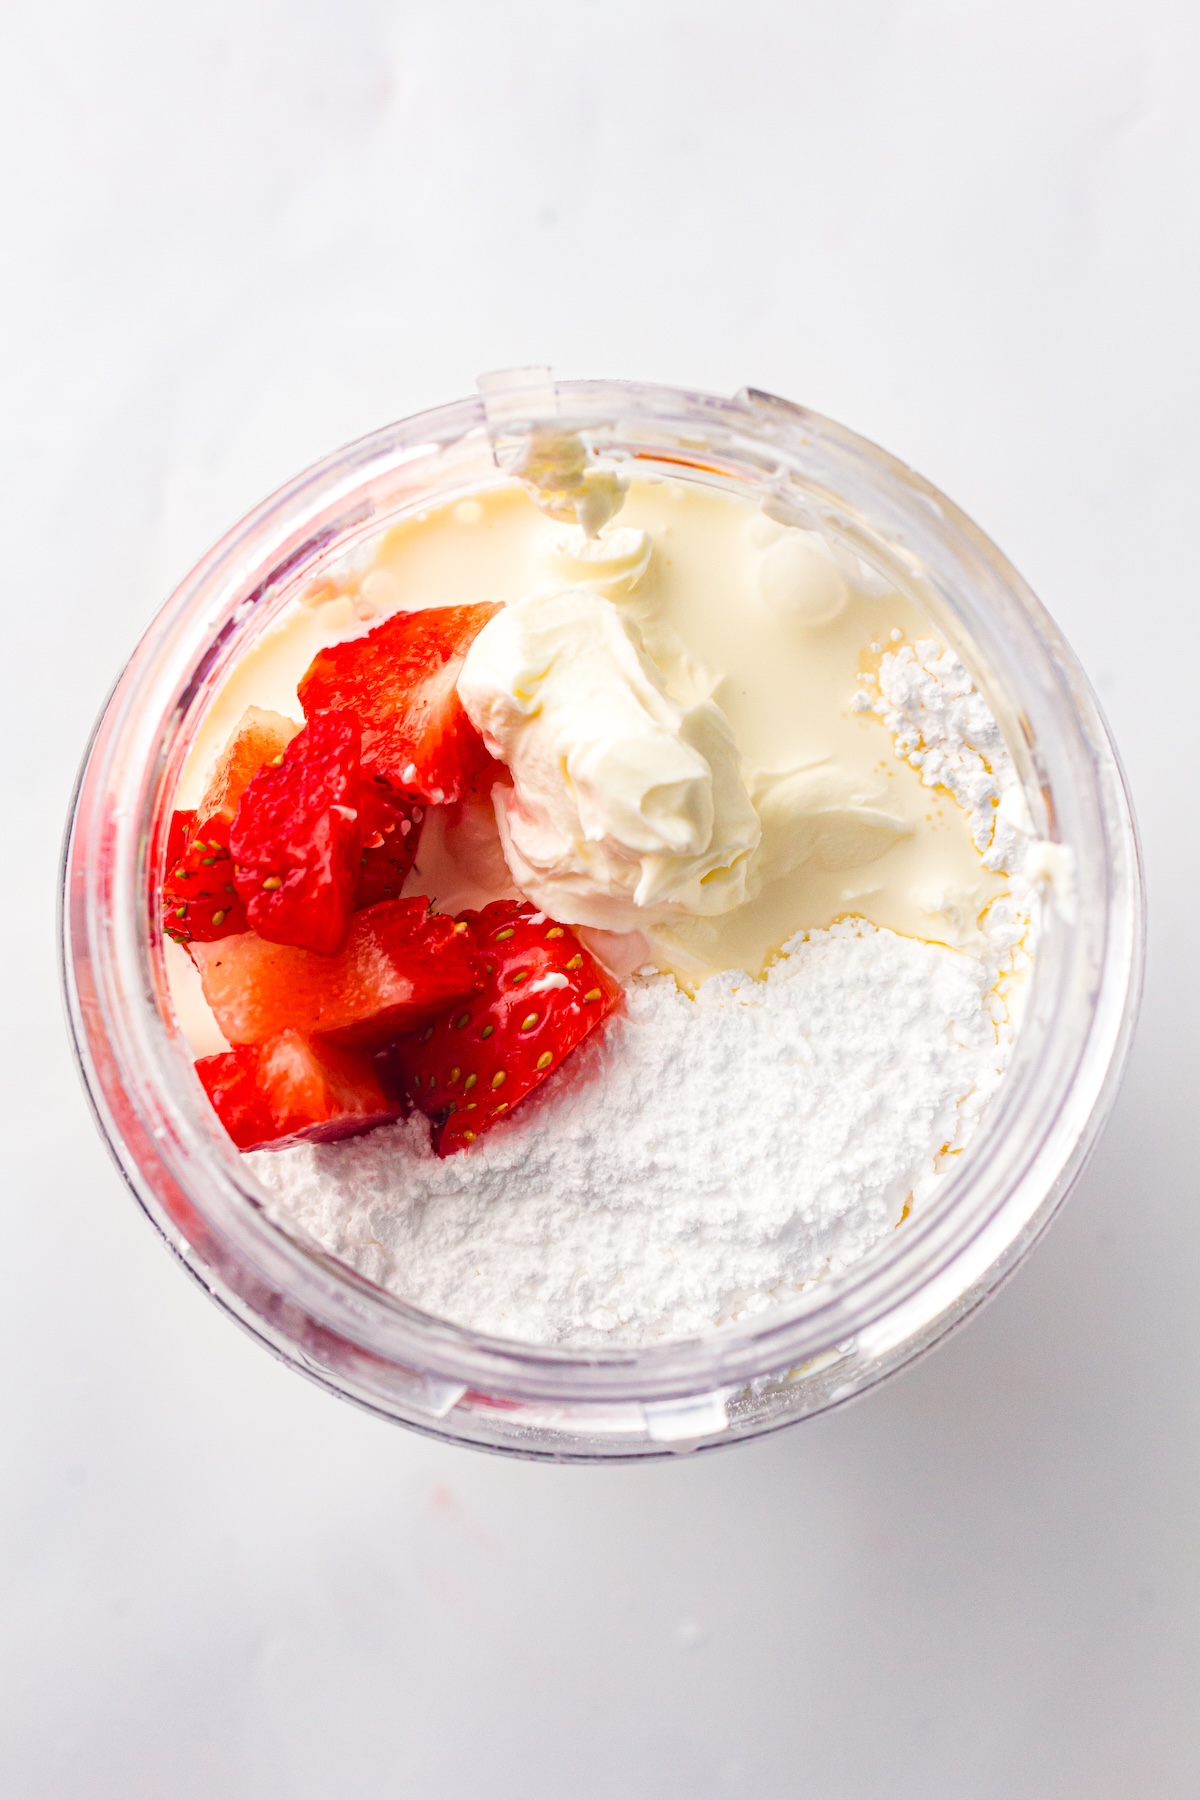
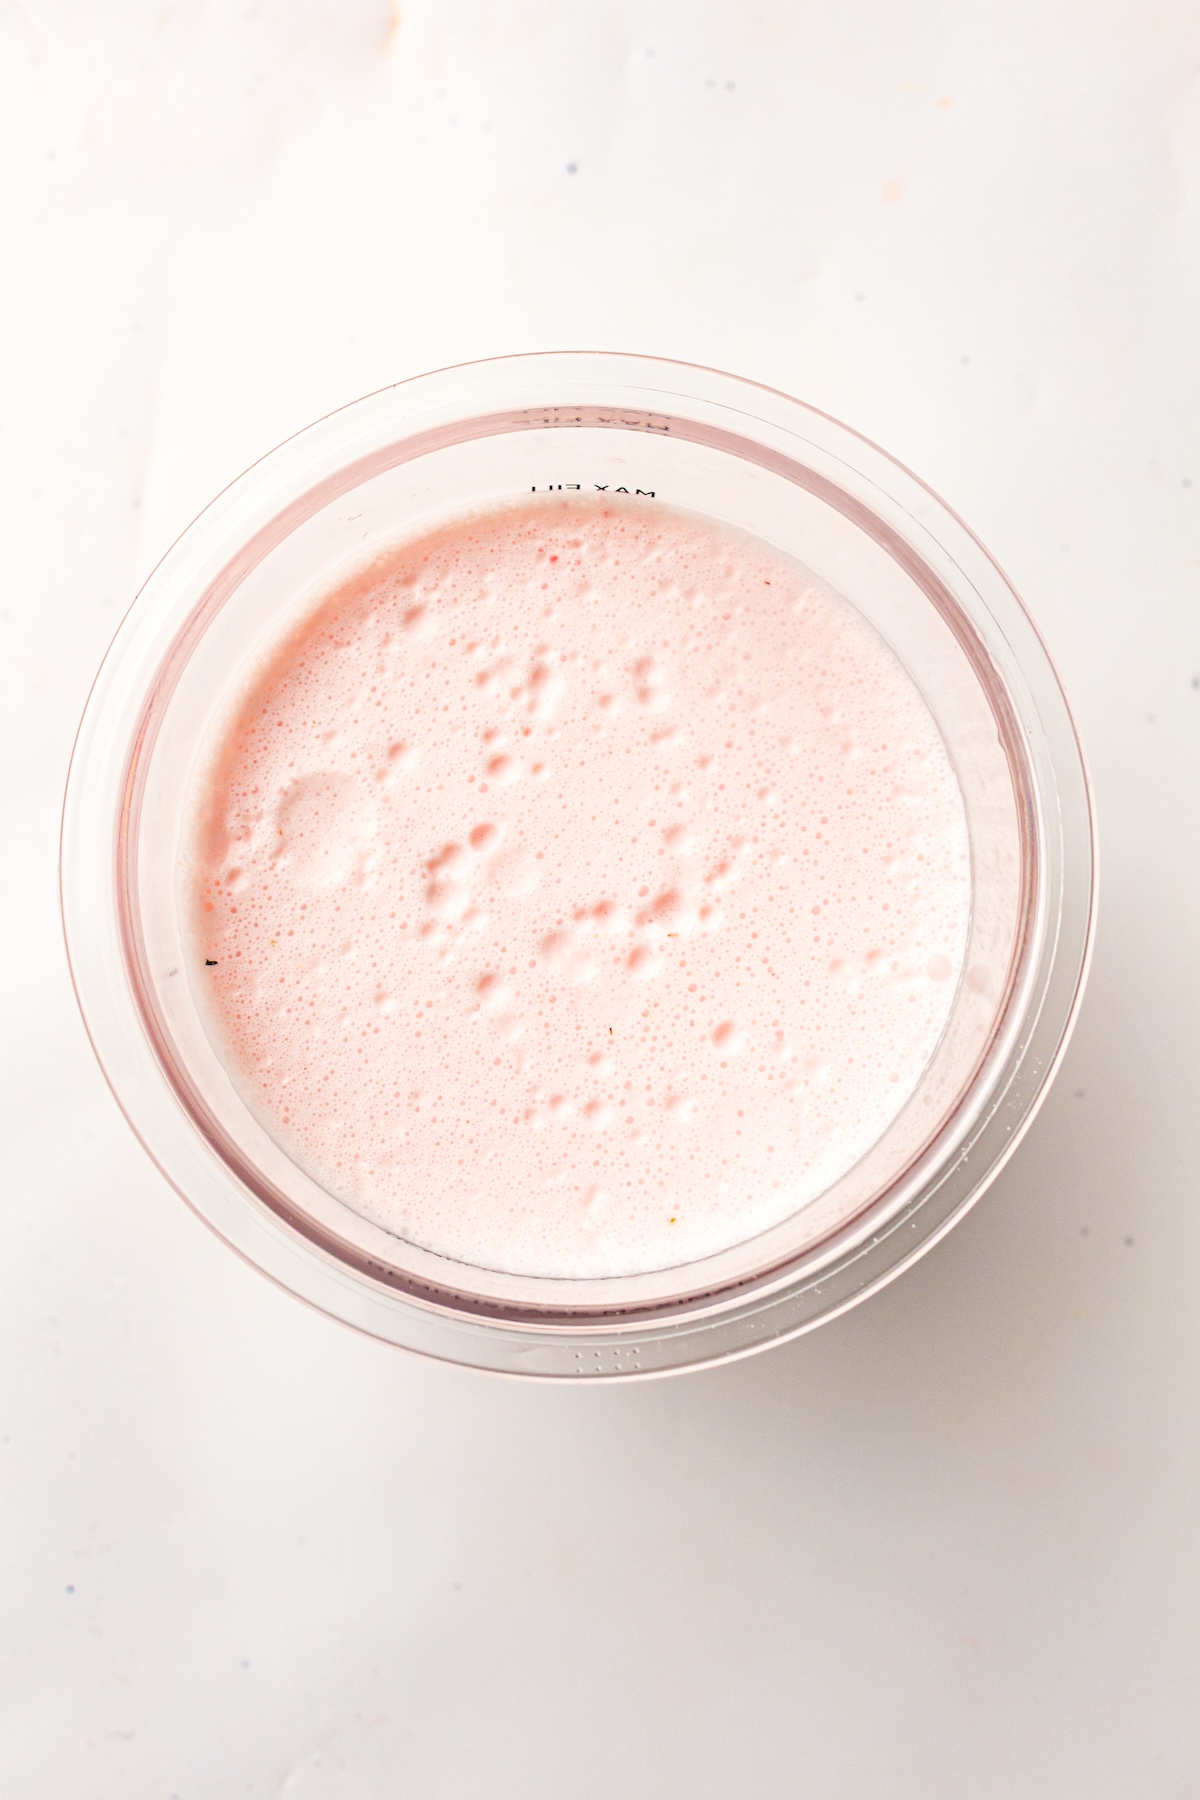
First, grab your blender. Add the whole milk, double cream, confectioners’ sugar, softened cream cheese, ½ cup of the chopped strawberries, and the vanilla extract.
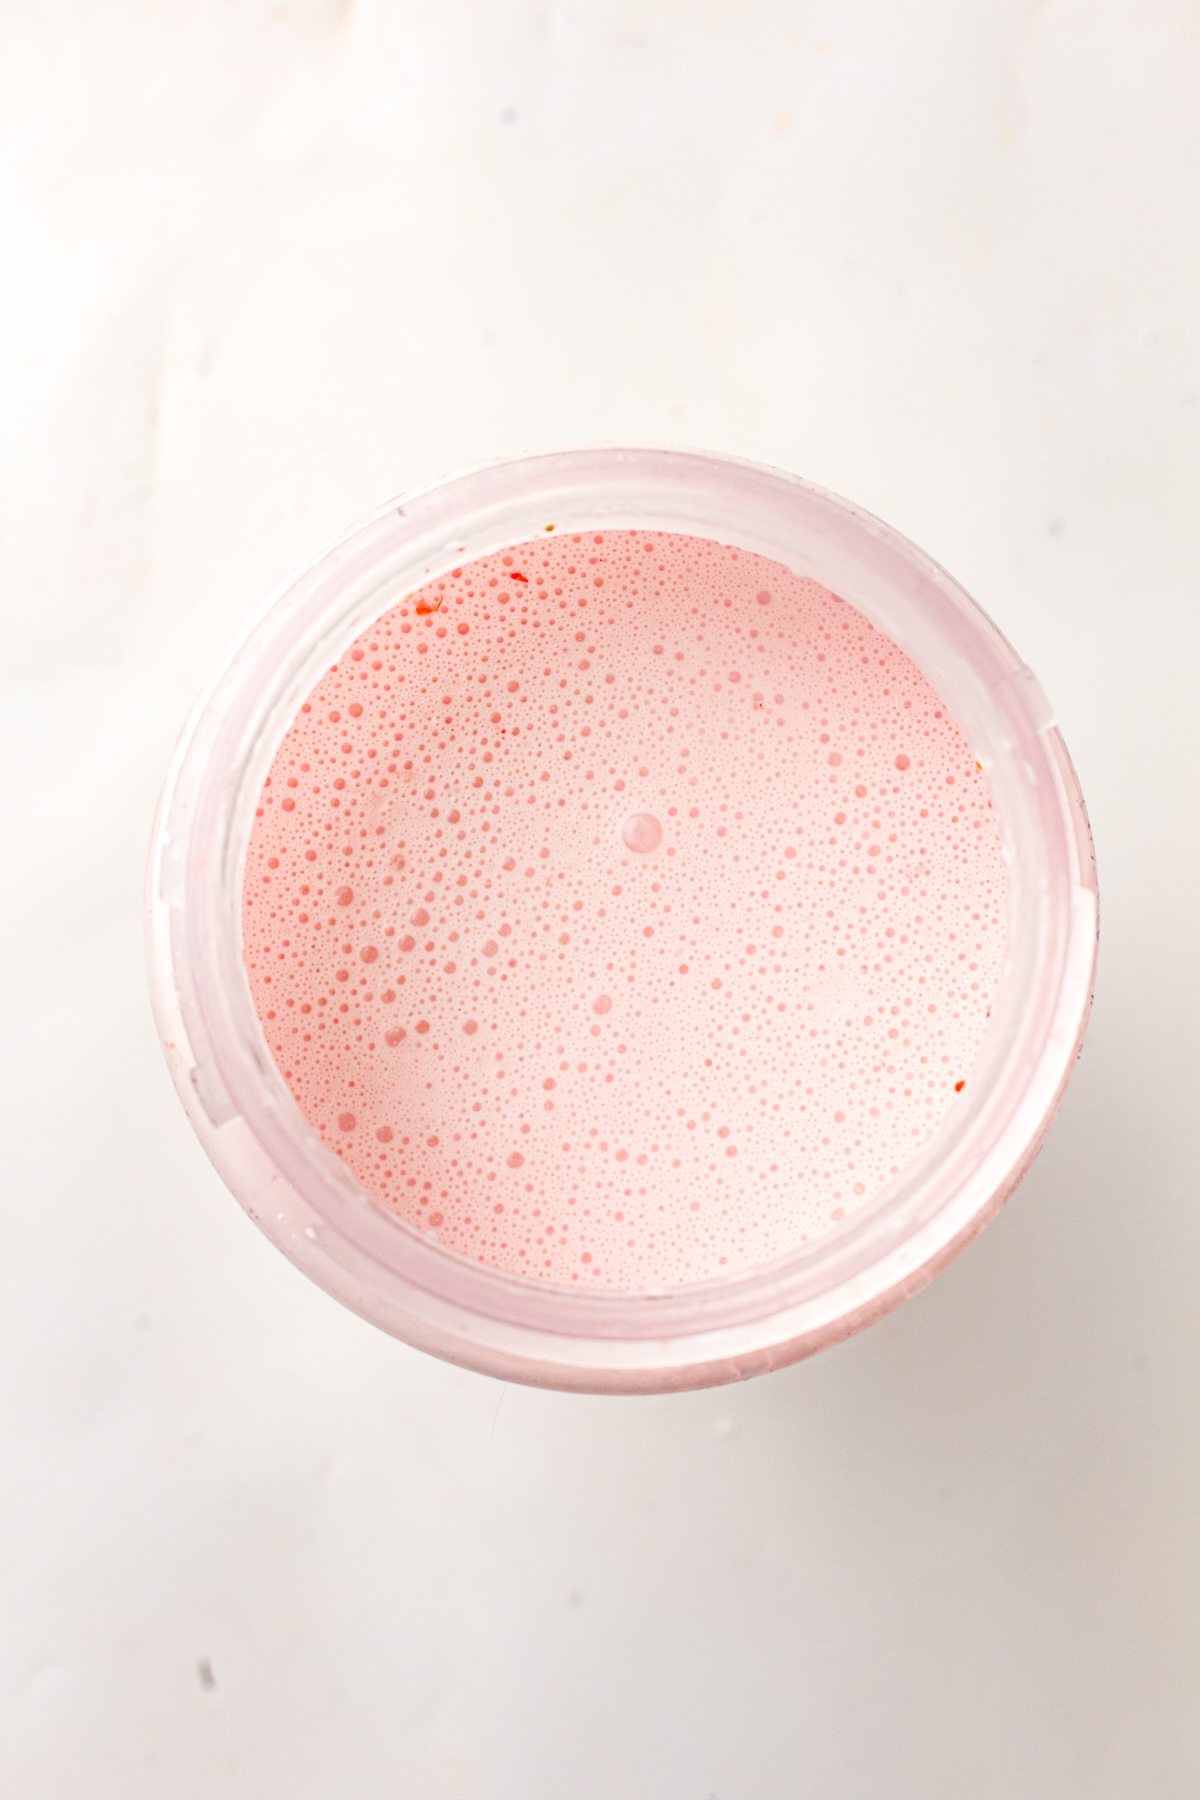
Blend everything on high speed until the mixture is completely smooth. Keep an eye out for any lumps of cream cheese—we want this base to be silky.
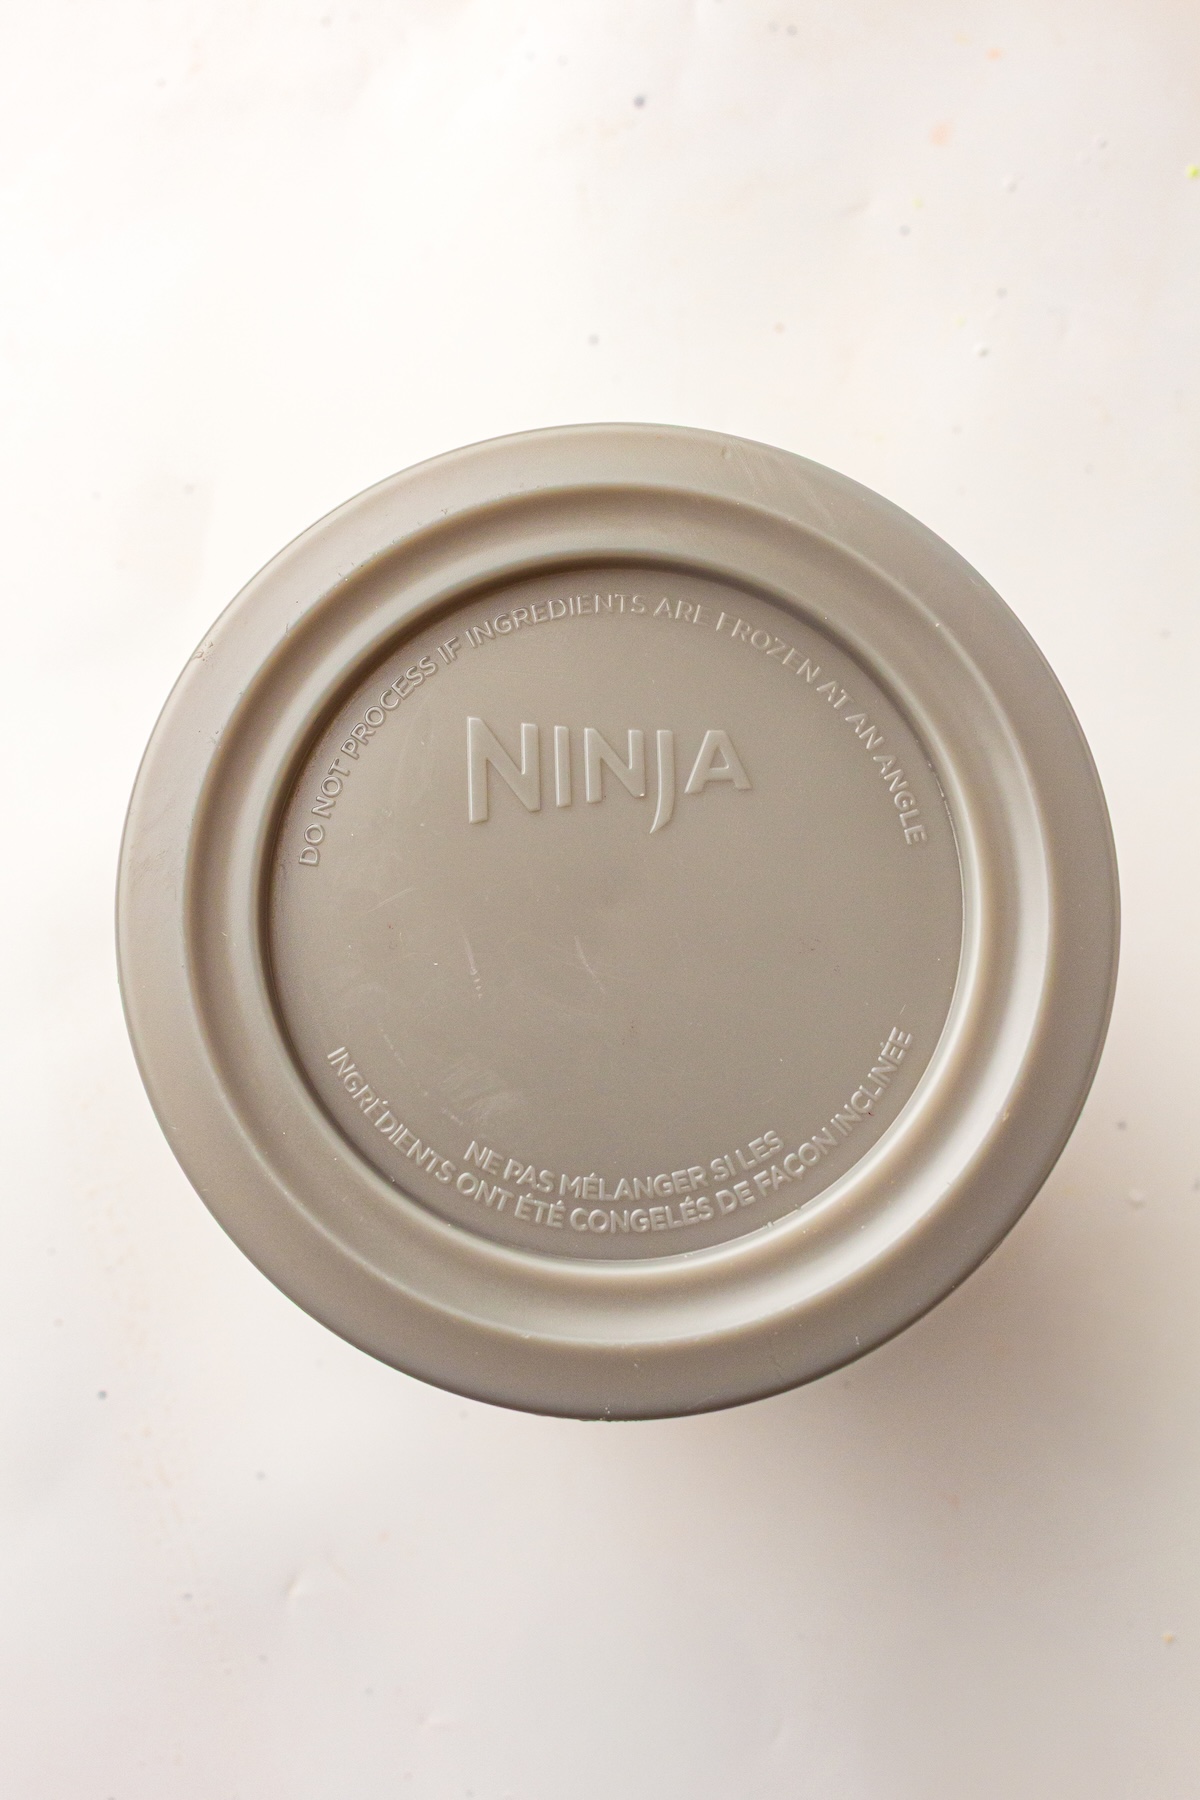
Pour the blended mixture into your Ninja Creami pint container. Be sure to leave a little space at the top, as the liquid will expand when it freezes. Secure the lid and place the pint in your freezer on a completely level surface. This is important for ensuring the machine can process it correctly later. Let it freeze for a full 24 hours.
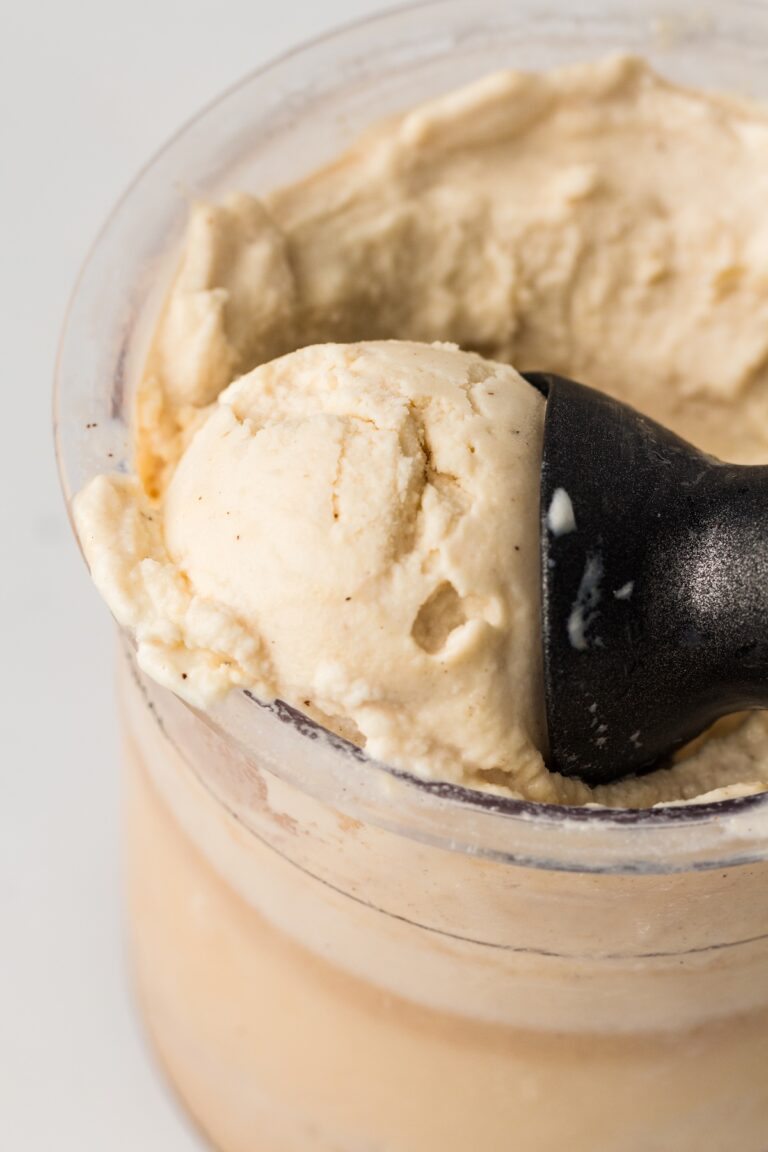
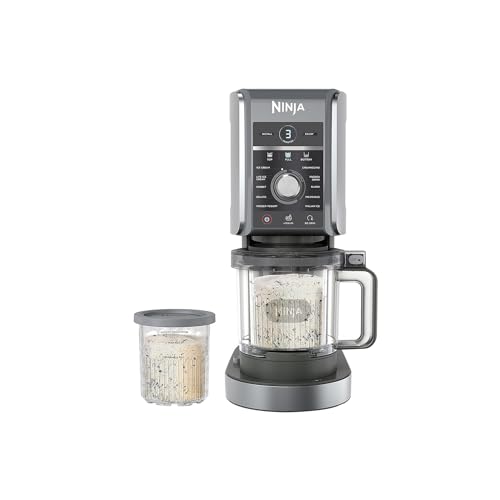
Once your base is frozen solid, it’s time for the fun part. Remove the lid from the pint and place the container into the outer bowl of the Ninja Creami. Secure the paddle lid and lock it into the machine. Select the Ice Cream function and let it run its cycle.

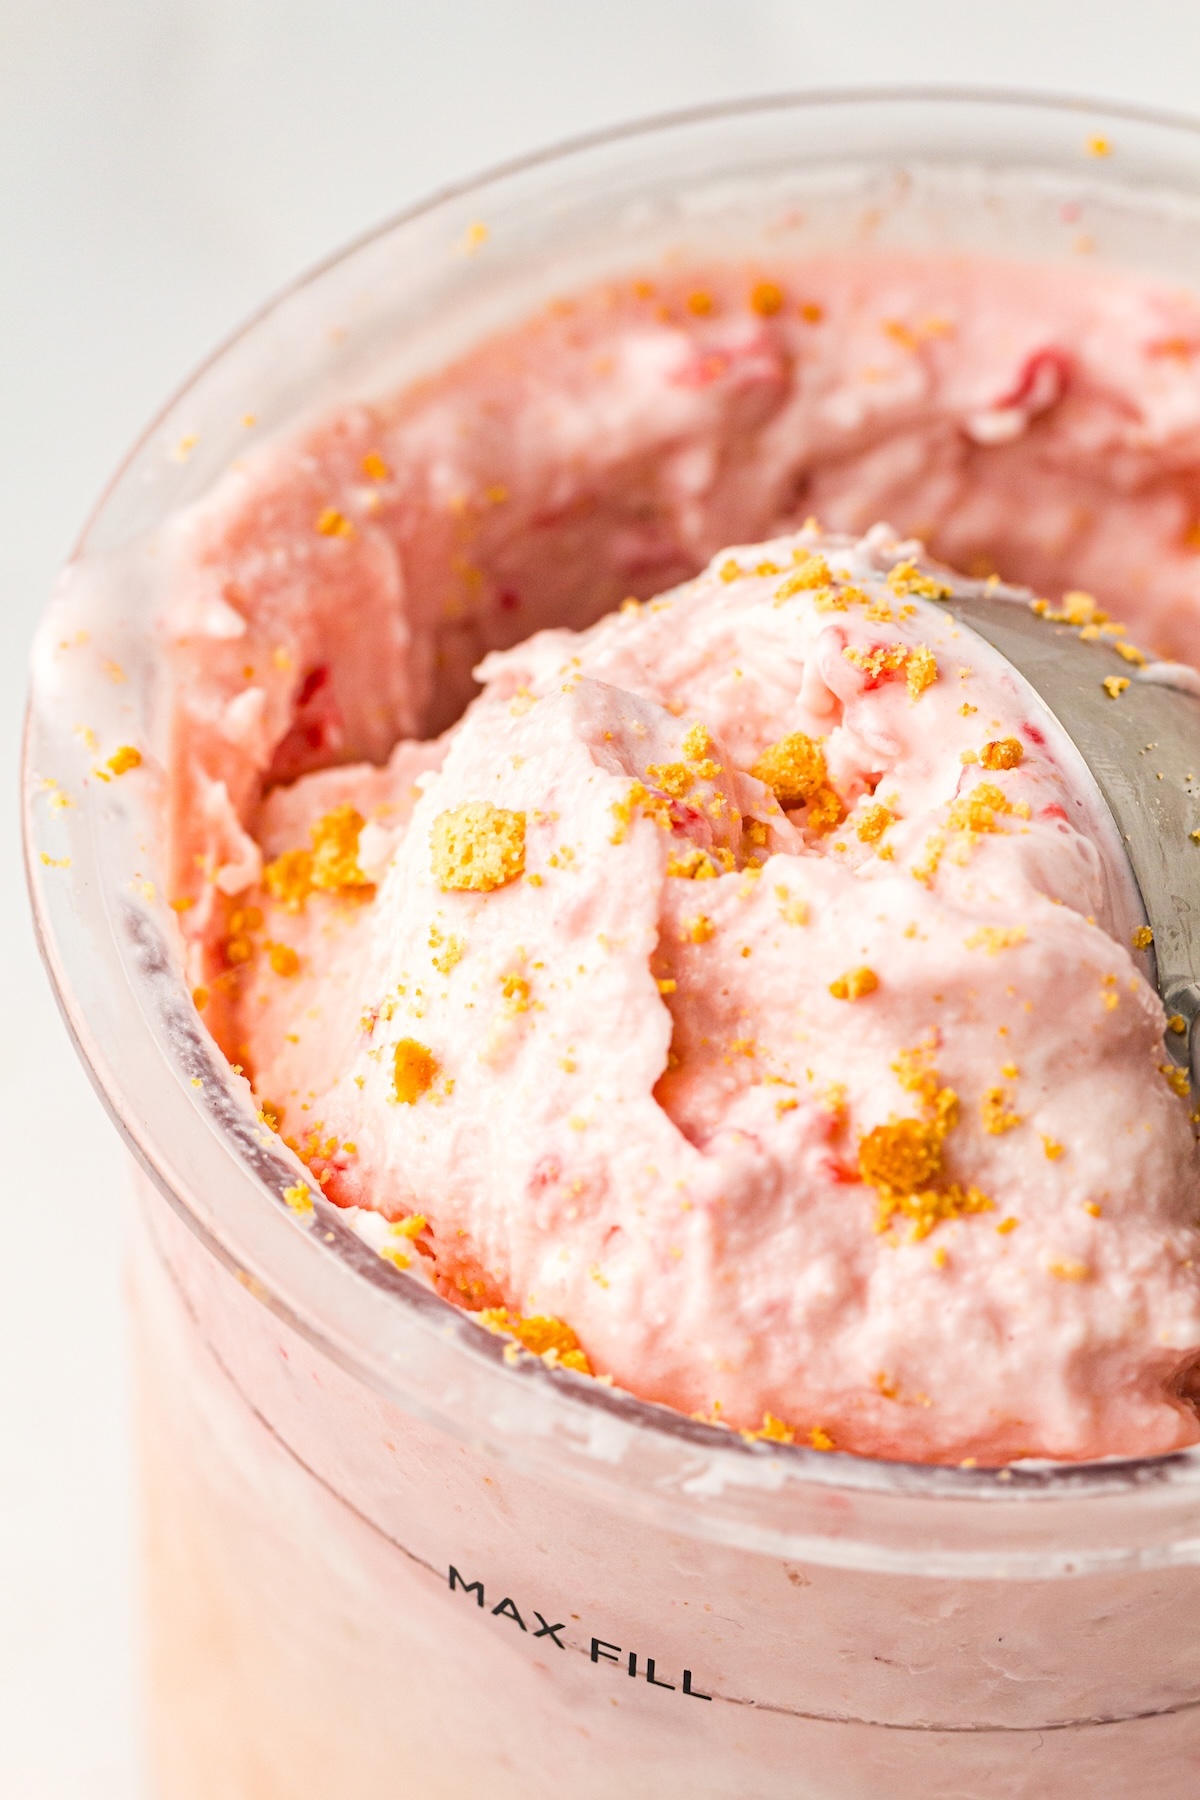
After the first spin, the ice cream might look a bit crumbly—that’s totally normal! Remove the pint and use a spoon to create a well down the center. Add the remaining ½ cup of chopped strawberries and half of your crushed biscuit into the well.

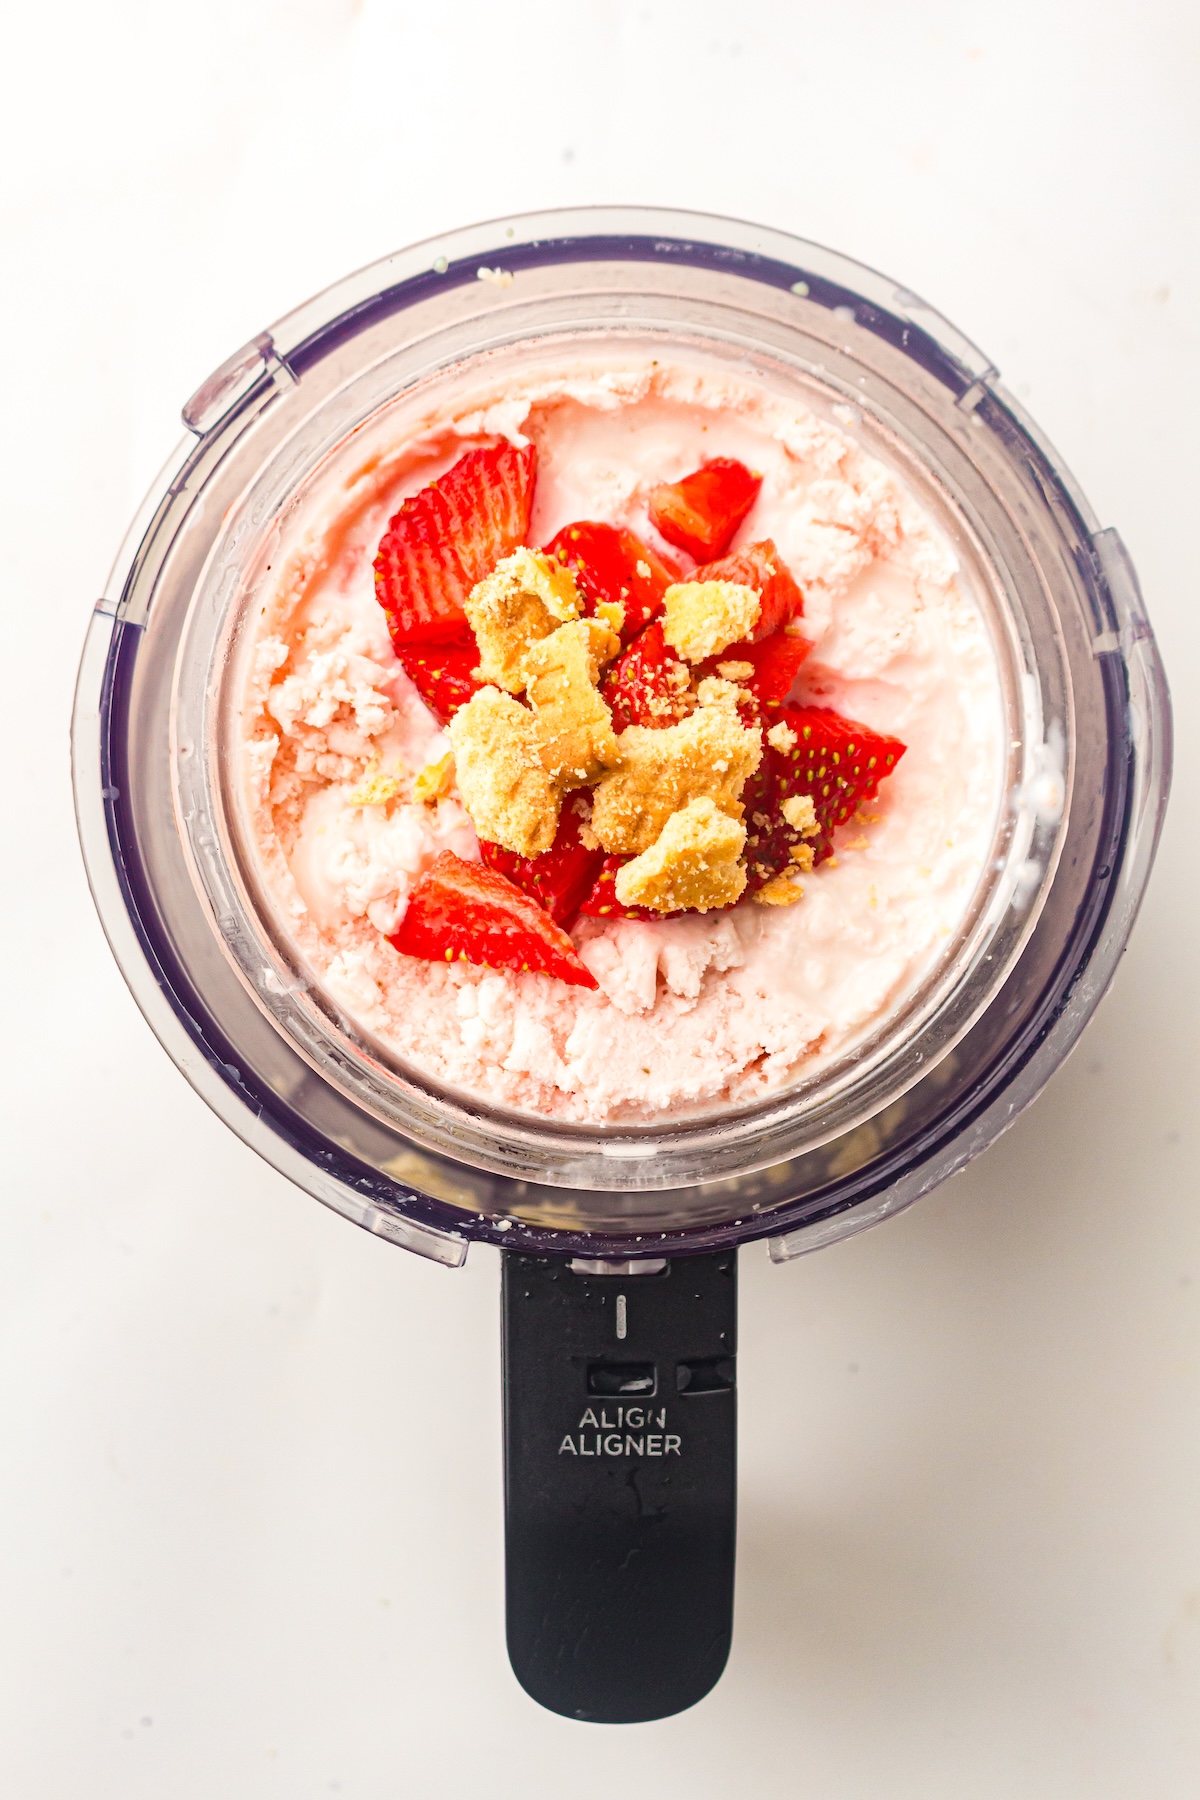
Place the pint back into the machine and run the Mix-In cycle. This will gently fold the strawberries and biscuit pieces into the ice cream, distributing them evenly without crushing them completely.

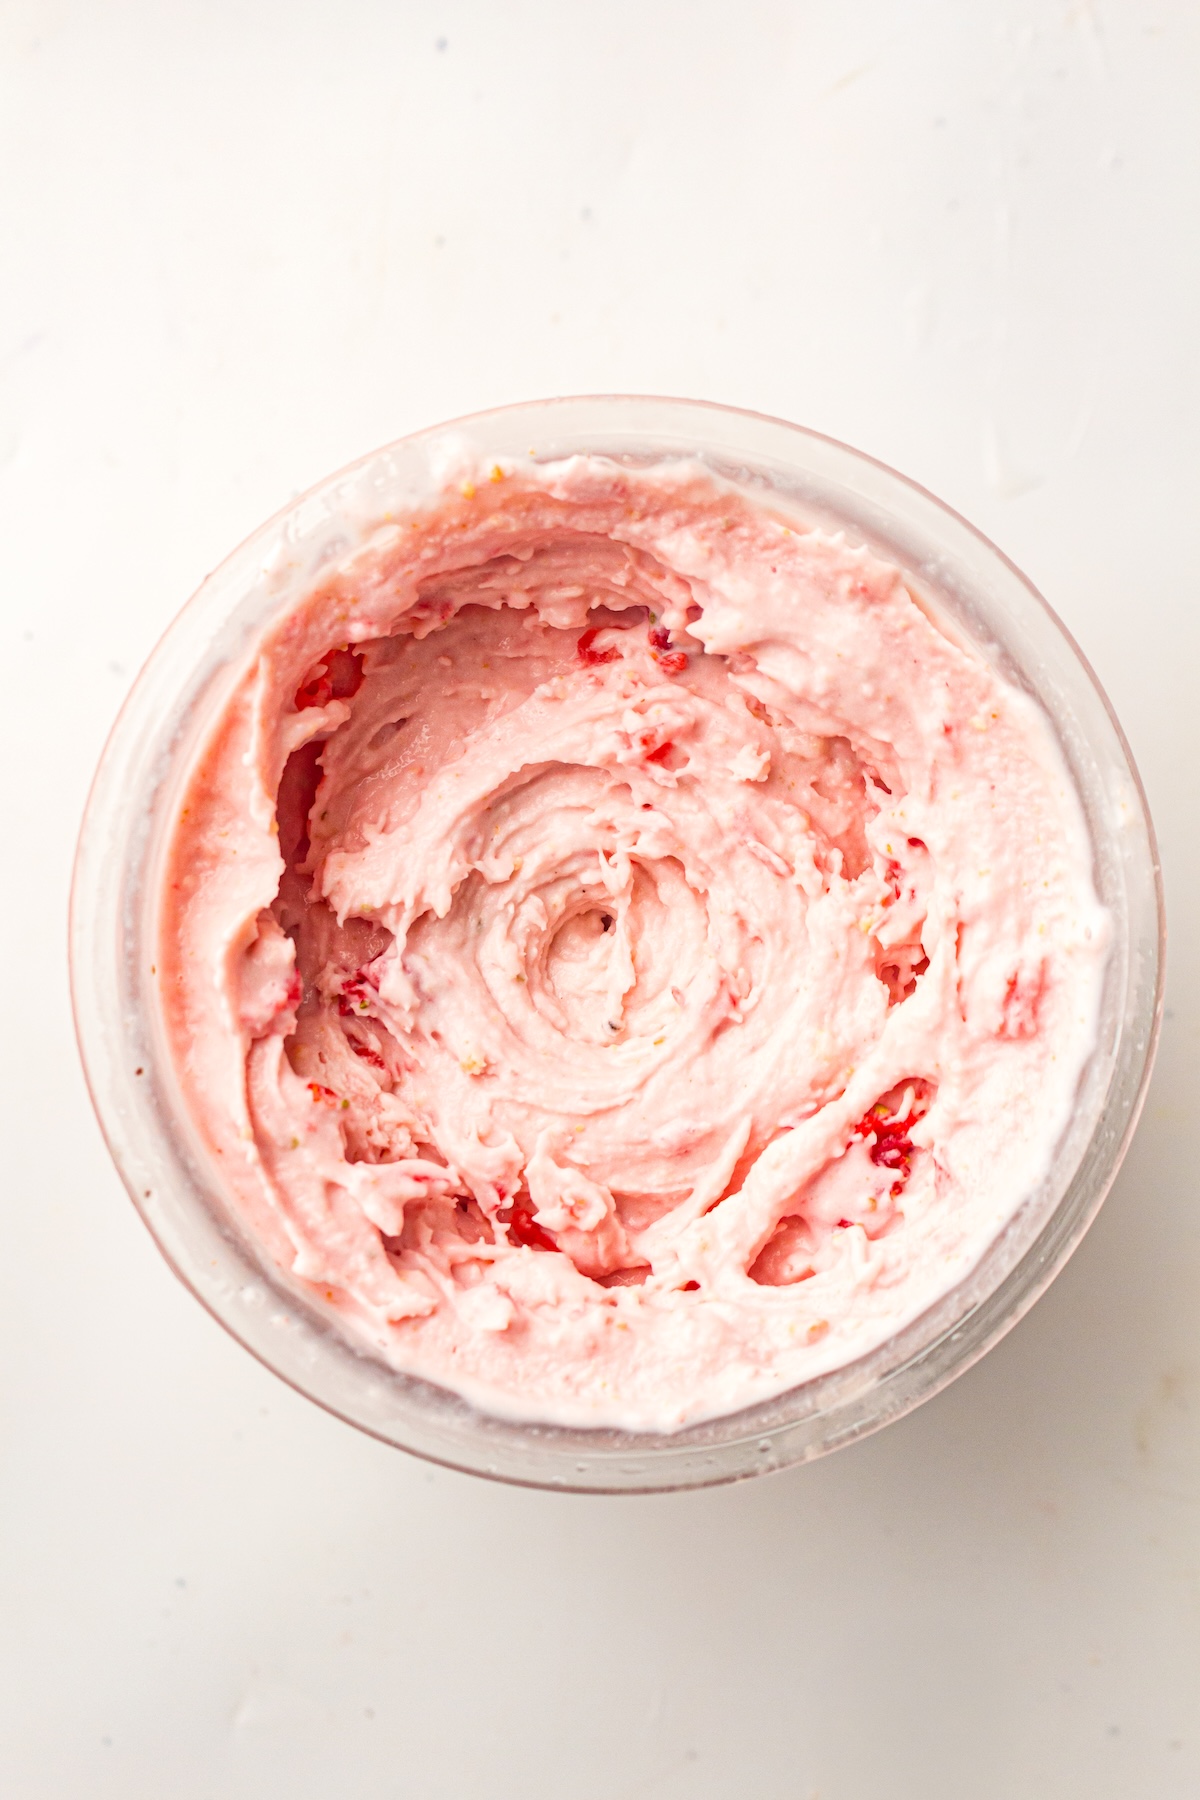
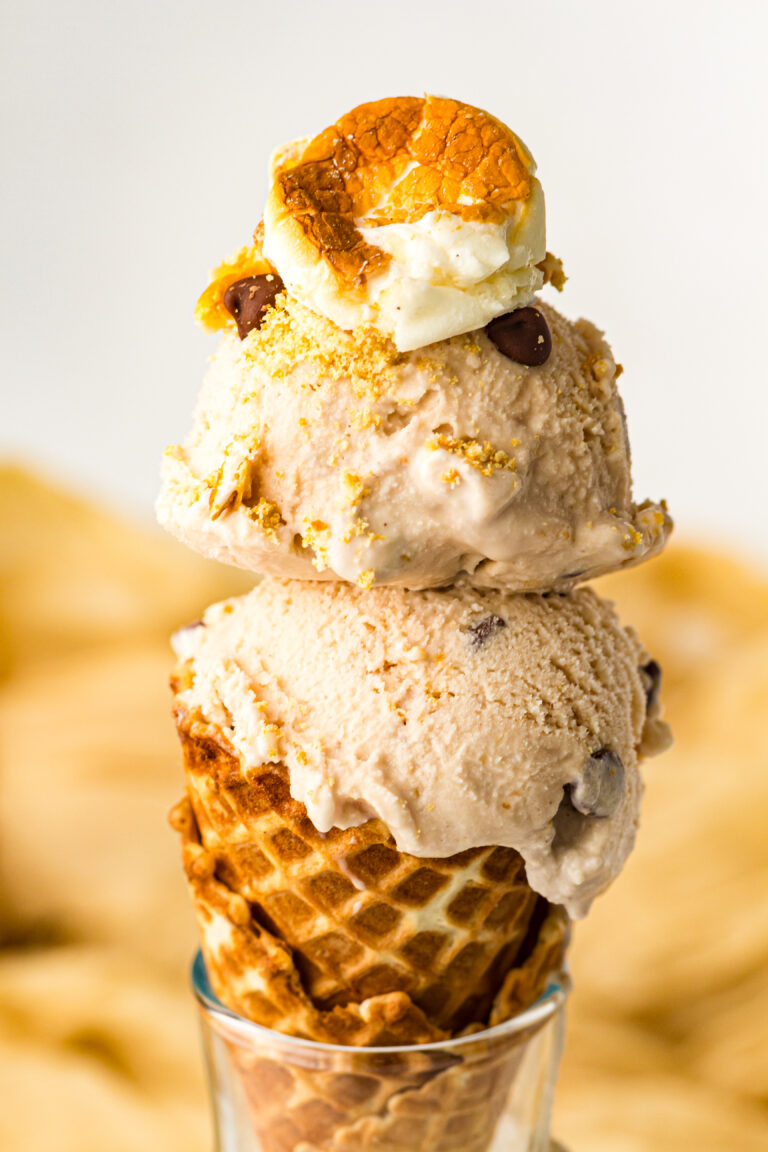
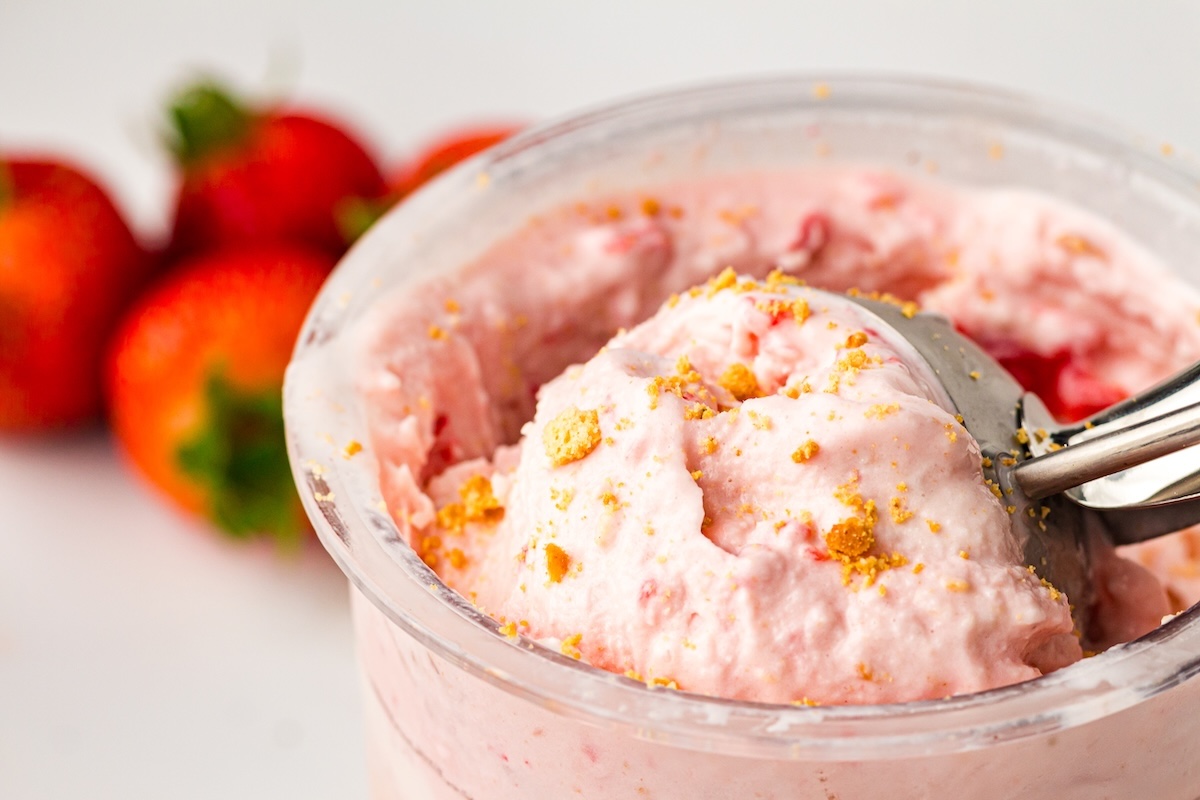
Your Strawberry Cheesecake ice cream is now ready to enjoy! Scoop it into bowls and top it with the remaining crushed biscuit and a few extra strawberry pieces. Serve it immediately for the best soft-serve consistency.
Pro Serving Suggestions
Want to make your dessert feel even more special? Try these ideas:

- Strawberry Swirl: Drizzle a little strawberry sauce or compote over the top for an extra layer of fruity flavor.
- Whipped Cream Topping: A dollop of whipped cream on top gives it that perfect dessert-shop finish.
- Extra Crunch: Sprinkle on some white chocolate chips or crumbled shortbread for more texture.
Ninja Cream Strawberry Cheesecake Ice Cream
Ingredients
- 1 cup whole milk
- ¾ cup heavy cream
- ⅓ cup confectioners’ sugar
- ½ cup full-fat cream cheese softened
- 1 cup chopped fresh strawberries
- ½ tsp vanilla extract
- 1 small vanilla biscuit crushed (for swirl/topping)
Instructions
- Add the whole milk, double cream, confectioners’ sugar, cream cheese, ½ cup chopped strawberries, and vanilla extract to a blender.
- Blend until completely smooth and no lumps of cream cheese remain.
- Pour the mixture into your Ninja Creami pint container, leaving a little space at the top.
- Freeze flat for 24 hours until fully solid.
- Once frozen, install the pint into your Ninja Creami and run the Ice Cream cycle.
- After the first spin, create a small well down the centre of the pint and add half of the crushed biscuit and 1/2 cup chopped strawberries
- Run the Mix-In cycle to incorporate the biscuit crumbs.
- Scoop and serve. Sprinkle with the remaining biscuit crumbs and extra chopped strawberries for topping.
How to Store Leftovers
If you somehow manage to have leftovers, storing them is easy.
- Storage: Smooth the top of the ice cream in the pint container, secure the lid, and store it in the freezer for up to two weeks.
- Re-Spinning: Because homemade ice cream freezes harder than store-bought versions, it might be too firm to scoop straight from the freezer. Simply let it sit on the counter for 5-10 minutes to soften slightly. For a creamier texture, you can also pop it back into the Ninja Creami and run the Re-Spin cycle.
Frequently Asked Questions (FAQs)
Can I use frozen strawberries instead of fresh?
Yes, you can! Just be sure to thaw them and pat them dry before adding them to the base and as a mix-in to avoid adding extra water, which can make the ice cream icy.
Can I add larger biscuit chunks instead of crumbs?
Absolutely. If you prefer larger pieces of “crust” in your ice cream, break the biscuit into small chunks and add them after the first spin. The Mix-In cycle will incorporate them perfectly.
My ice cream is crumbly after the first spin. Did I do something wrong?
Not at all! This is a common and expected result with the Ninja Creami, especially with very cold freezers. Running a Re-Spin cycle, sometimes with a tablespoon of milk added, will smooth it out into a creamy texture.
For more Ninja Creami ideas, check out these ice cream recipes: