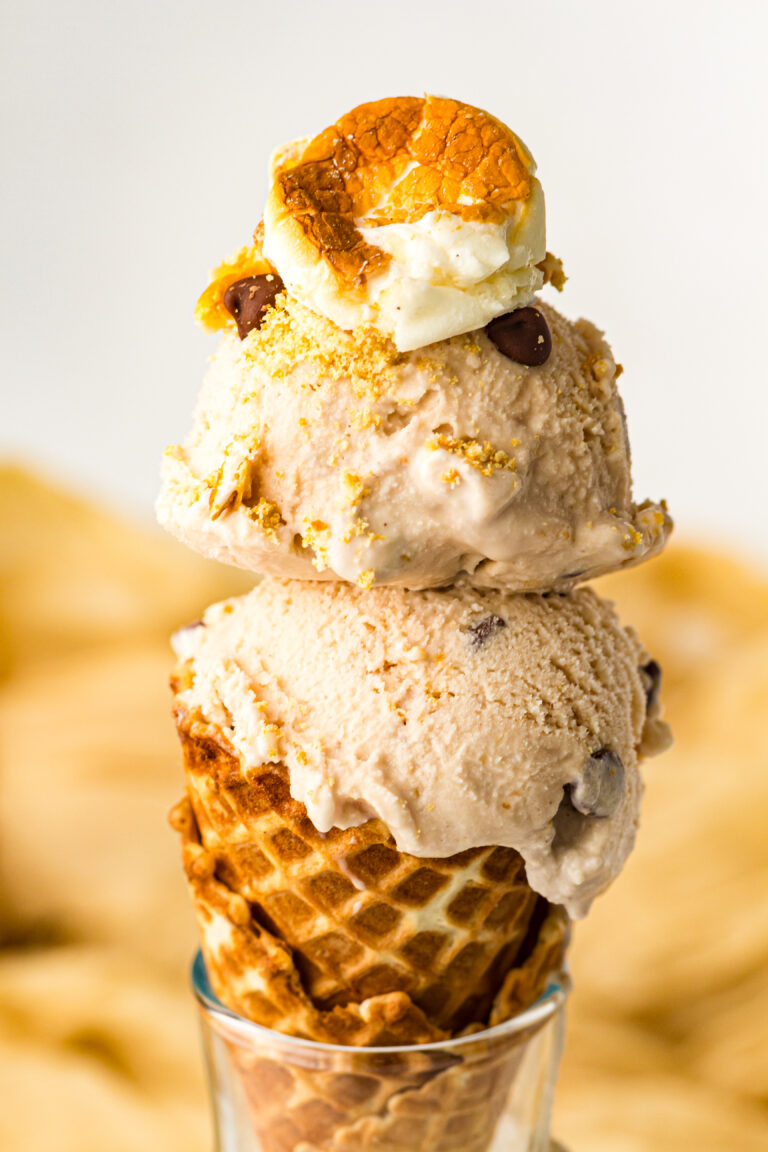
There is something incredibly satisfying about a classic scoop of vanilla ice cream. It’s the little black dress of the dessert world—perfect on its own, yet versatile enough to dress up for any occasion. If you own a Ninja Creami, you already know this machine works magic on frozen ingredients. But have you mastered the ultimate staple?

This Vanilla Ninja Creami recipe isn’t just another plain jane dessert. By using whole vanilla pods (or high-quality extract), we’re elevating the humble vanilla into a rich, speckled masterpiece that tastes better than anything you’ll find in the freezer aisle. It’s creamy, it’s dreamy, and best of all, it takes less than 10 minutes of actual work.
Whether you’re a seasoned Creami pro or just unboxing your machine, this guide will walk you through exactly how to achieve that perfect soft-serve texture right at home.
Why This Recipe Works
Let’s be honest: sometimes homemade ice cream can be icy or rock-hard. Traditional churners often struggle to get the texture right without custard bases that require cooking eggs over the stove. Who has time for that?
The beauty of this Ninja Creami method lies in its simplicity. We skip the cooking entirely. You just whisk, freeze, and spin. The Creami’s blade technology shaves through the frozen block, aerating it into a texture that rivals your favorite gelato shop. Plus, by using a combination of whole milk and heavy cream, we strike the perfect balance—rich enough to feel luxurious, but not so heavy that it leaves a coating on your tongue.
Vanilla Ninja Creami Recipe
This recipe yields one pint of pure happiness. It’s designed specifically for the standard Ninja Creami pint containers.
Ingredients
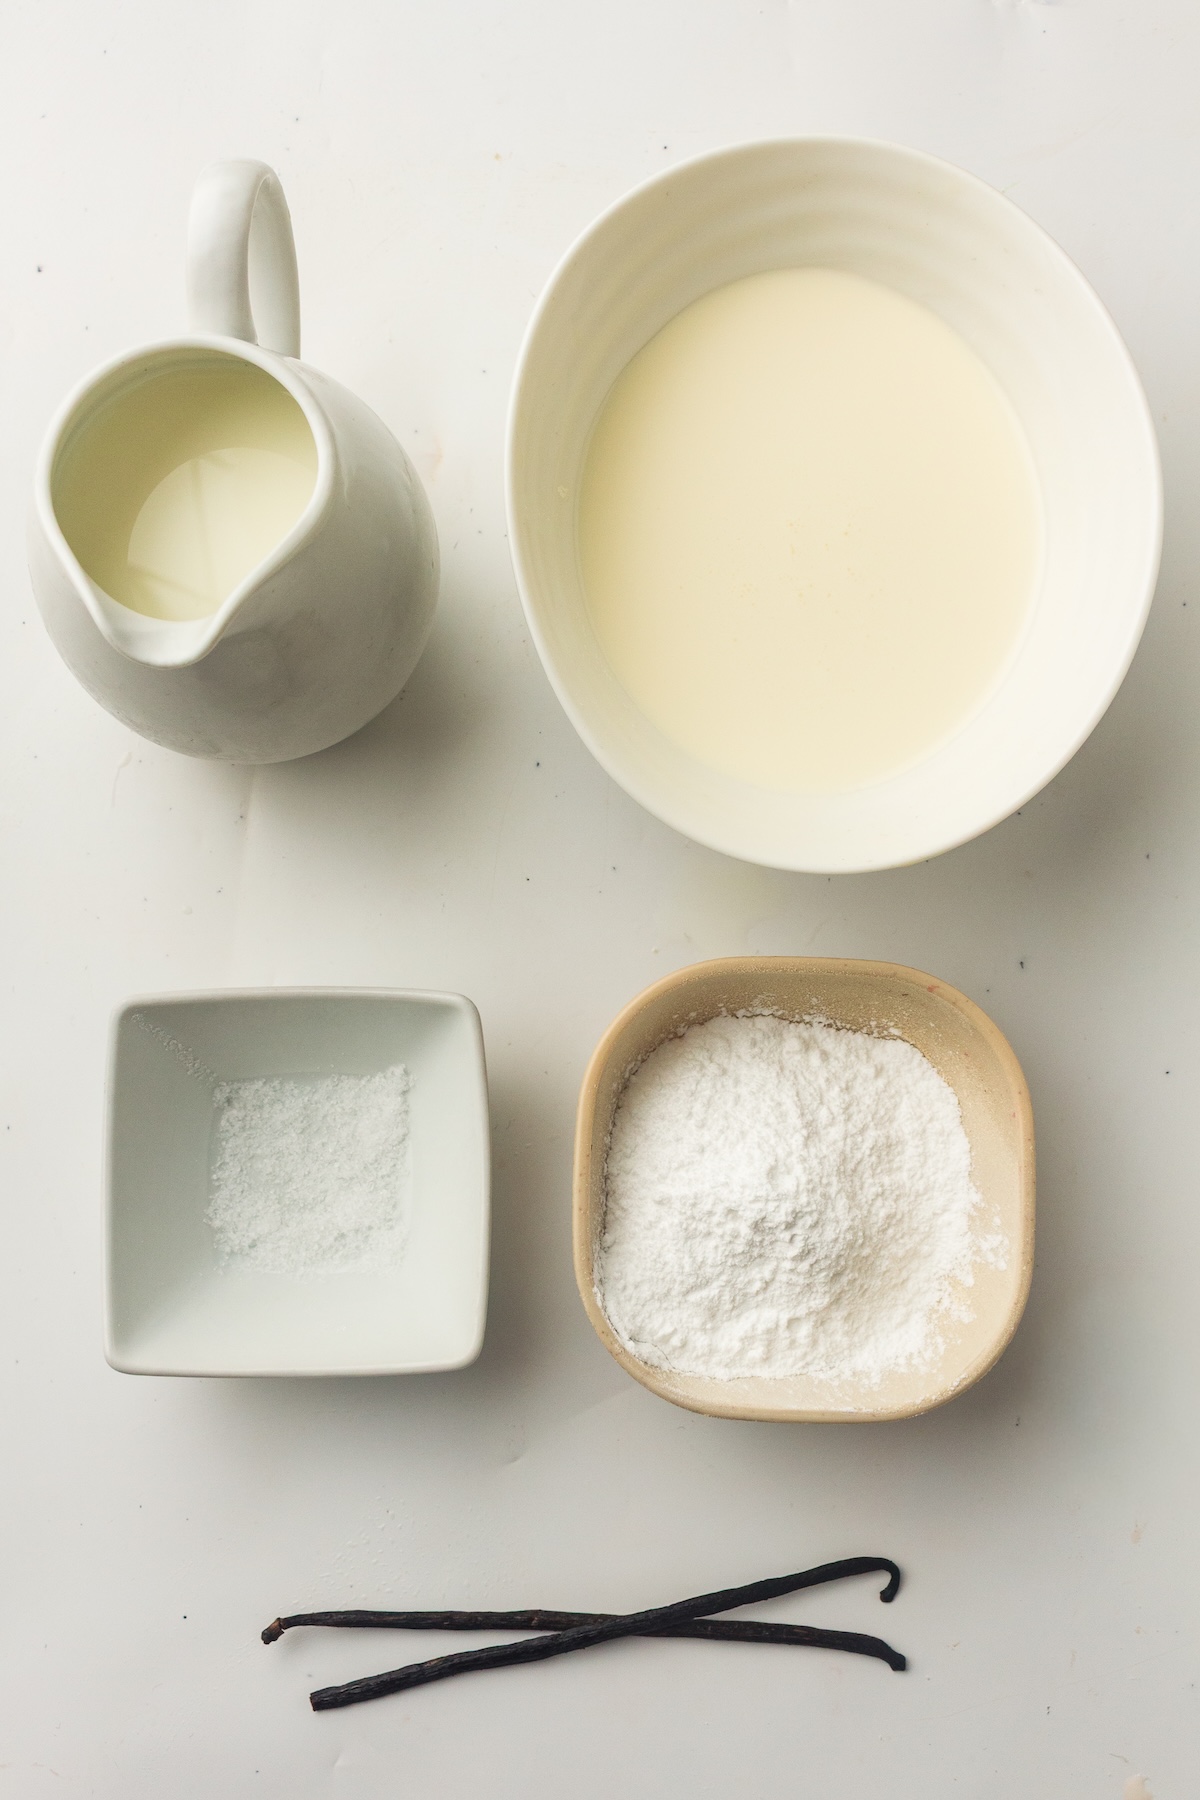
- 1 cup whole milk: This provides the base volume and essential proteins.
- 1/2 cup heavy cream: The fat content here is crucial for creaminess and scoopability.
- 2/3 cups confectioners’ sugar: Powdered sugar dissolves instantly, ensuring no gritty texture.
- 2 whole vanilla pods: Split and seeds scraped (This is the secret weapon for flavor!).
- Pinch of salt: Salt enhances the sweetness and makes the vanilla pop.
Note: If you don’t have vanilla pods, you can substitute them with 1–1½ teaspoons of high-quality vanilla extract.
Instructions
Making this ice cream is a two-day affair, but don’t let that scare you. The hands-on time is minimal.
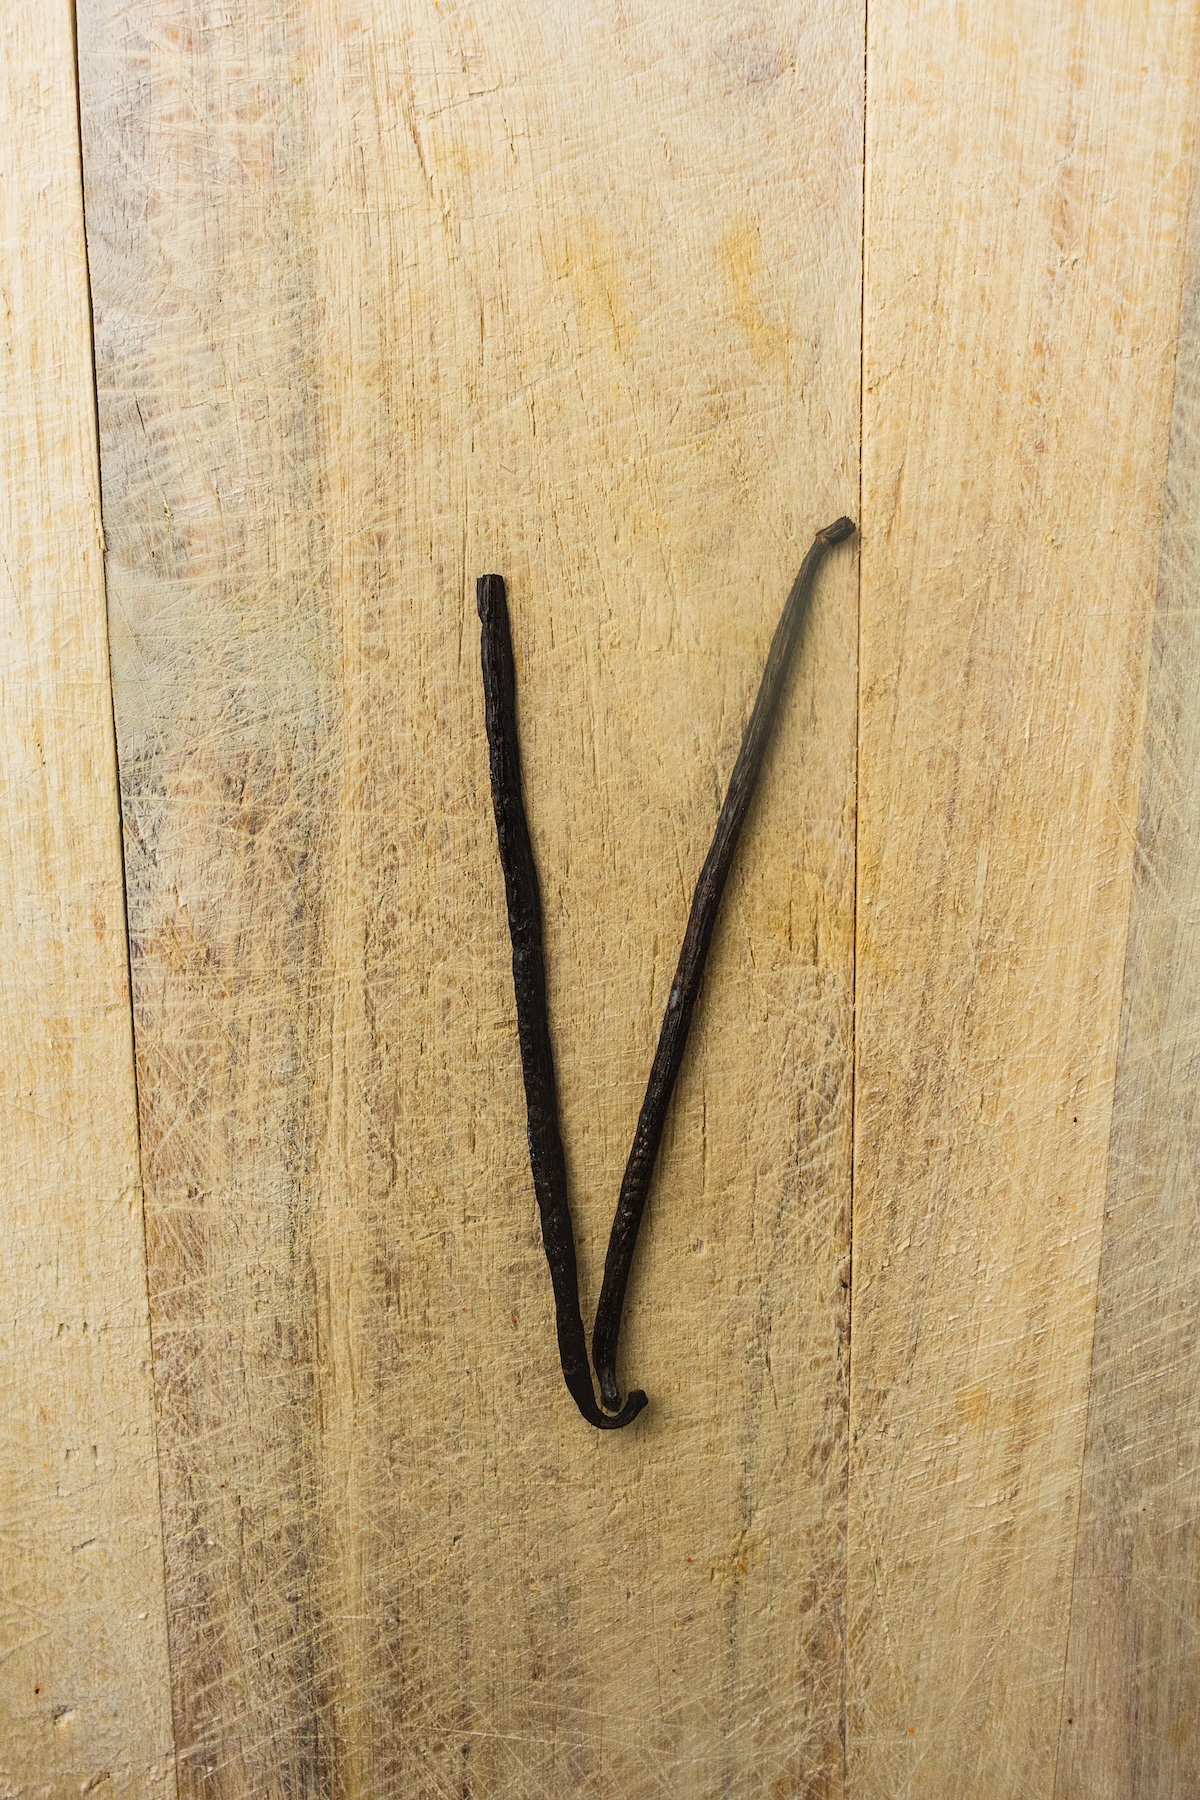
Take a sharp knife and carefully split both vanilla pods lengthwise. Use the back of the knife to scrape out all those tiny, flavorful seeds. Don’t throw away the empty pods! You can stick them in a jar of sugar to make vanilla sugar later.
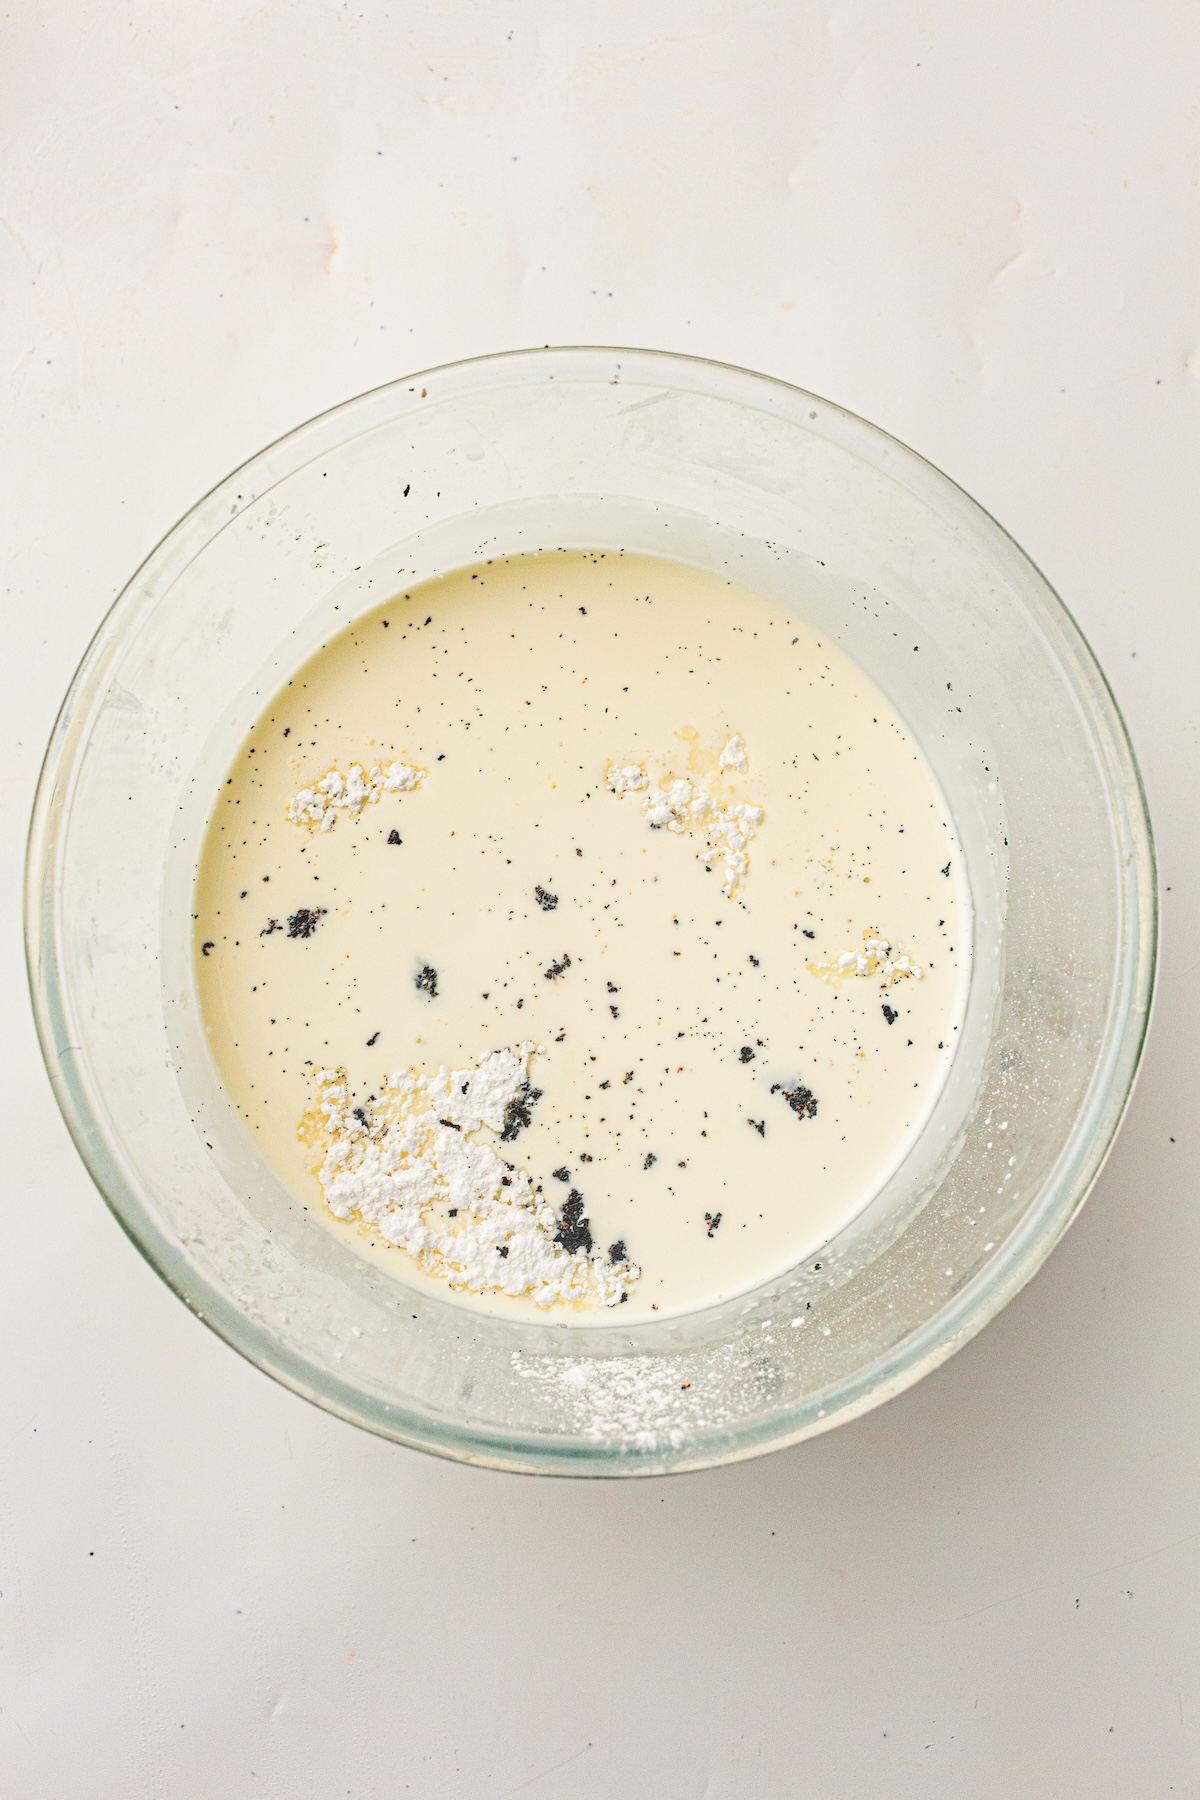
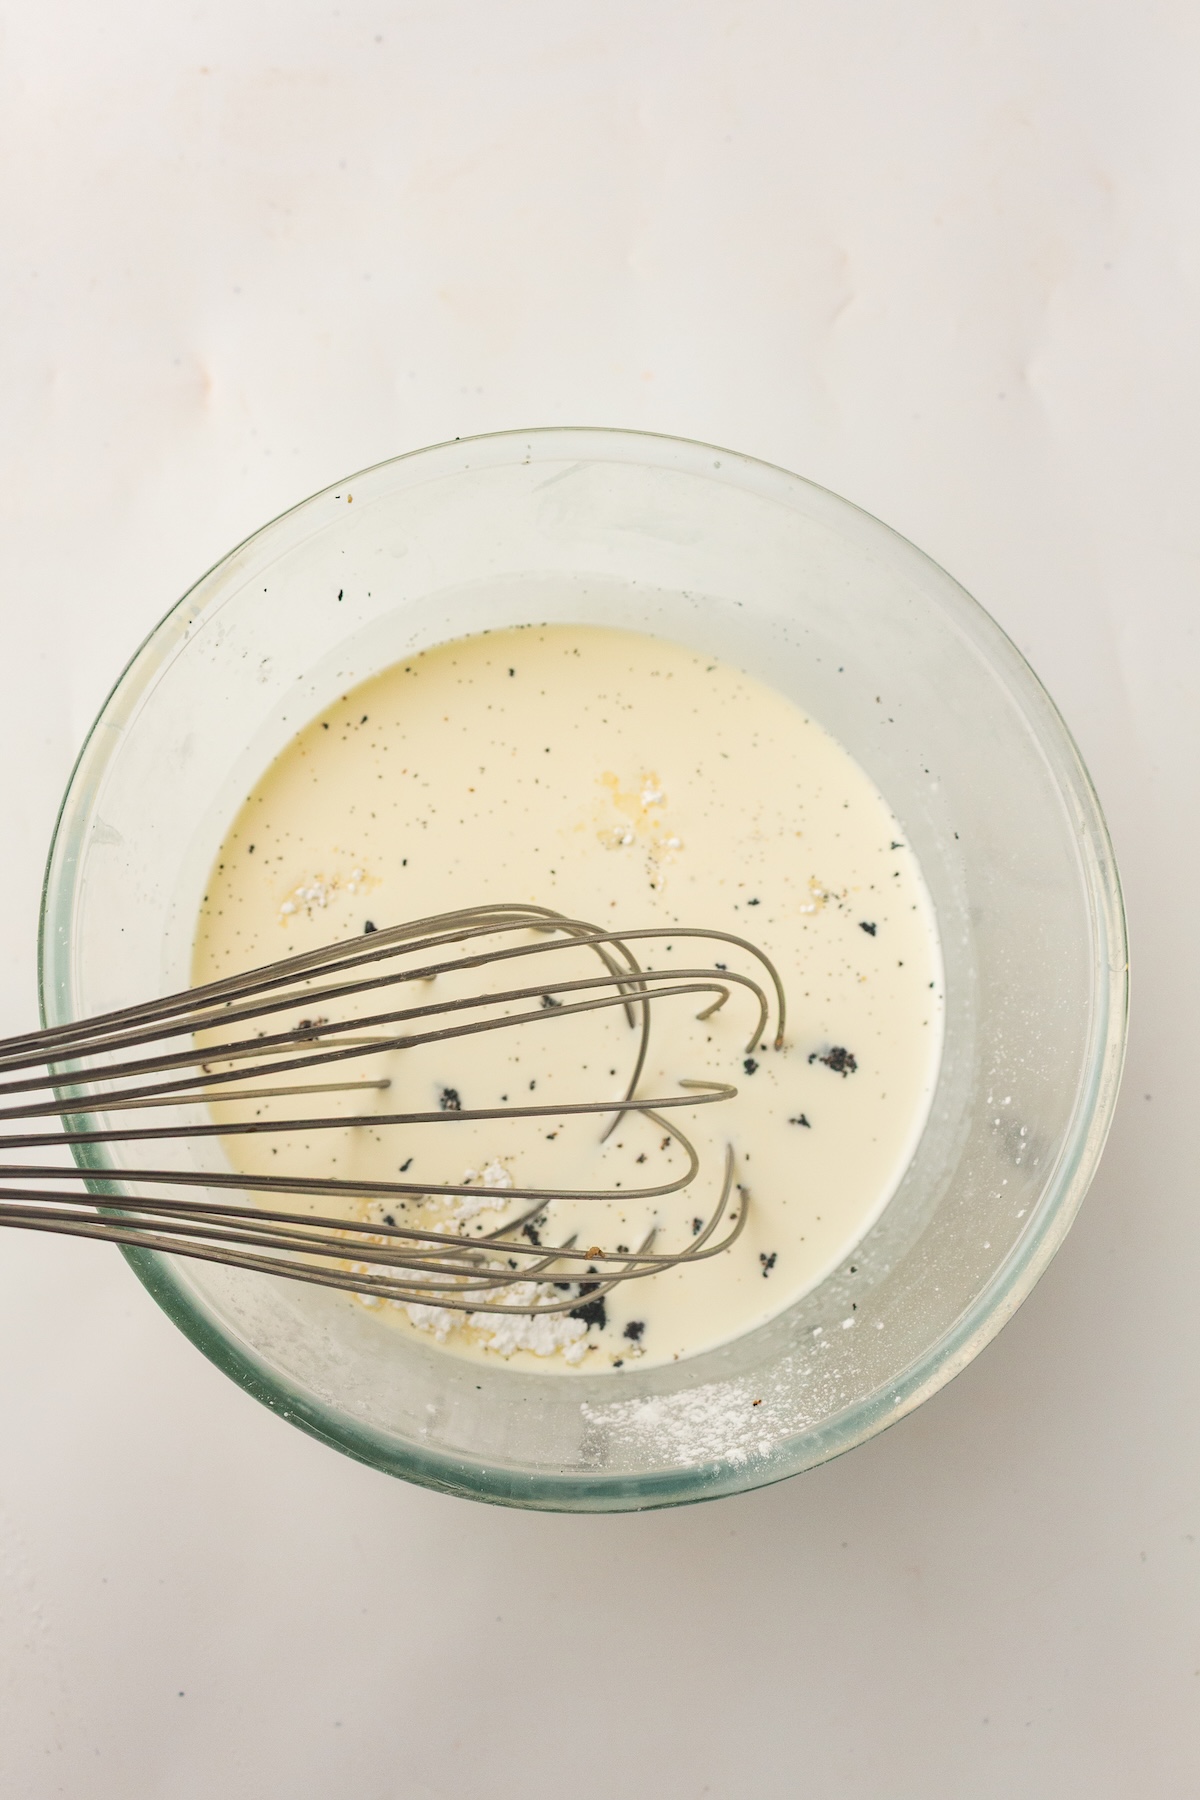
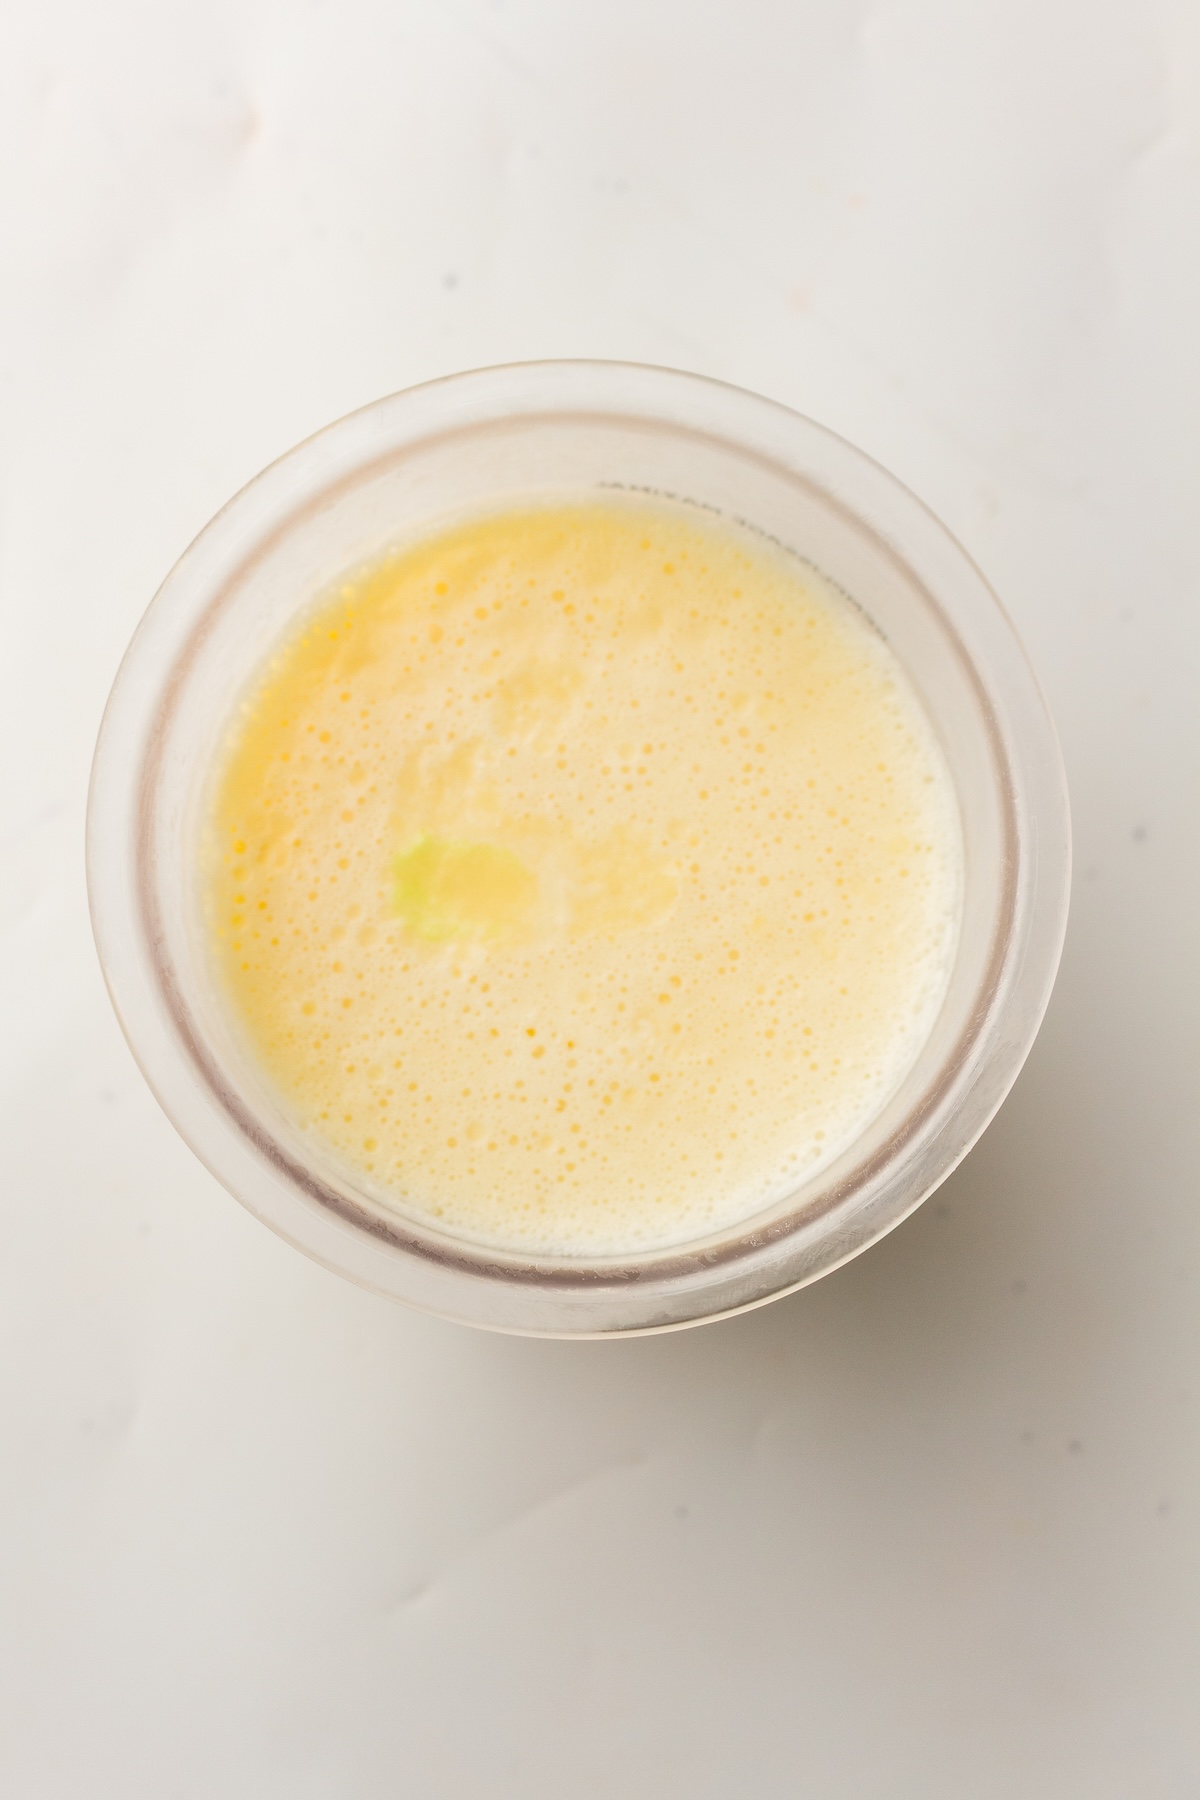
In a mixing jug or bowl, combine the vanilla seeds, whole milk, heavy cream, confectioners’ sugar, and that pinch of salt. Whisk vigorously until the sugar has fully dissolved and the black vanilla specks are dancing evenly throughout the liquid.
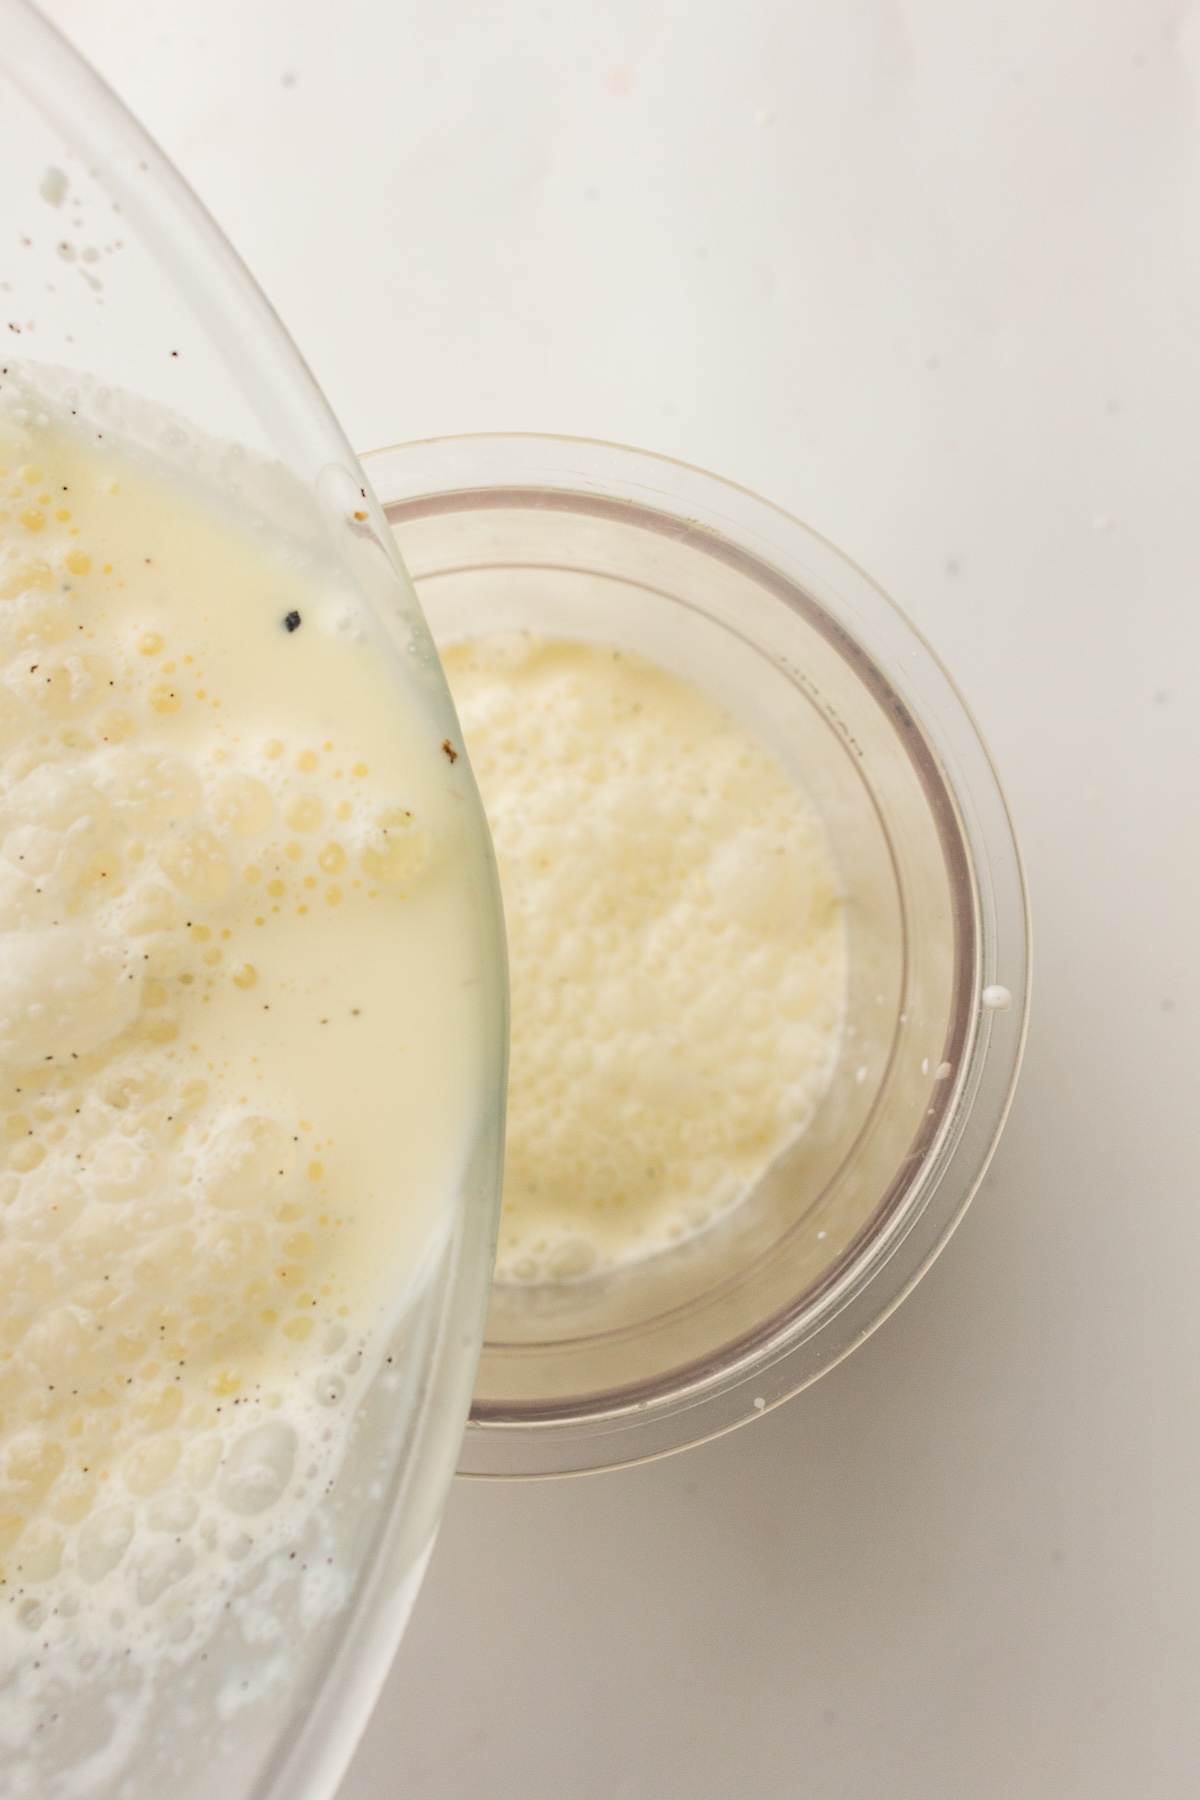
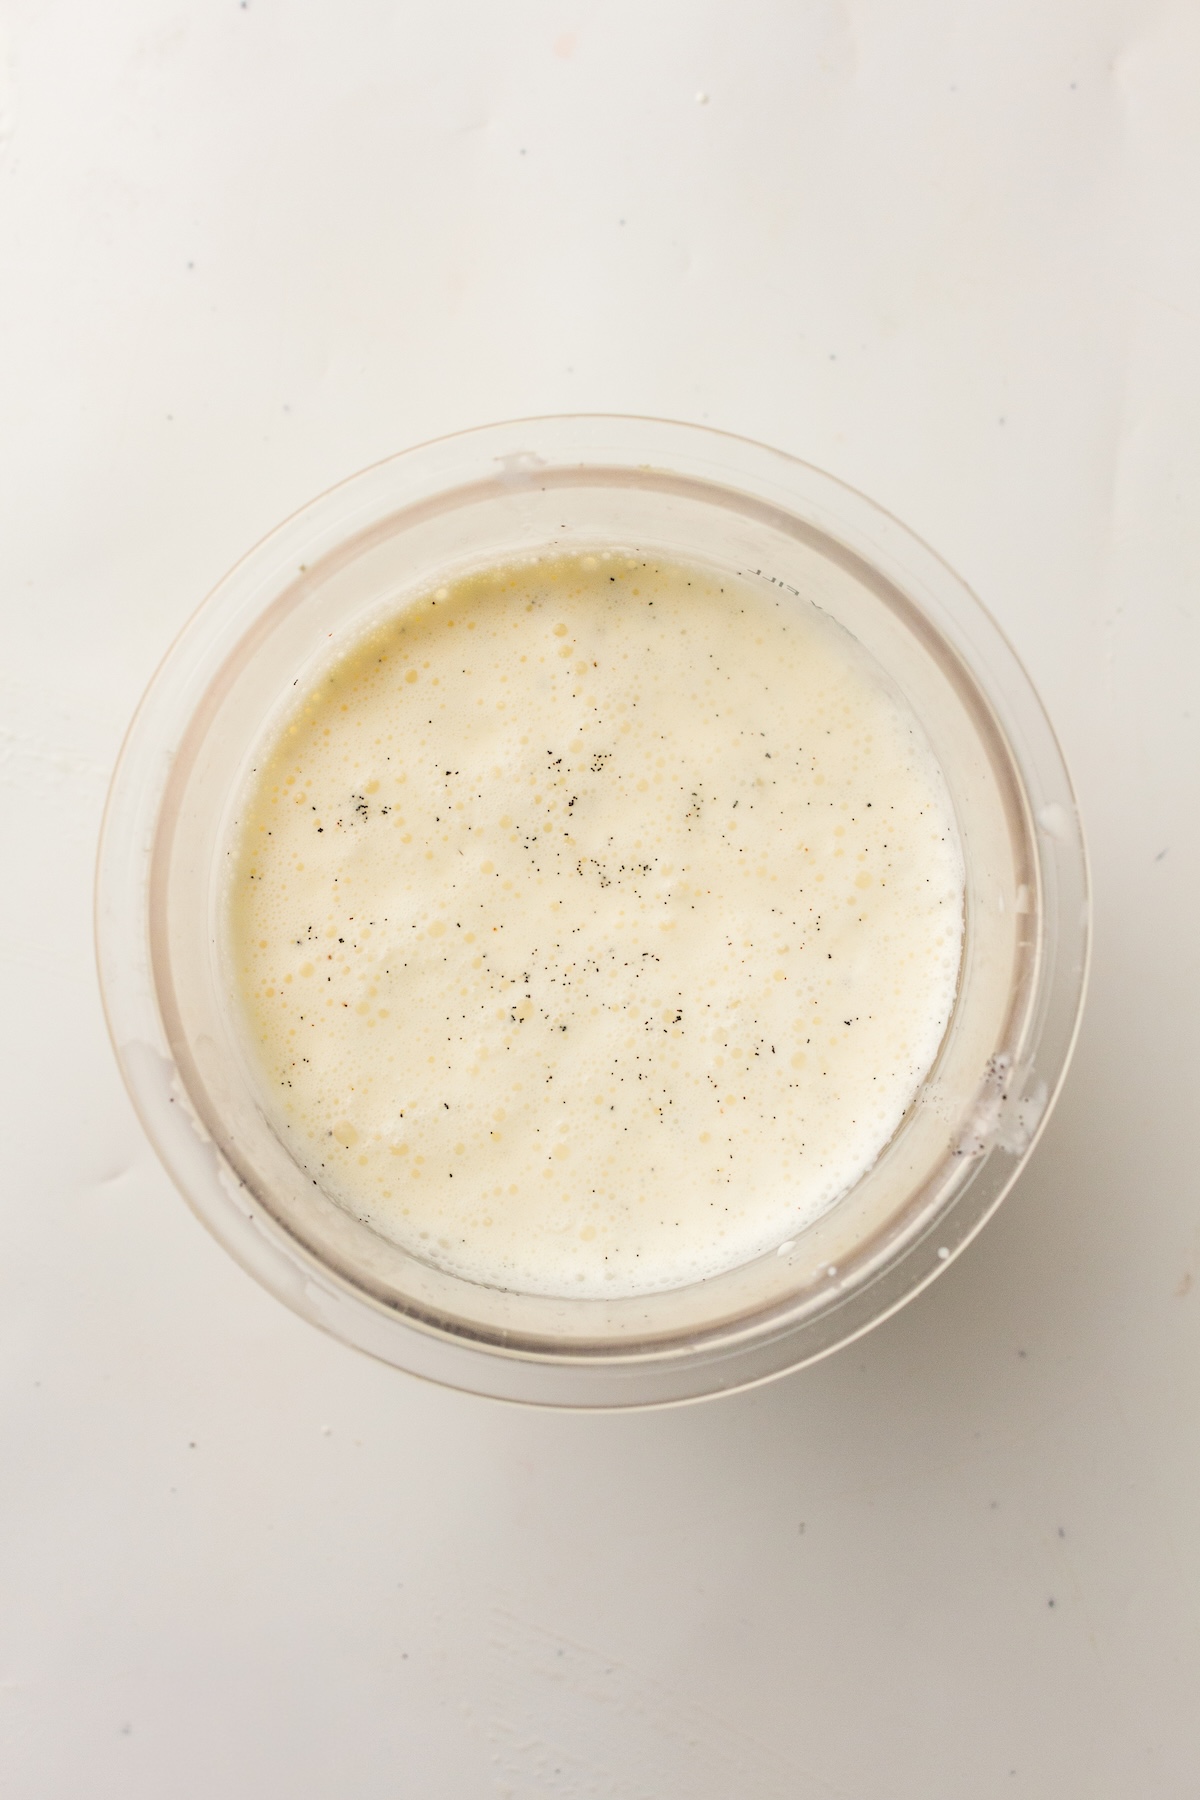
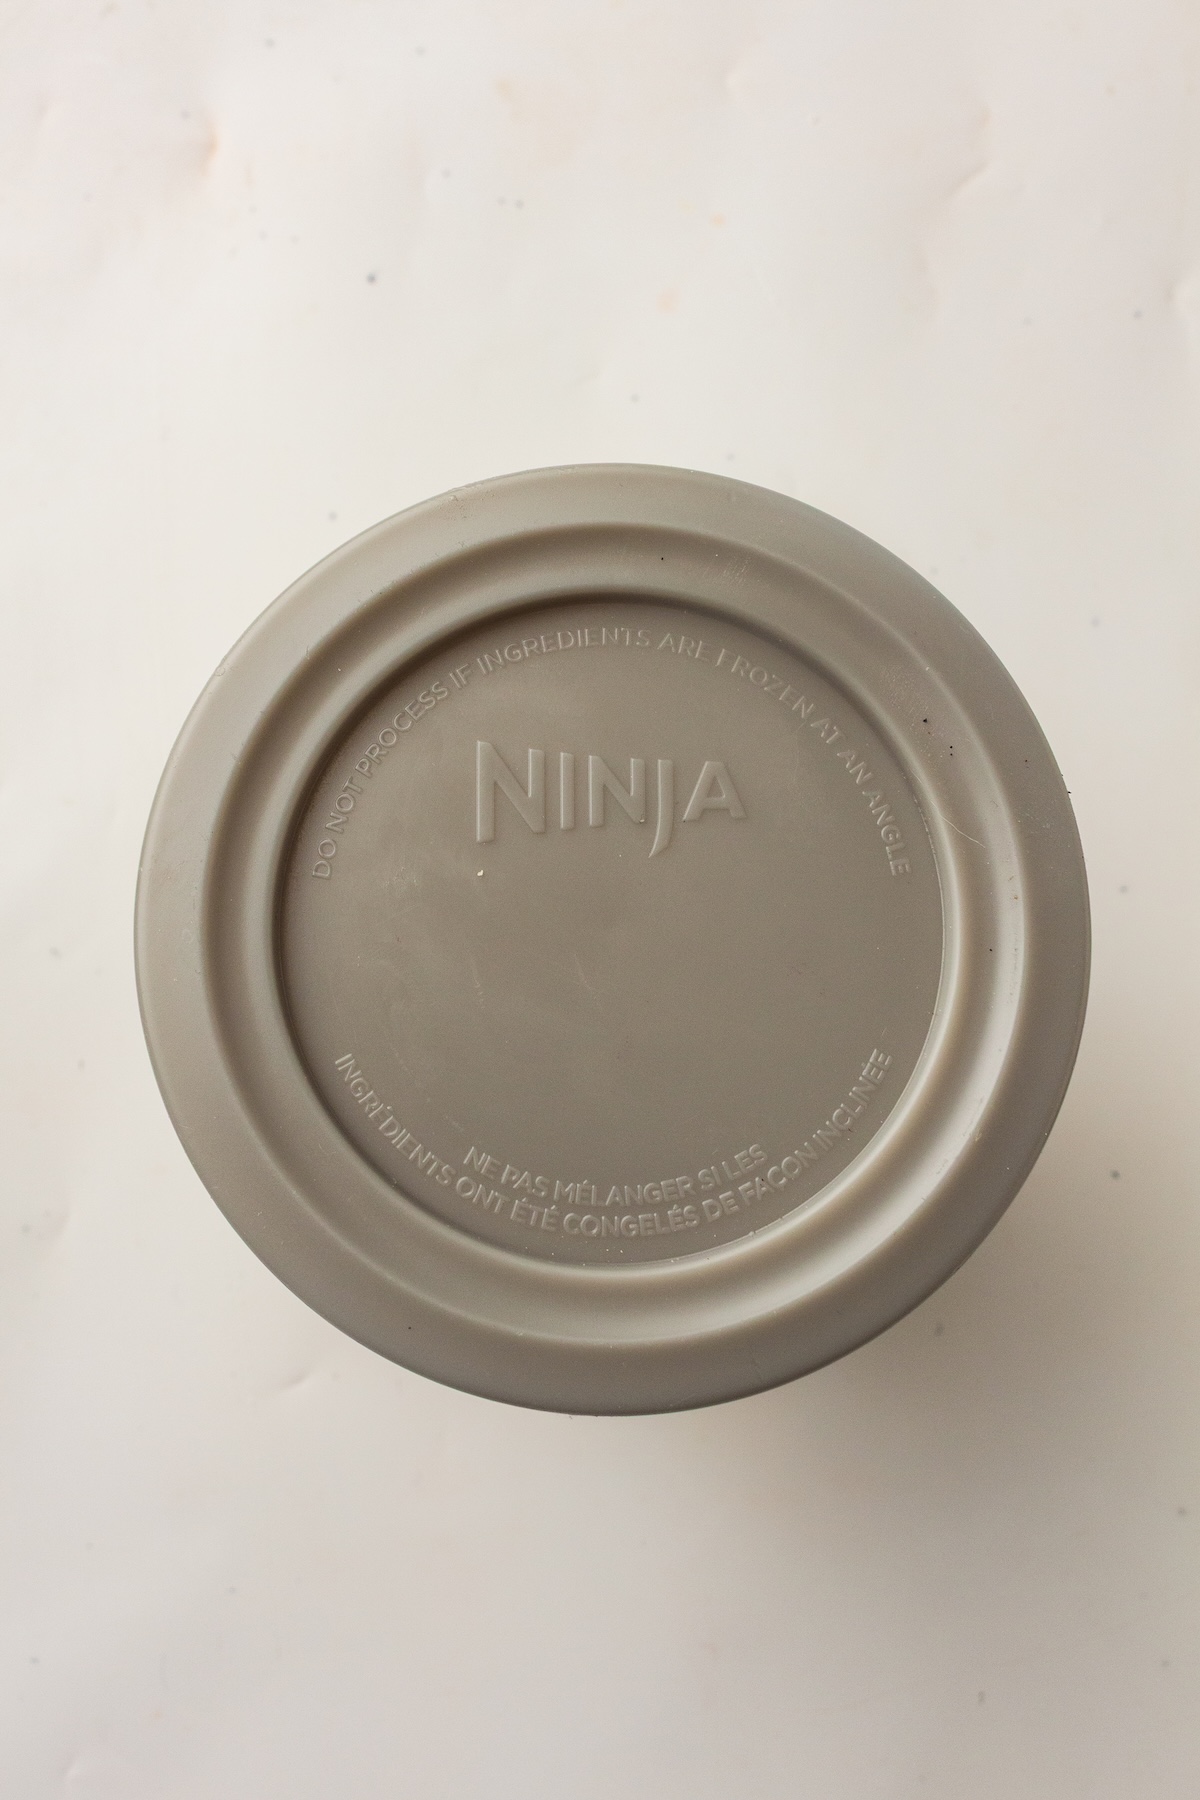
Pour your mixture into the Ninja Creami pint container. Be careful not to exceed the max fill line. Secure the lid tightly and place it in your freezer on a perfectly flat surface.
Let it freeze for a full 24 hours. This ensures the base is frozen solid, which is key for the machine to work correctly.
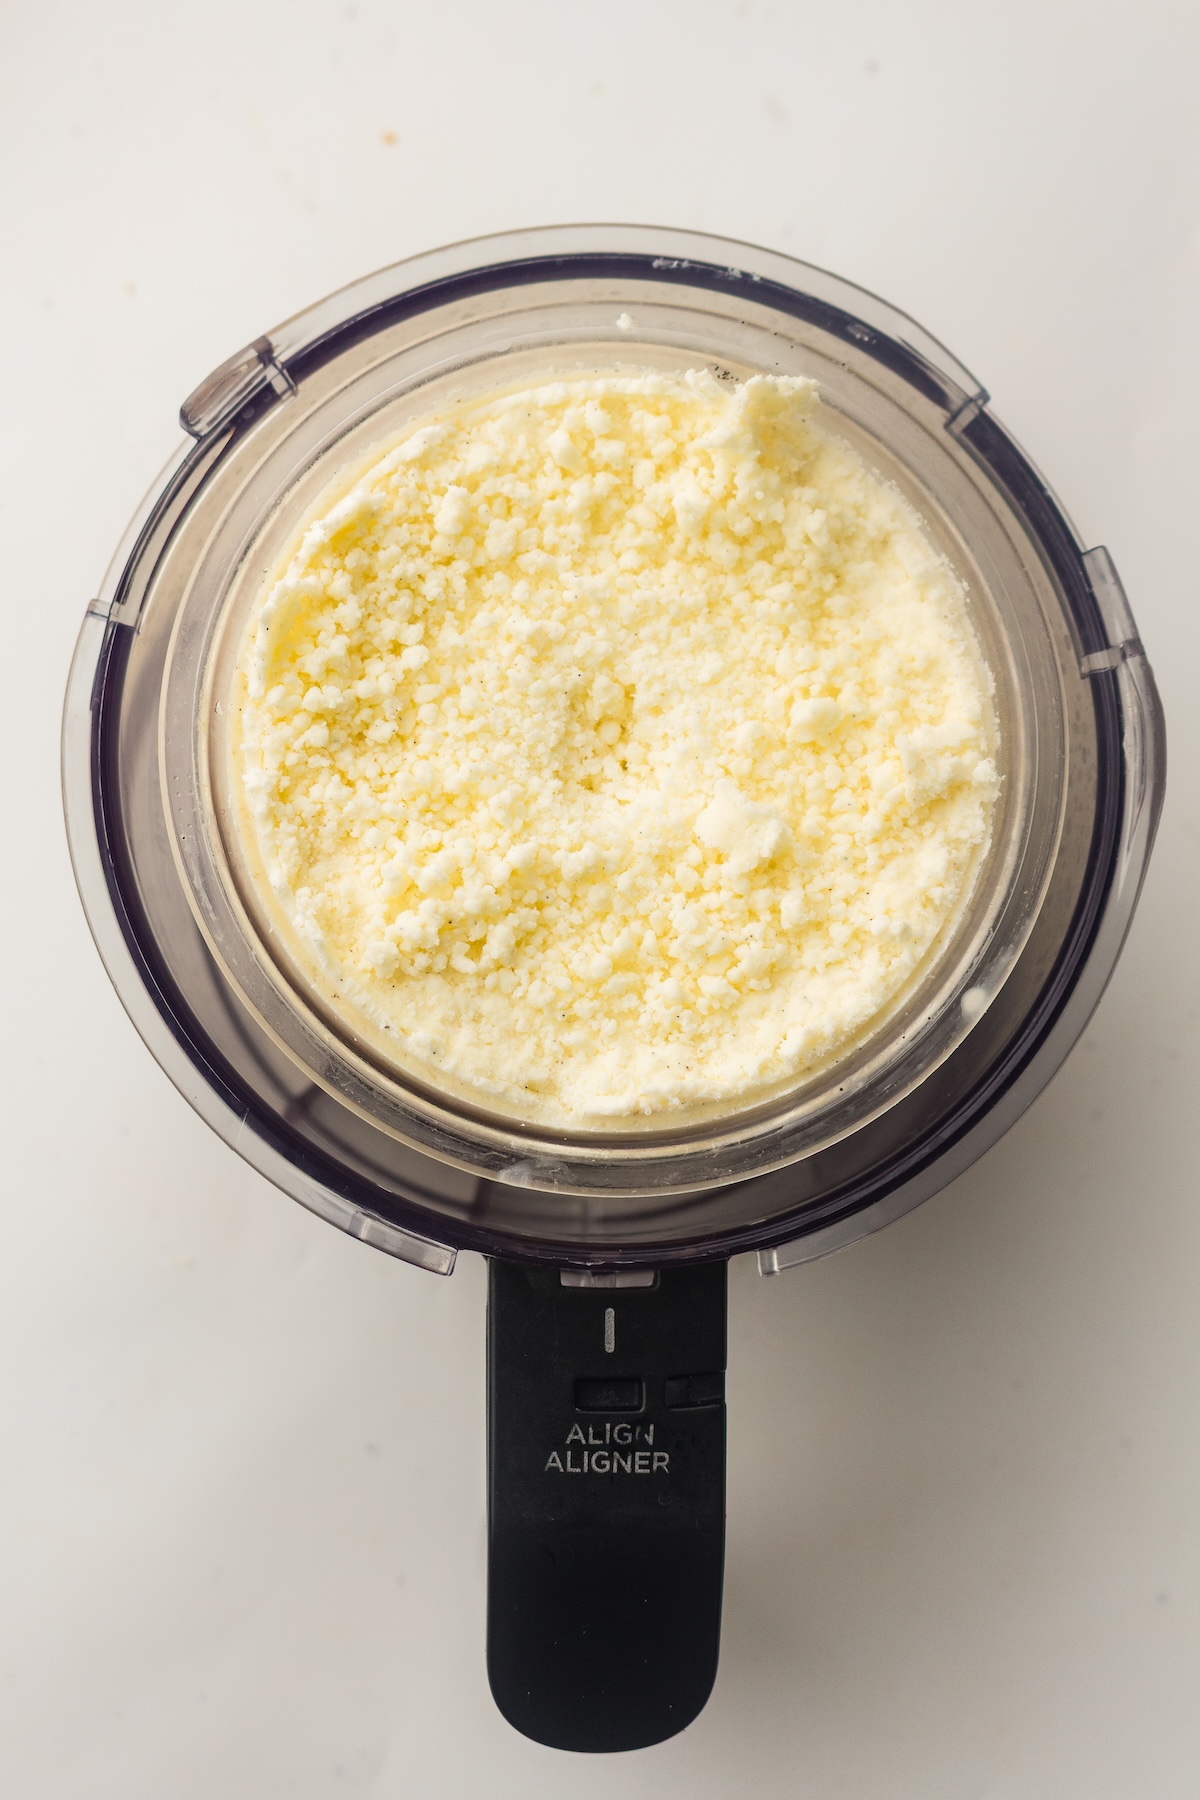
After 24 hours, remove the pint from the freezer. Take off the lid and lock the pint into the Ninja Creami outer bowl. Select the Ice Cream function and let the machine do its thing.
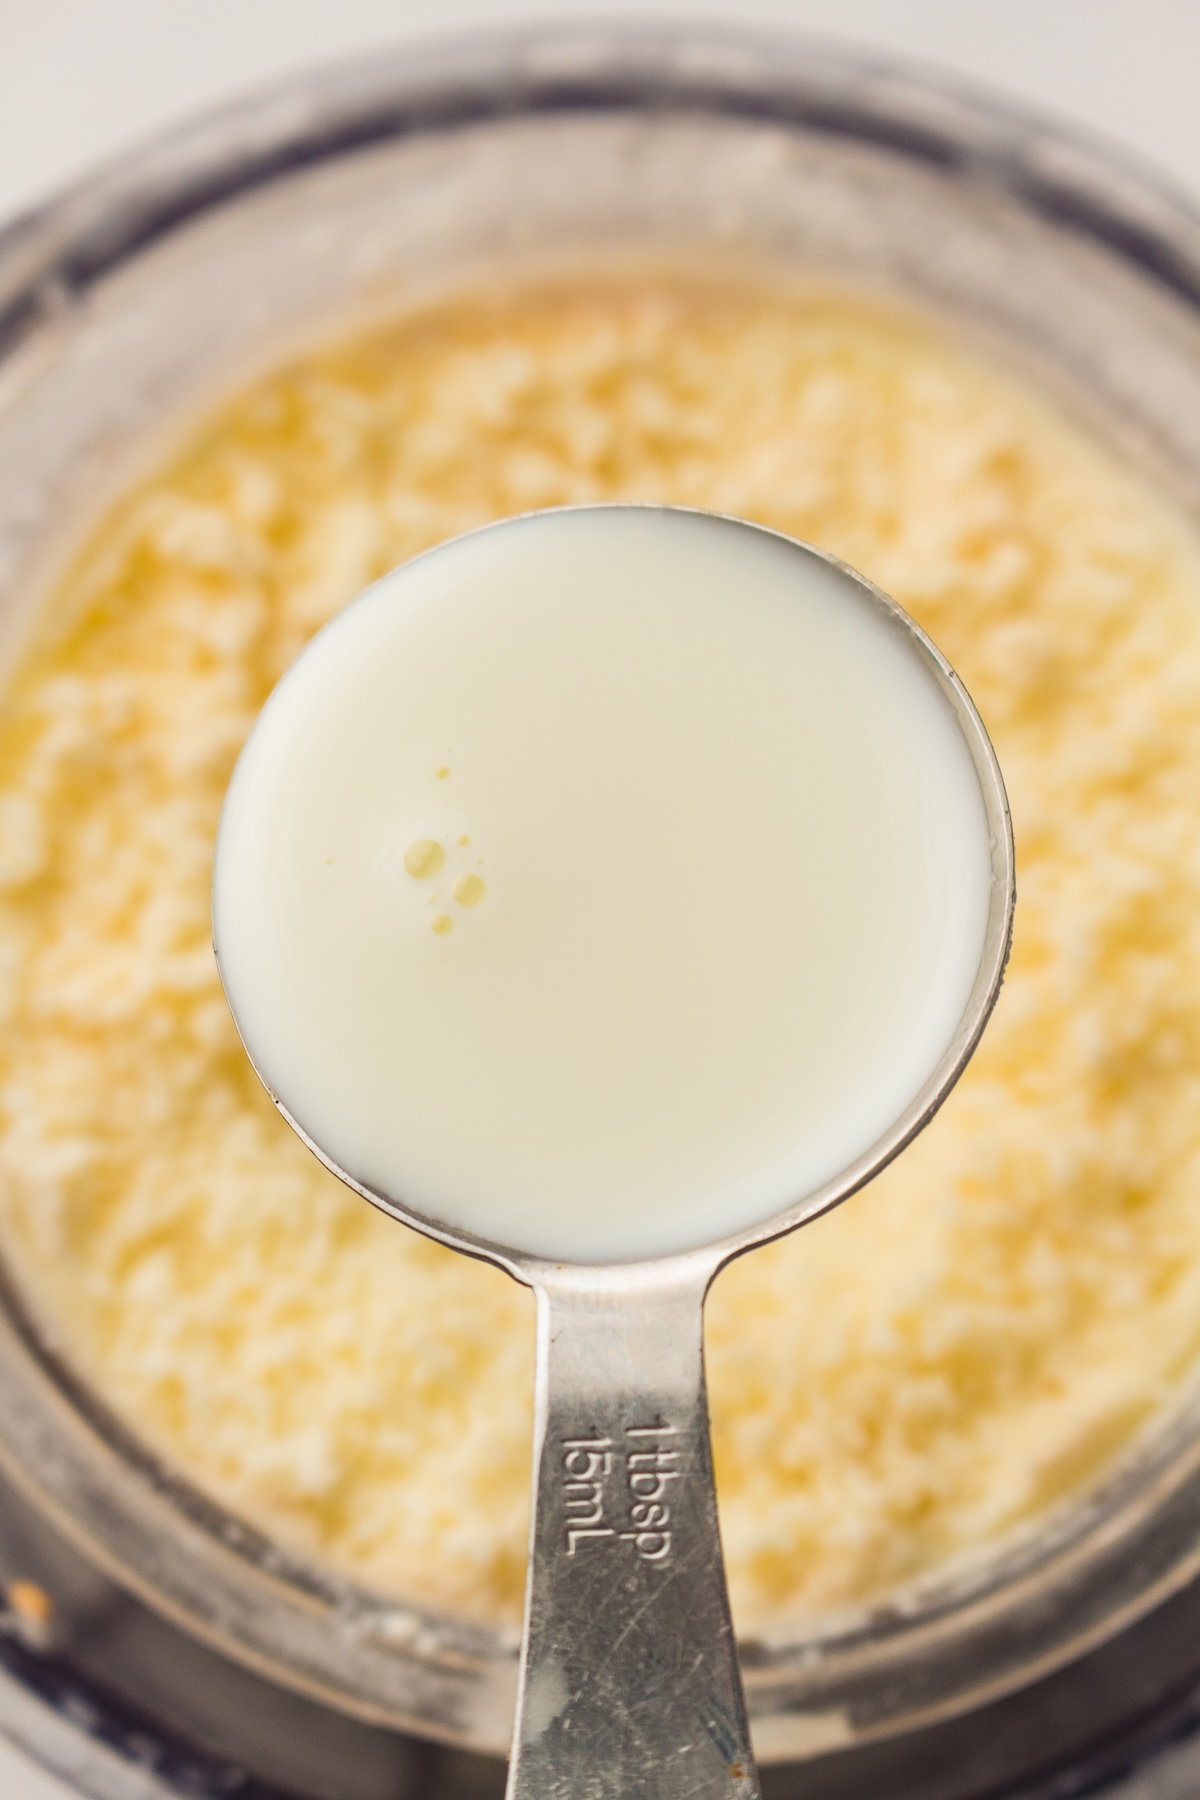
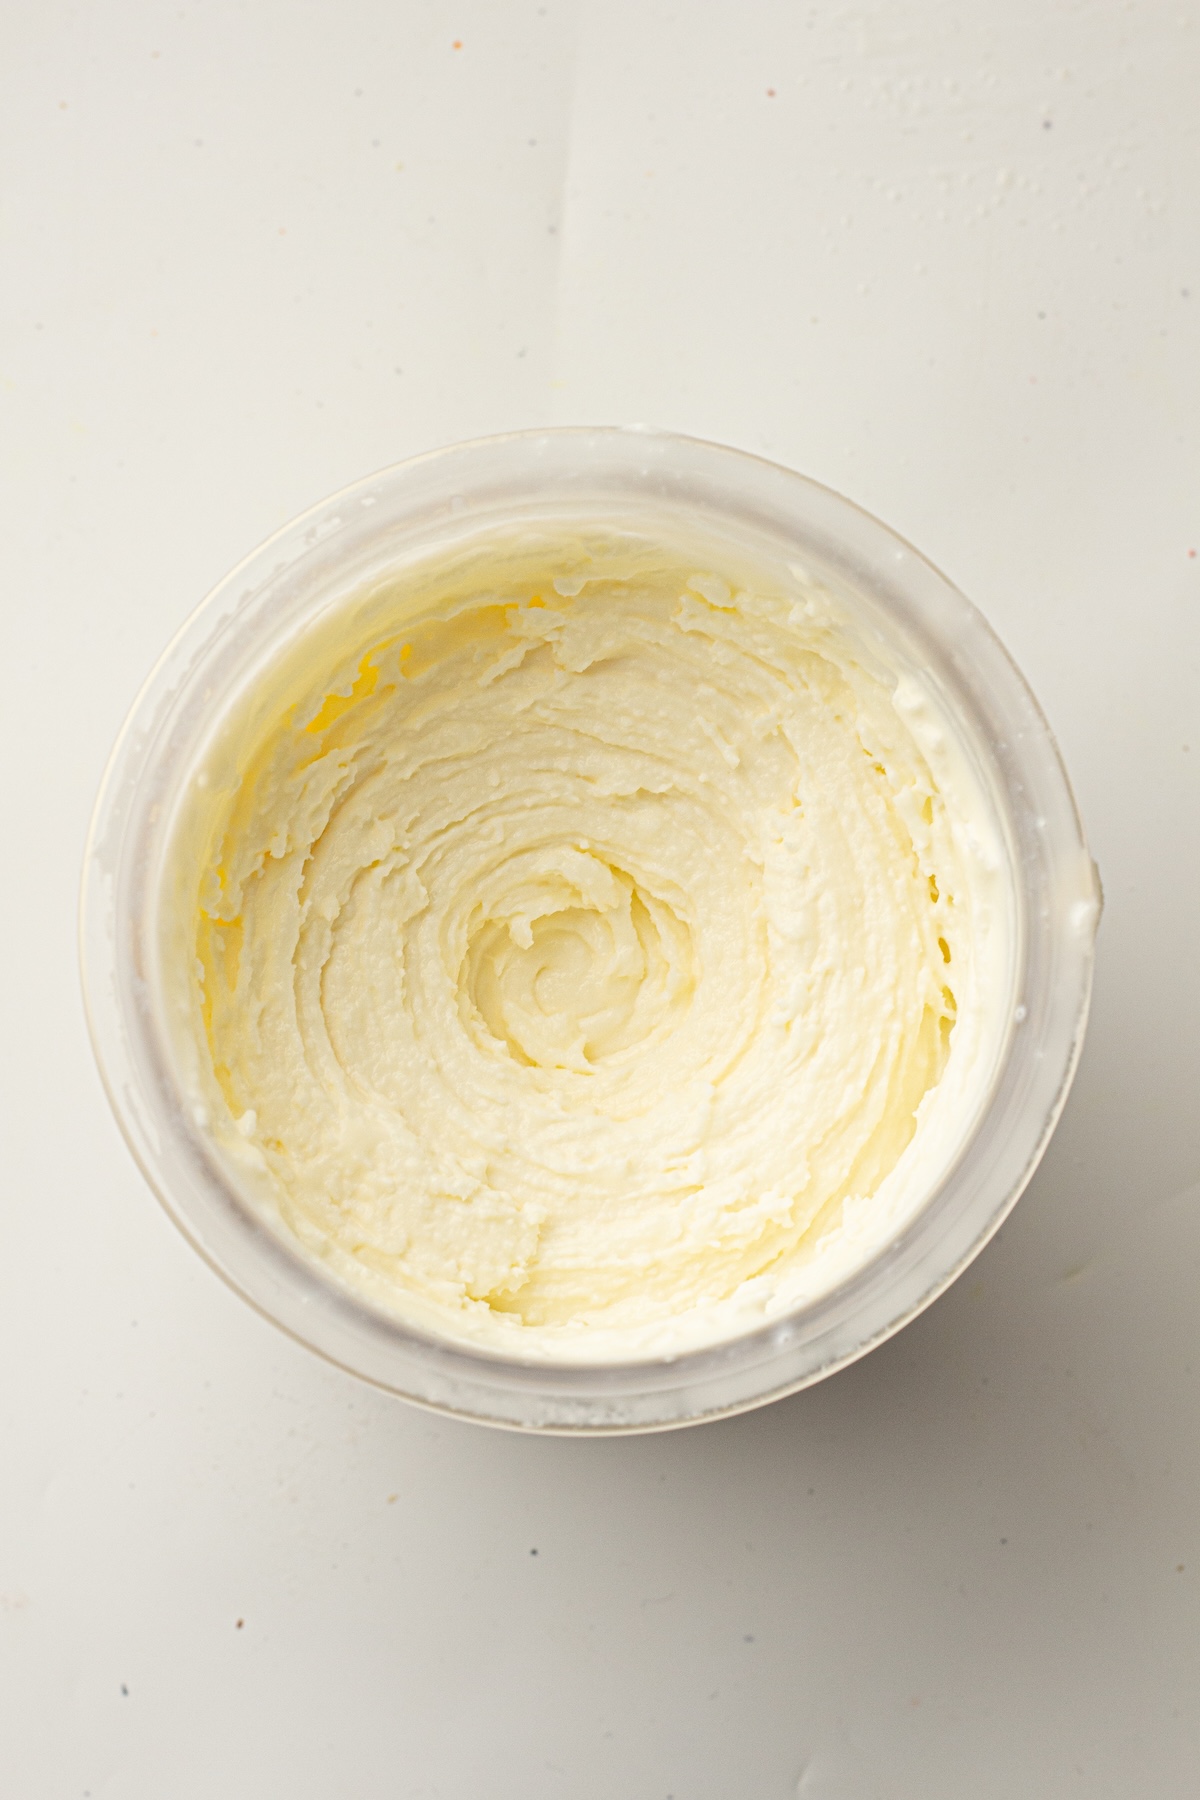
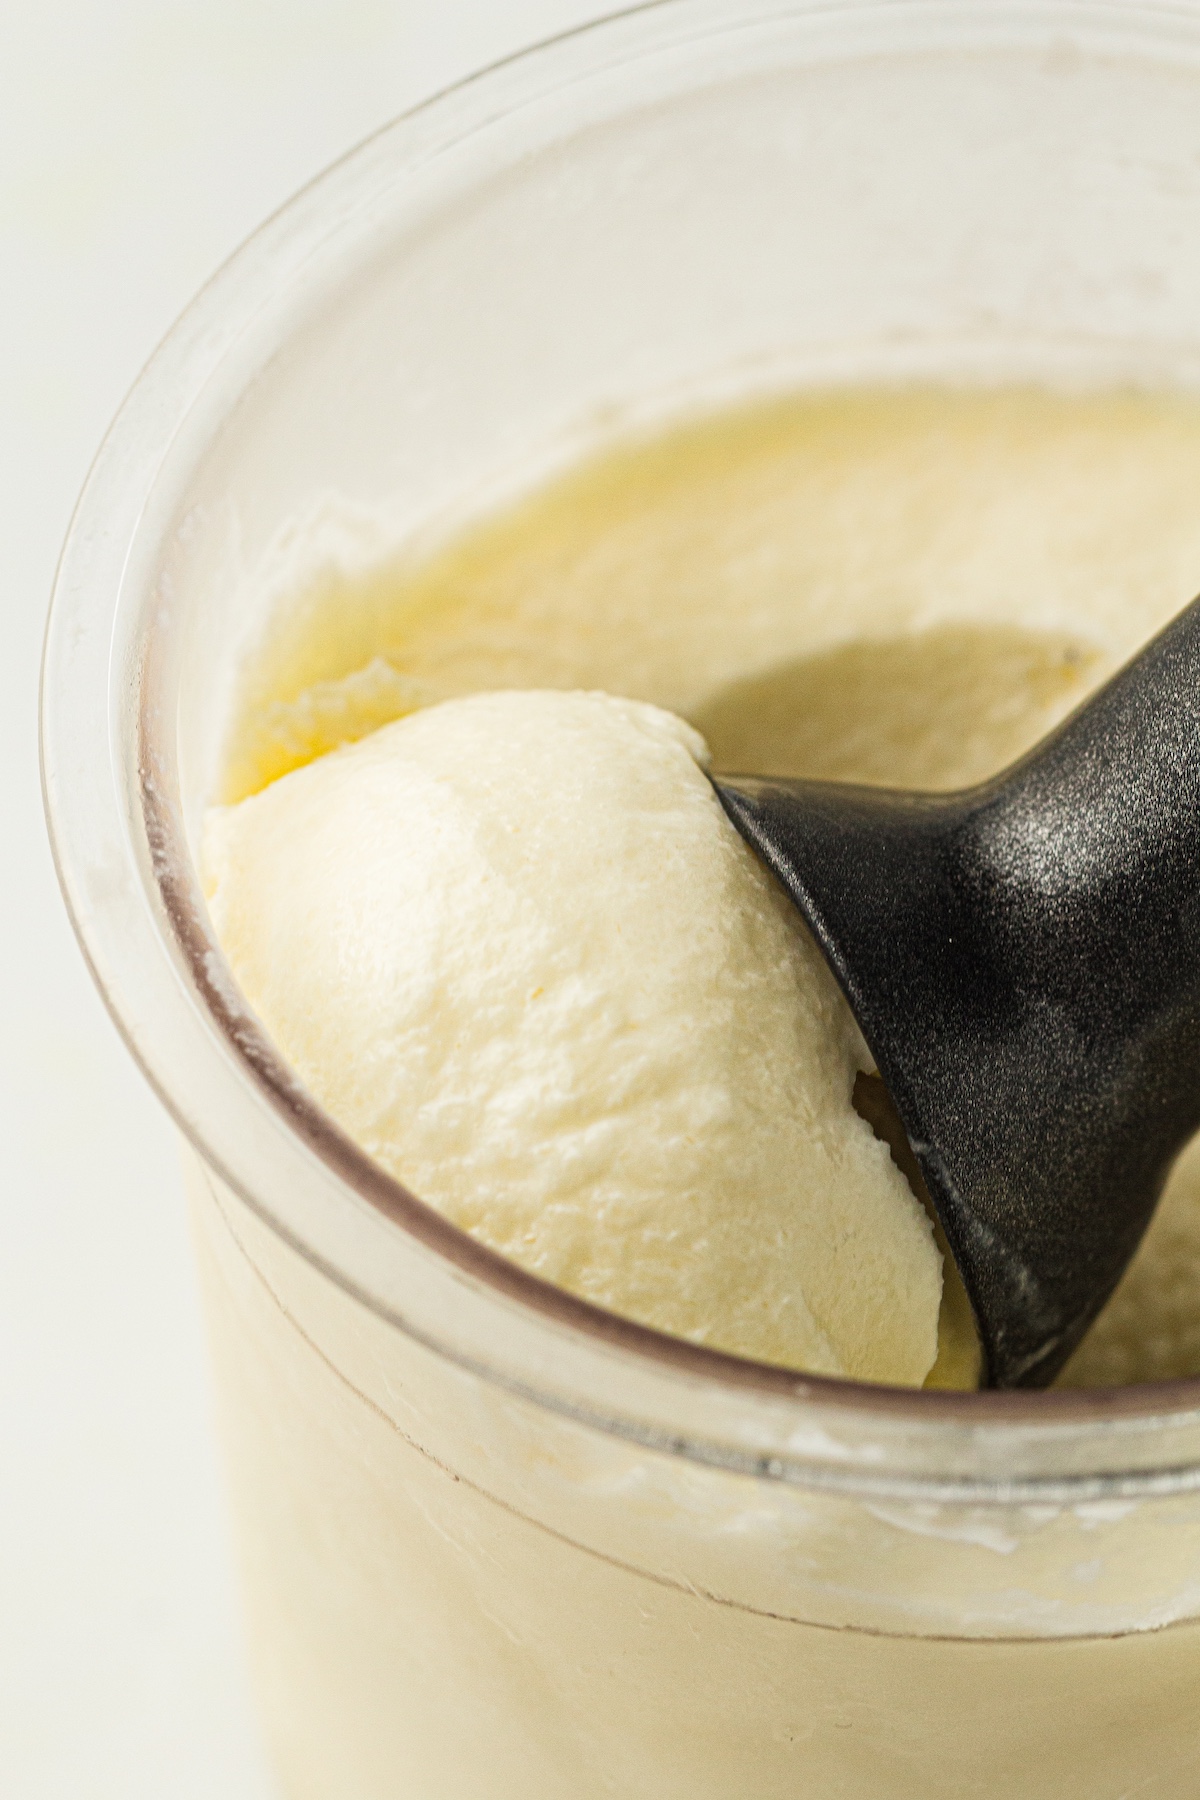
Once the cycle finishes, open it up. If the texture looks a bit crumbly or powdery (which is common!), don’t panic. Simply add 1-2 tablespoons of milk into the center of the pint, pop it back in, and press the Mix-In button once. This acts like a “re-spin” and smooths everything out.
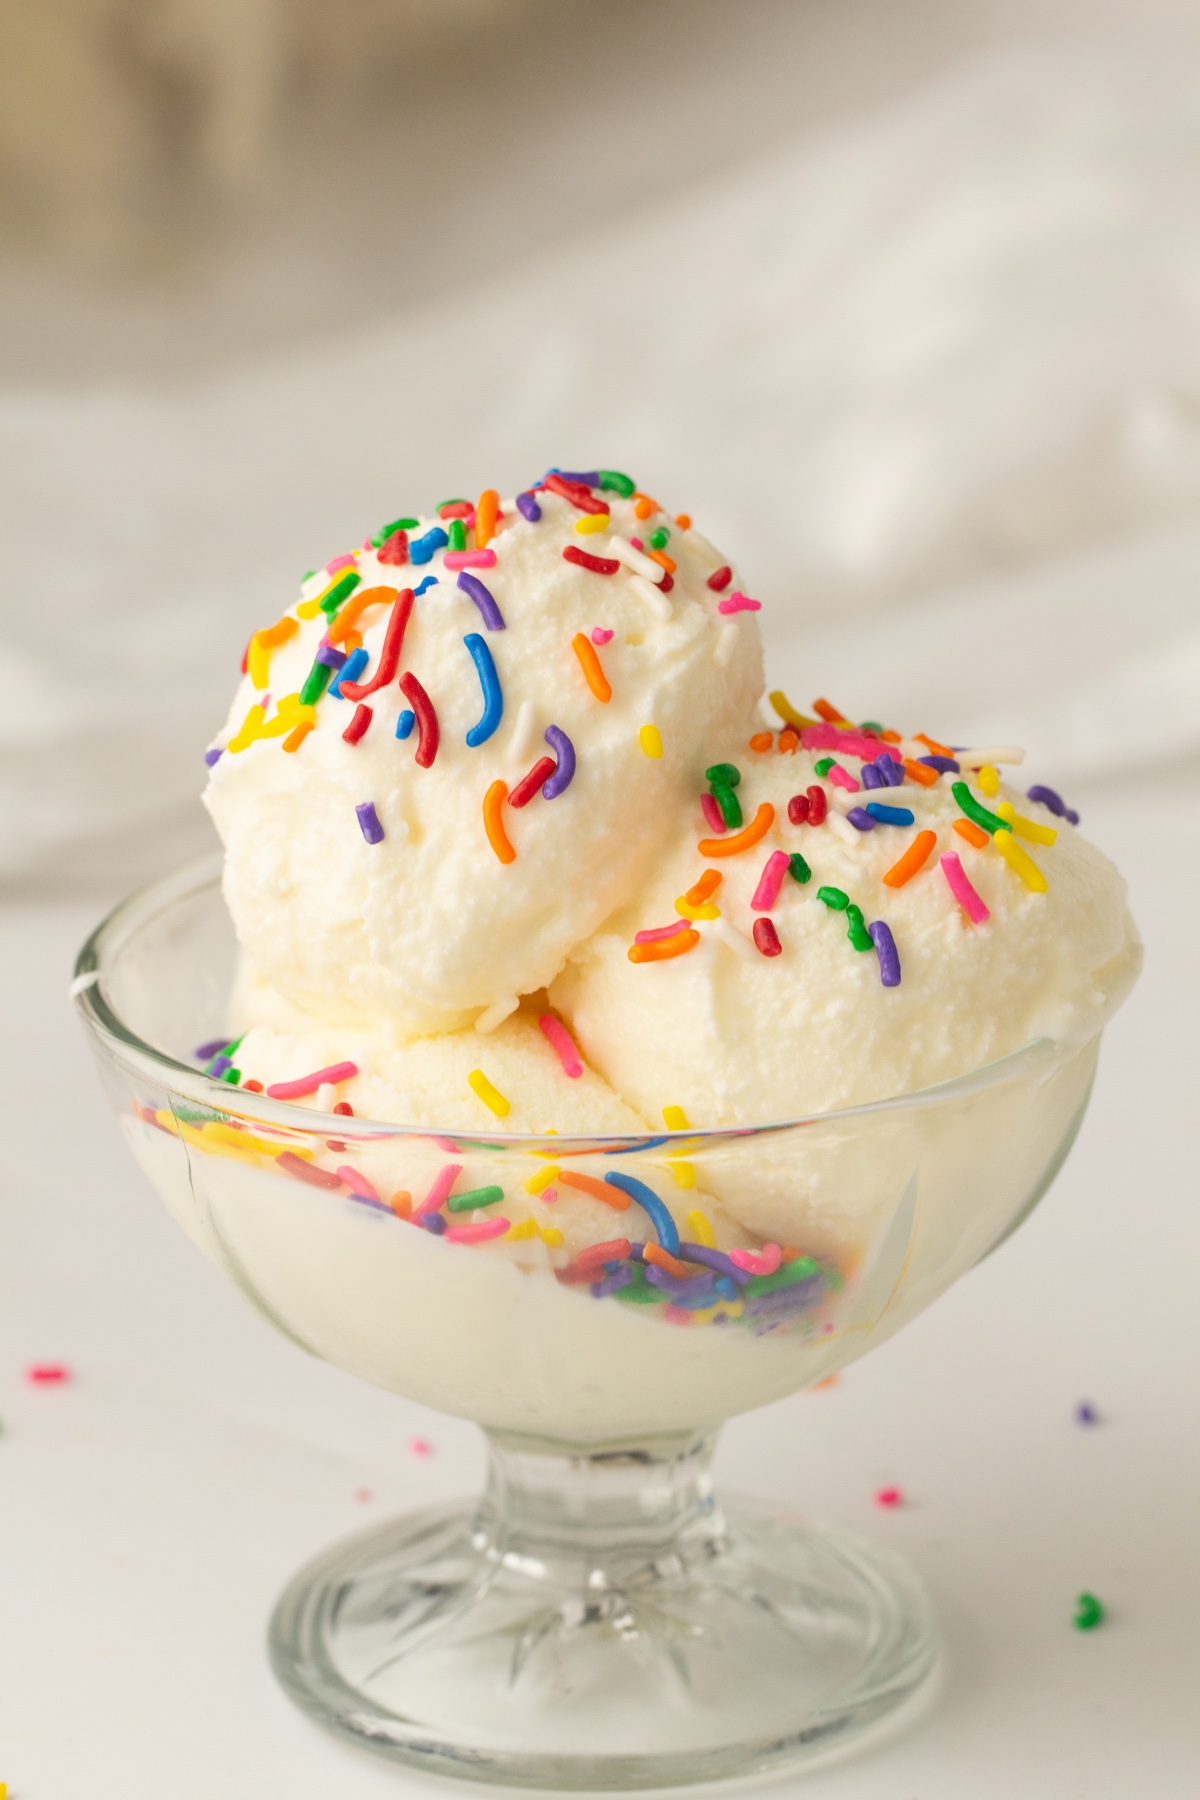
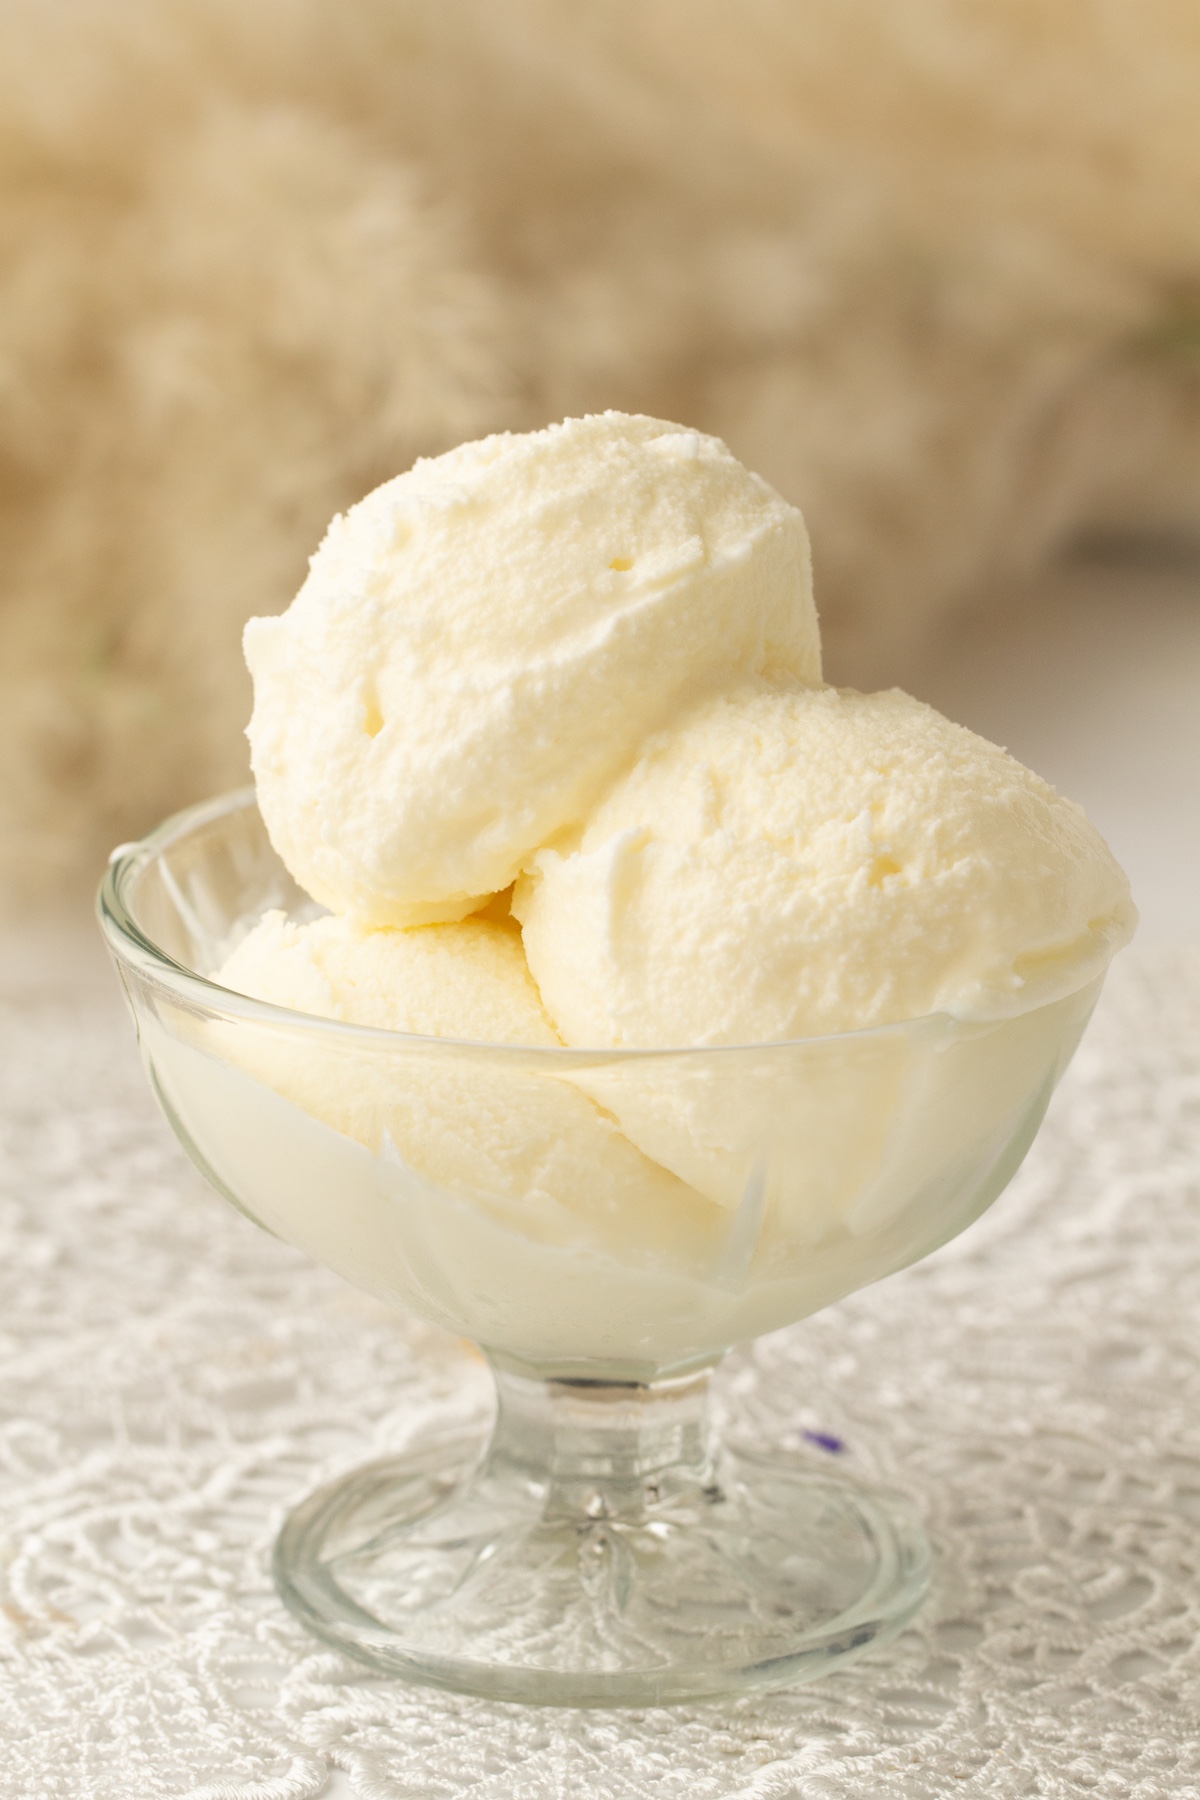
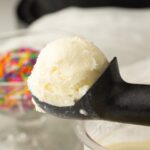
You can enjoy it immediately for a luscious soft-serve consistency, or put it back in the freezer for a bit if you prefer firm scoops.
Serving Suggestions
While this vanilla ice cream is spectacular straight from the spoon, it also plays well with others. Here are a few ways to serve it up:
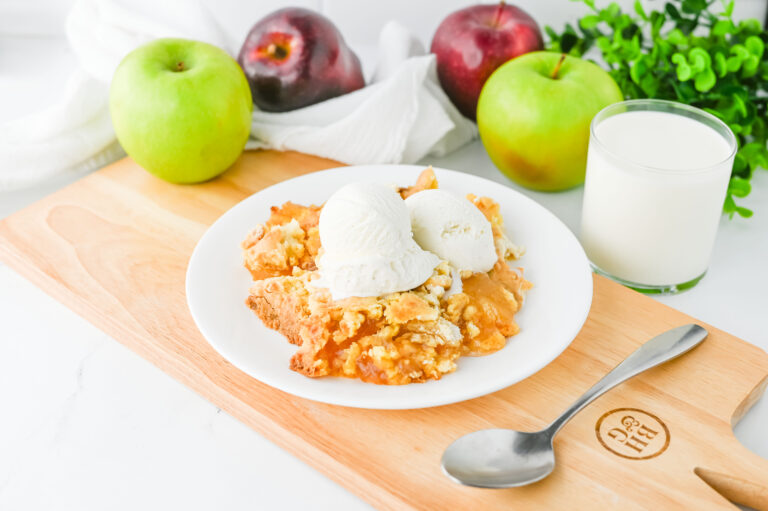
- The Classic: Pair a scoop with warm brownies, a slice of apple pie, or fresh-baked chocolate chip cookies. The contrast of hot and cold is unbeatable.
- Sundae Style: Drizzle generously with hot fudge or caramel sauce, add some whipped cream, and maybe a cherry on top.
- Fresh & Fruity: Top with fresh strawberries, raspberries, or blueberries for a lighter, refreshing dessert.
- The Best Milkshake: Use this pint as the base for the best vanilla milkshake you’ve ever had. Just blend it with a splash of milk.
Ninja Creami Vanilla Ice Cream
Ingredients
- 1 cup whole milk
- 1/2 cup heavy cream
- 2/3 cups confectioners’ sugar
- 2 whole vanilla pods split and seeds scraped
- Pinch of salt
Instructions
- Prep the Vanilla: Take a sharp knife and carefully split both vanilla pods lengthwise. Use the back of the knife to scrape out all those tiny, flavorful seeds. Don’t throw away the empty pods! You can stick them in a jar of sugar to make vanilla sugar later.
- Whisk the Base: In a mixing jug or bowl, combine the vanilla seeds, whole milk, heavy cream, confectioners’ sugar, and that pinch of salt. Whisk vigorously until the sugar has fully dissolved and the black vanilla specks are dancing evenly throughout the liquid.
- Freeze: Pour your mixture into the Ninja Creami pint container. Be careful not to exceed the max fill line. Secure the lid tightly and place it in your freezer on a perfectly flat surface. Let it freeze for a full 24 hours. This ensures the base is frozen solid, which is key for the machine to work correctly.
- Spin Time: After 24 hours, remove the pint from the freezer. Take off the lid and lock the pint into the Ninja Creami outer bowl. Select the Ice Cream function and let the machine do its thing.
- Check and Adjust: Once the cycle finishes, open it up. If the texture looks a bit crumbly or powdery (which is common!), don’t panic. Simply add 1-2 tablespoons of milk into the center of the pint, pop it back in, and press the Mix-In button once. This acts like a “re-spin” and smooths everything out.
- Serve: You can enjoy it immediately for a luscious soft-serve consistency, or put it back in the freezer for a bit if you prefer firm scoops.
Storage Tips
If you somehow manage not to eat the entire pint in one sitting (we applaud your self-control), storing leftovers is easy.
- Keep it Sealed: Store the ice cream directly in the Creami pint with the lid secured. It will keep well for up to 2 weeks.
- Soften Before Serving: Because homemade ice cream lacks the stabilizers found in commercial brands, it freezes harder. When you take leftovers out of the freezer, let the pint sit on the counter for 5–10 minutes to soften up before scooping.
Frequently Asked Questions (FAQs)
Can I use vanilla extract instead of vanilla pods?
Absolutely. While vanilla pods give you those beautiful specks and a deep, complex floral flavor, a good quality vanilla extract works great too. Use about 1–1½ teaspoons.
Can I use low-fat milk?
Technically, yes, you can. However, fat is flavor and texture in the ice cream world. Using low-fat or skim milk will result in a texture that is less creamy and potentially a bit icier. For the best results, stick to whole milk.
My ice cream looks powdery after the first spin. Did I break it?
Not at all! This is a very common occurrence with the Ninja Creami, especially with lower-fat or dairy-free bases. It just means the mixture was very cold. Adding a splash of liquid (milk) and running a re-spin or mix-in cycle usually fixes it instantly, turning that powder into cream.
Can I add mix-ins like chocolate chips?
Yes! If you want to add solids like chocolate chips, cookie dough, or nuts, do not add them before freezing. Wait until after you have spun the ice cream once. Then, create a well in the center, add your mix-ins, and use the Mix-In function to gently incorporate them.
For more Ninja Creami recipes, check out these instructions: